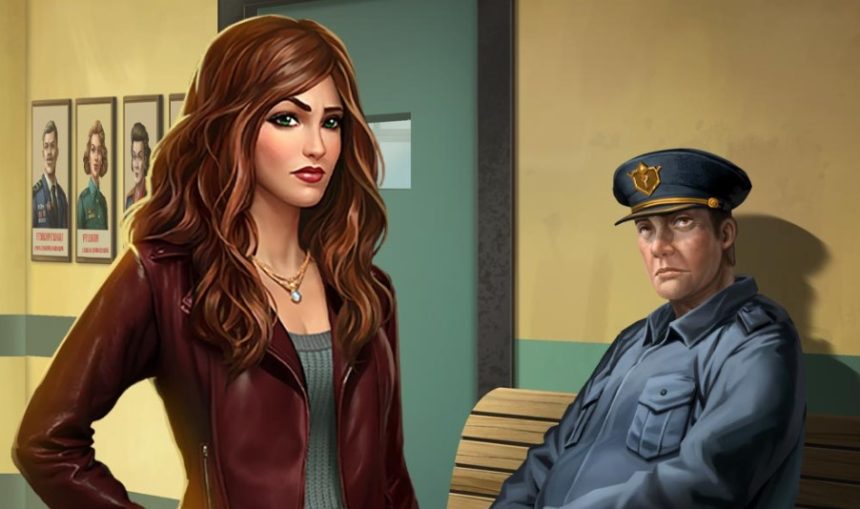
After joining Tokyo’s party organized by Trapmaker, Kate has to solve other puzzles like obtaining thin papers and cracking the locker. There are several other puzzles that you must solve to proceed through the story; however, mini-games will put hurdles on your way. In AEM: Trapmaker Returns – Chapter 8, you are welcome to explore several areas like the Elevator Cell, the Printer Room, and more.
AEM: Trapmaker Returns – Chapter 8 Walkthrough
The Elevator Cell
Collect the thin papers inside the freight elevator cell, then tap the combination lock and place the papers onto it. Align the papers so they form four of the keypad symbols, then press those four matching buttons to unlock the cell.
Next, tap the loading door and let Murphy open it, then learn that Allie double-crossed Trapmaker and called Murphy for help.
After that, close the loading door because it is not the way up, then study the arrows around the room and note that yellow points down, blue points up, green points left, and white points up. Go to the right-hand door, press the arrows in the order Down, Up, Left, Up, then step through when it opens.
More Read
The Printer Room
Collect the handle, the silicone material, the intriguing screwdriver, and the electrical cord, then attach the handle to the closet and open it to grab the bolt cutters.
Leave the room, cut the chains with the bolt cutters to reveal the 3D printer, then connect the cable to power it and pour the silicone inside.
Look back at the poster on the wall, remove its frame with the screwdriver, and take the executive poster.
Tap the printer screen, insert the poster into the slot, select her face, and take the printed executive face.
The Executive Box
Return to Murphy, place the printed executive face on the locked box, and open it to collect the thermoplastic polyurethane and the soldering kit.
Hand the soldering kit to Murphy, then return to the printer and pour in the polyurethane. Print the hand and collect the printed executive hand.
Go back to Murphy again, place your hand on the second locked box, and take the metal filament spool.
Insert the metal filament into the printer, print the key, and collect the printed executive key.
The Roof Access
Insert the executive key into the elevator keyhole, press the button, and ride up to the roof.
Once on the roof, pick up the playing cards and Allie’s lighter, then examine Allie’s shirt for the suit order clue. Use the lighter to reveal each card face, then organize them by suit in the order hearts, diamonds, spades, and clubs.
Count 4 + 2 for hearts to get 6, count 6 + 2 for diamonds to get 8, count 3 + 2 for spades to get 5, and count 7 + 5 + 2 for clubs to get 14, then enter 68514 into the door to unlock it.
The Four Core Puzzles
Talk to Kate and Murphy to begin the four puzzles, then start with the pink Solid State Drive puzzle and slide tiles to create a continuous path from the lower left to the upper right using every tile.
Next, solve the blue Neural Network puzzle by rotating hexagons until a full path connects the upper left to the lower right.
Then solve the yellow Motherboard puzzle by placing and rotating each chip so all printed circuit lines align perfectly with the board.
After that, solve the green Atomic Core puzzle by dragging the glowing orb along the green tracks toward the upper-right exit, rotating rings when the orb is not on them, and guiding it through the correct route.
The Finale
Trigger the explosion, talk to Trapmaker during the dialogue, then enter the final board fight and place the pieces so Kate survives while Trapmaker loses all health. Finally, watch the ending sequence and complete the game.


