
In AEM: Rendezvous Chapter 4, we are back with a step-by-step guide to help you solve puzzles and riddles when you get stuck in anywhere. Kate is on a journey to help out her friend while revealing the dark secrets. Your journey starts by collecting a stone from the ground and at the same spot, you have to discover a well handle. Surely, you would be familiar where the well handle can be used. Similarly, finding the connections between items and the surrounding environment helps you solve puzzle fast.
Chapter 4: The Castle Infiltration
Professor Burns may be miles ahead, but we need to catch up fast, and the next clue leads to a royal party at a castle. Problem is, we don’t have an invitation. So we’re going to make our own way inside.
- Grab the Stone and Well Handle from the ground.
- Attach the Well Handle to the well, then pull up the Bucket.
- Place the Bucket near the tree so you can reach and grab the Branch.
- Pick the Bucket back up, fill it with water, and use the Branch to move the Boulder. Collect another Stone and a Dagger.
- Use the Dagger to cut through vines and pry loose a Stone from the well.
- Pour the water on the dirty wall to clean it. You’ll see spaces for missing stones.
- Place the three Stones into the wall. Then solve the Stone Wall Puzzle by rotating and placing them so symbols match.
Use the Dagger again to peel off cracked pieces and reveal four clues.
Cracking the Wall Code
Each clue shows arrows (1 to 4). Use that to unlock the stone door:
- A down 1 = C
- R up 1 = L
- P down 3 = E
- L down 5 = F
Enter CLEF to open the castle door.
Exploring the Wine Cellar
- Inside, grab the ’04 bottle, ’91 bottle, Champagne Flute, and Wine Opener.
Tap the panel in the back to reveal three ropes. One is missing. - Use the Wine Opener on the stairs panel to get the ’89 bottle.
- Place all wine bottles on the wall. Match them by year. A clue appears.
- Find the shelves numbered 00, 79, 89, and 96. Count the bottles and note arrow directions:
- 00 = 3 down
- 79 = 4 right
- 89 = 1 down
- 96 = 3 left
- Go to the door lock and press the arrows in that exact order. The door opens.

The Ballroom Mystery
- Pick up the Rope from the chair.
- Examine the Bear and Lion statues, the painting, and the colored pegs on the wall.
Look behind the curtain to see the chandeliers. - Go back downstairs and place the Rope with the others.
Match their lengths to the chandelier heights. - Collect the Dress, Plaque, Crown, and Red Ribbon from the nearby tent and hat.
- Return upstairs. Use the Plaque on the Lion statue to get three masks.
Take the Cane. Talk to the woman and give her the Champagne Flute.
She gives you a Dance Card. Use the Cane to knock down the two hats from the Bear statue.
Solving the Mask Puzzle
- Place the masks on the pegs. Note which symbols light up:
- Light Blue = Sun
- Red = Swords
- Dark Blue = Fleur-de-lis
- Look at the painting. Each animal has a colored bowtie. Match them:
- Bear = Swords
- Eagle = Cross
- Lion = Crown
So the final matching is:
- Light Blue = Cross
- Red = Crown
- Dark Blue = Fleur-de-lis
- Now place the correct symbols on the Dance Card.
The Dance Puzzle
- Time to dance. Each partner’s steps must match their symbols and complete 12 steps in total.
You must cover all tiles. Copy the provided solution if needed.
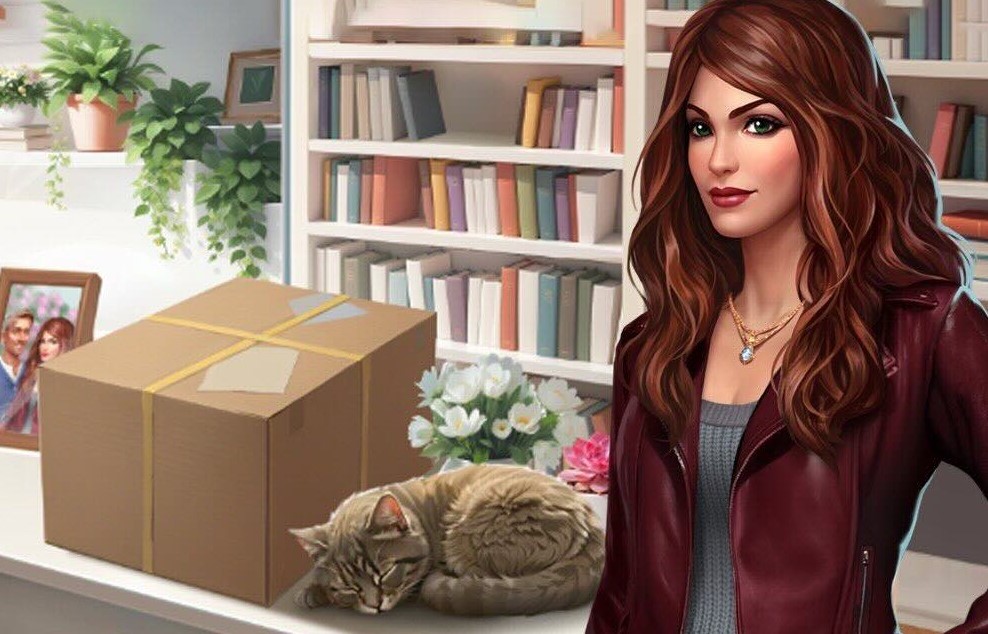
The Library Puzzle
- After the dance, Mark appears and disappears again.
You’re now in a room filled with books.
- Pick up the Matches.
- Light the Candle to reveal Hourglasses with Roman Numerals.
- Flip each hourglass. You’ll see a shelf number and a quantity. Deduce which is which:
- Orange — VI & IV — 6 books on Shelf IV
- Gray — 4 books on Shelf II
- Blue — 2 books on Shelf III
- Green — 3 books on Shelf I
Place the books correctly on each shelf.
End of Chapter 4.
Ready for more? Click here to start Chapter 5 or choose another chapter from the main post.


