
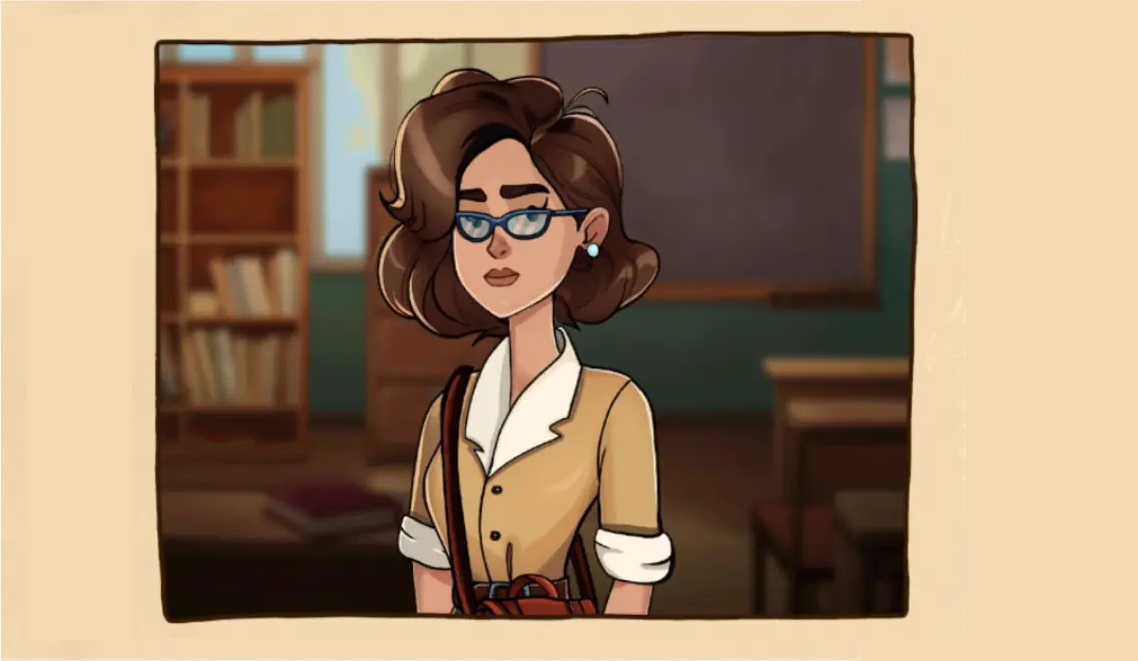
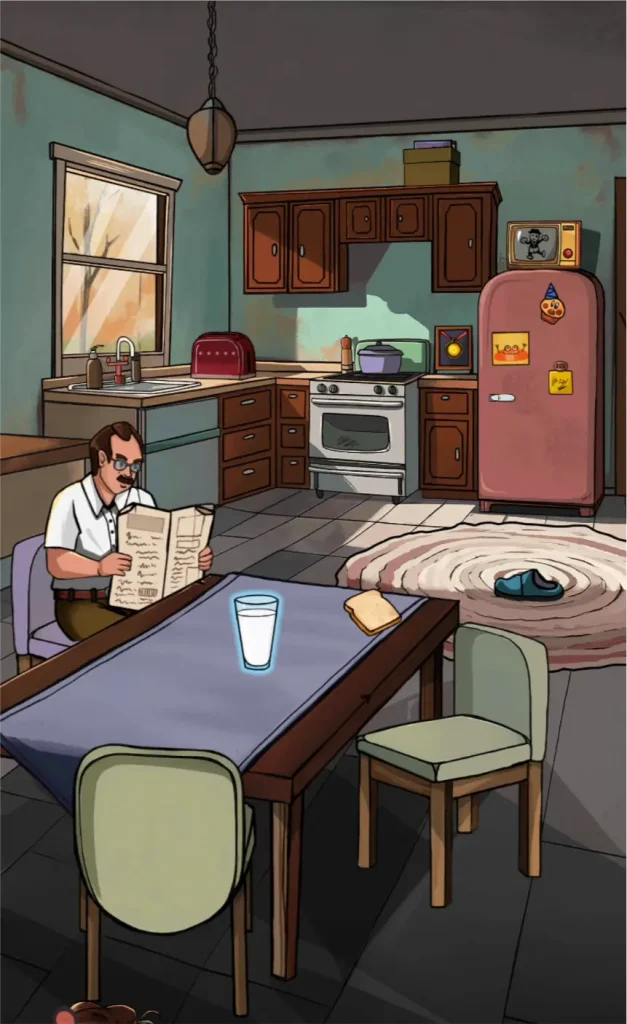
Find Joe: Secret of the Stones – a beautiful puzzle and hidden object video game released for mobile devices. It features a female character named Joe looking for your help to get out from a variety of rooms. She starts the journey from a house where the objective is to search for items given at the bottom of your screen. Take start by collecting a glass of milk from the table and then move forward to proceed. The items you discover will be marked as collected and you must put your focus on the rest of the objects. Items may not be solely available to get in one tap, there might be many items that you must combine with another one to get the object marked as completed.
The game spans three parts such as Margaret, New Lands, and Secrets of Stones. Each part has a variety of levels to complete and each level comes with a few objectives to discover. If we say that the gameplay is similar to Find Out: Find Hidden Objects won’t be wrong. The mechanics and the gameplay are identical; however, the cast, music, and scenes are completely different. Although it offers simple gameplay, it becomes headache if you don’t have an idea about the object, you are looking for hidden smartly and require you think out of the box. At that time, you can get help from Find Joe – Walkthrough All levels solutions,
Find Joe – Complete Walkthrough [All Levels]
This section will help you find items of first part, known as Margaret. We suggest you to keep trying yourself as it is full of fun. In case you are out of ideas and need help, read our guide to get hint where the items could be.
House
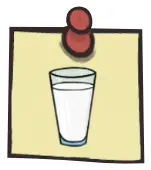
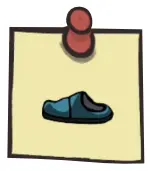
Grab the milk sitting on the table near the center of the room. Look down to the floor and pick up the slippers lying just in front.
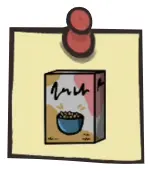
Head to the kitchen area and open the cupboard above the counter to take out the cereal box.
To make toast for Daddy, drag a slice of bread into the toaster on the counter. Wait a moment, once it pops, the toast is ready.
Swipe left on the box near the bookshelf to slide it aside and reveal a book underneath, take it.
Check the fridge, there’s a sticker stuck to the front door.
Grab it and right next to the fridge, you’ll find a medal sitting on the floor. Pick it up to add it to your inventory.

Before leaving the room, don’t forget to collect the important blue – a backpack.
University
Pick up the mouse running around on the floor and place it on the wheel on the table. Watch as it starts running, once the light bulb glows, take it.
Check the cabinet with the globe on top, open the second drawer from the top to find the magnifying glass inside.
On the left-hand table, there are torn paper pieces. Tap to zoom in and slide the fragments together to form a complete circle.
On the same table as the wheel, you’ll spot a piece of chalk. Give it to the professor nearby and tap on the formula you want to reveal on the board.
Next to the green book on the right table, pick up the drawing tool, it’s shaped like a circle. There’s a half-portrait sitting on the table. Drag it up to the empty frame above the board to complete it, then collect the full portrait.
Tap on the student to get his attention, once he turns around, grab the glasses off him. Under the blackboard, a small table blocks access. Swipe the table to the right to reveal and take the fire extinguisher.
Look at the indoor plant near the corner, pluck the flower from it. Check outside the window. Tap on the rising smoke to get a key clue about what happened.
Meteorite
Open the backpack in the top-left and take out the fire extinguisher. Use it to put out the flames near the car door.
Tap the red sun visor inside the car to find a key, then unlock the door and rescue the dog inside. Head to the half-open garage of the gray house. Swipe up to fully open it, then pull the bicycle out by swiping left.
The basket is on the ground just above the car. Drag it onto the bike, then take it. There’s a large wooden wheel hanging above the white house’s window, tap it to collect.
To the left of the car, you’ll find a shovel lying on the ground. Pick it up.
Open the box beneath the left-side house to find a single boot. Hang it on the tree where the other boot is, and then collect the matching pair.
Swipe up on the gray garage door again and tap on the trash bin to take it.
Head to the meteorite impact zone, rocks are covering a stop sign. Swipe each of the three rocks aside to reveal and collect the sign.
Check near the purple meteorite stone. Use the pickaxe found in the pickup truck bed to dig it out, then take the stone.
Three wooden sticks are leaned against the fence of the left house. Swipe each one to the right to clear the way and take the toolbox behind them.
Tap on the man stepping out of the car to begin a dialogue and uncover an important clue.
Police
Zoom in on the radio near the window. Swipe left to see the back, unscrew the four screws, then swipe right to remove the cover and take the speaker inside.
Tap the envelope on the table to reveal the button stuck inside, grab it. Find the cheese on the floor to the right of the boxes and place it on the mousetrap. Once baited, take the trap.
Look under the radio to find the first half of the scissors. The second half is inside the box near the table. Combine both halves and cut the wire above the ceiling to stop the fan, then grab the item from the blade.
Click the hat hanging on the rack to drop it. The scarf beneath it can now be taken. Check the bottom drawer of the desk to find a key. Use it to unlock the drawer under the radio and retrieve the camera.
Tap on the envelope lying on the floor. Swipe left to pull out the stack of photos and collect them. There’s a blank sheet hanging on one of the curtains. Drag it to the typewriter. Slide the typewriter to the left and wait for it to finish typing, then pick up the printed page.
A pen is on the table, grab it. Check the agent’s desk for a safe clue. Rotate the dial: first to 30, then to 50, and finally to 90.
Dormitory
Look at the center of the room, there’s a pile of notebooks on the floor. Swipe them left to reveal a small mirror underneath.
Under the green blouse on the floor, there’s a dress. Tap the blouse a few times to fold it, then swipe it away. Drag the dress to the hanger by the window before picking it up.
There’s no switch for the light bulb, but you can swipe left on the chandelier bulb a few times until it goes out, then take it.
Tap on the maze picture hanging on the wall. Use the arrows to reach the red dot. When the picture drops, grab the envelope hidden behind it.
Under the table, there’s a briefcase. Move the pair of shoes to the right, then pull the case left. Swipe up to open it and take the disk inside.
If the sun isn’t visible through the window, swipe up on the curtain to draw it and let the sunlight in. There’s a bag lying on the right-side bed, pick it up.
Next to the desk, there’s a chair. Swipe across it to reveal a phone receiver. Drag it to the phone on the bedside table to assemble the phone and collect it.
Tap the matchbox on the table. Move the upright match from the plus sign to the number six to make it an eight. The equation changes to 8 – 4 = 4.
On the floor, there’s a strange device. Place the meteor rock from the backpack inside it. Insert the lens into the slot to activate a purple beam.
Laboratorium
On the tree to the left of the building, spot a small branch with an acorn, grab it. Check the chimney above the building, there’s a tin can placed right on top.
Swipe right on the bottom-right window of the lab to find half a magnet. The second piece is behind a bump in the middle of the lot, swipe right to uncover it. Connect both pieces to complete the magnet.
Swipe open the top-right window of the lab to find the rake head. Attach it to the rake handle on the ground. Use the rake on the striped dirt patch to the left and uncover the compass.
The radiation symbol is hidden beneath a dirty wooden sign. Rub it clean with your finger until the symbol is revealed, then tap to collect it.
There’s a book hanging in a bag from the tree on the right. Swipe up to reach and take it.
Double-tap the barrel near the lab entrance to tip it over and find a hammer inside. Use it to remove the nails on the wooden sign, then collect the ladybug beneath it.
To the left of the lab door, swipe left on the wheel to reveal the pump behind it. Pull it out and take it.
Check the device to the right of the door, connect all pins by color without crossing the wires. Once complete, tap the red light to unlock the lantern.
Tap the paper the guard is holding. Use the pen from your backpack to write on it and reveal a new clue.
Cafe
A corner of the blue poster beside the huge burger poster is peeling off. Swipe upward several times to straighten it, revealing a hot dog, take it.
On the edge of the breadbox stands a flower vase, teetering dangerously. Shake your device gently to knock it off. Collect the puddle of water left behind.
One of the bar stools is draped with a gray cloth. Swipe down on the cloth repeatedly until it falls off, exposing a bone. Pick it up.
Open the fridge by swiping right on its door. Grab the milk inside and pour it into the blender. Hit the blender’s button to mix a milkshake. Pour the milkshake into the glass on the right and take it.
Tap the girl sitting by the back window, she clearly wants coffee. On the table below, take the left jar of instant coffee and pour it into the green cup. Add hot water from the kettle, then hand the cup to the girl to receive her thankful expression.
Swipe right on the window above the man’s head to open it, letting leaves blow inside. Under the table, find a blue dustpan and swipe it left closer to the leaves. Grab the broom and sweep up the leaves into the dustpan.
Take the dustpan full of leaves. On the right, swipe up on the hat to tilt it and reveal the tag beneath. Use the magnifying glass from your backpack to examine the tag closely, then take it.
There’s a jar lid resting on the small table, pick it up. Tap the skillet on the stove. Drag the patty into it to cook, then assemble a burger on the bread in this order: ketchup, cheese, patty, tomato, lettuce, then cover it with the top slice of bread. Take the hearty emoji given by a happy customer.
When someone enters the cafe, click on them to start a conversation and uncover an important clue.
Computer
Spot the spider clinging to the pipe in the upper right corner. Capture it and place it inside the jar on the floor. Cover the jar with a lid from your backpack and take it with you.
The diploma hangs framed on the wall beside the door, tap to inspect it. Your TV screen can show the image you need, but first turn it on by pressing the red button multiple times.
Tune it to the correct channel and capture the image displayed. The computer chair is pushed in awkwardly. Swipe right to pull it back, open the middle desk drawer, and grab the key inside. Use the key to open the cage and free the rabbit.
At the bottom left corner, a table drawer holds the screwdriver, open and take it. The second drawer under the computer houses the folder, open and grab it.
Wait for the light behind the door to switch from red to yellow, then pick up the yellow circle. The graphing device is broken until the water supply is fixed.
Find a pipe piece on the floor and place it under the dripping water. Swipe up on the toolbox a few times to retrieve the gas key. Use the wrench on the pipe to tighten it and restore water flow.
Click on the device with three knobs at the bottom. Rotate them until the two graph lines perfectly overlap. Move the glove on the computer desk to the left so it falls, pick up the glasses hidden underneath.
Log into the computer by entering the username Wilson and password 1913. Choose option 2 (list of commands) and press Enter.
Remember these commands: cls (clears screen), color red (changes screen color), and open door (opens the door).
Return to the main menu with command 0, enter the commands menu with 3, then type in cls, color red, and open door in that order to unlock the door.
Experiment Room
The key is hidden inside the colorful book. Swipe down the pages twice to find it. Use the key to open the underground vault and take the rope inside.
Straighten the map on the wall by swiping it up. The missing piece is behind the glass window. Grab the hammer from the floor and smash the red-framed window to retrieve the missing map part.
A crowbar is hidden under the colorful book. Swipe it left to reveal the full tool. Use it to pry open the vent and take the fan blades inside.
The loudspeaker device won’t work without a new battery. Lift the red lever on the bottom of the device to remove the old battery.
Find scissors in the drawer beneath the colorful book and use them to cut ropes binding a white object on the second floor. Take the new battery from the second floor and insert it into the device. Press the red button to activate and take the loudspeaker.
Take the ladder located on the second floor. Behind the right door on the second floor is a toolbox. Swipe up on it to open and take the hacksaw. Use the hacksaw to cut a large gray pipe. Tap the banana peel twice to make it fall from the pipe. Pick up the peel.
Open the left door on the second floor and take the coat inside. Grab the light bulb from your backpack and place it into the lamp. Then take the TV.
The oil can is resting on the red-framed device in the center of the room, take it. The meteor rock lies on the floor in the lower right corner, pick it up.
Tap the device flashing a red light. To open the portal, set the light power to 100 lumens by switching on the toggles with values 25, 7, 13, 30, and 25.
The light bulb isn’t glowing even after placing the mouse in university level, any tips?
Make sure you’ve correctly “placed” the mouse onto the wheel and waited for it to turn. Sometimes, interactive animations have a slight delay.
Experiment Room – I can’t get the loudspeaker to work.
Remove the old battery by lifting the red lever, retrieve a new battery using scissors on the second floor, insert it, and press the red button to activate.
Dormitory – Can’t get the disk—what to do?
Move the pair of shoes aside to access the briefcase under the table, swipe it out, open it, and you’ll find the disk inside.
Police – Why won’t the camera come out?
First locate the key in the desk drawer, then use it to unlock the drawer under the radio. That’s where you’ll find the camera.
The door isn’t opening; what am I missing in Meteorite?
Be sure to use the fire extinguisher from your backpack to put out the fire by the car. Only after the fire is extinguished can you access the door key hidden in the visor.


