
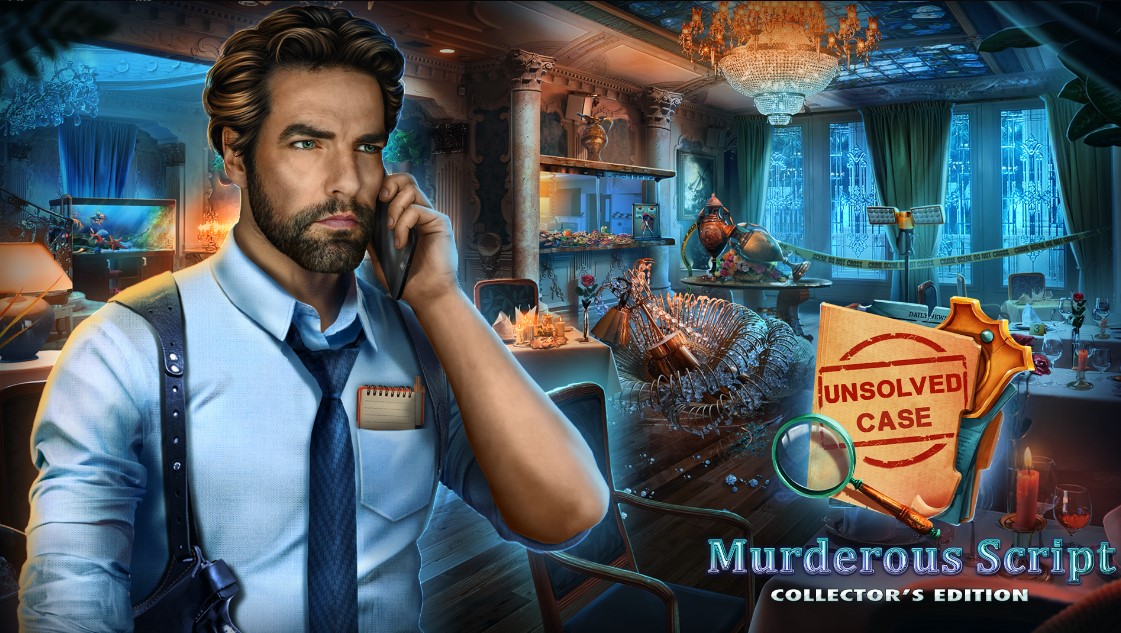
Unsolved Case: Hidden Script – a puzzle game offering you an opportunity to enjoy detective adventures with brainteasers and unsolved mysteries elements. Be the best’s detective because the assigned job isn’t easy and may require you to unravel the criminal mystery after finding hidden items, playing mini-games, and solving brain teasers. The hidden script (earlier known as Murderous Script) has lots of mysteries to share with you, focusing on murders ono the train, at the theater, and the Halloween fair.
The plot follows you as a detective and your partner Scott who must work their way to investigate cases and solve mysteries. There are several puzzles that ask you think out of the box to find solution; therefore, if you have been trapped in that, check out this walkthrough guide to get help and solve problems.
Unsolved Case 2 Walkthrough – Hidden Script
First off, take the pliers, bottle opener, and cufflink. Then take the map and grab your bag. Use the cufflink on the bag to open it, then take the journal and victim’s dossier.
Place the dossier to start the puzzle, choose option 1 or 2, and receive the railway badge. Leave the area.
Next, take the chain and use the railway badge. Pick up the camera and use it to adjust the focus by moving the sliders until the picture is clear. Follow the easy or hard walkthrough, then continue.
Use the pliers, take the stencil with holes and evidence 1 of 4. Collect the hand cream and light bulbs 1 of 2. Open the compartment and take evidence 2 of 4, then place the stencil with holes.
Take evidence 3 of 4 and enter MOTH. Pick up the final evidence 4 of 4 and walk down. Choose option 1 or 2 to receive a nail file. Use the nail file and take the access card.
Use the access card and turn the dials according to the guide. Solution: X×3-Y×4-Z×4-A×2-B×4. Go through all dialogue, then take the wine glass amulet part and duct tape. Use the bottle opener to take the branded key.
Use the branded key and collect the tape measure. Walk down twice. Use the tape measure, then take the glue and vacuum bag. Apply the hand cream and collect the gear. Place the gear and chain to get the fibula, then head to the train compartment.
Use the fibula for a puzzle and receive the hat. Use the hat to find a corkscrew, then walk down twice. Use the corkscrew, take the gardening shovel, and use it to uncover the suction cup keychain. Continue to the next section.
Use the suction cup keychain and insert the tokens correctly using the buttons on both sides.
Solution: U×2-X-V, W×2-U-Y, U×3-A-V-W. Take the latex gloves and handkerchief.
Use the handkerchief, collect light bulbs 2 of 2, and move on. Place the light bulbs and restore the picture. Solution: (2-7)-(4-12)-(5-7)-(10-7)-(7-12)-(1-8)-(3-11)-(6-8)-(9-11)-(9-8). Take the knitted scarf and wine glass amulet lower part.
Combine the glue and wine glass amulet lower part with the wine glass amulet part to receive the full amulet. Use it, then take the pump and tweezers and return to the train compartment.
Take the puzzle fragment with the tweezers, place it, and arrange the pieces correctly using the arrows. Solution: R×3-9-R-12-R-7-R-1-6-R-4-8-R×3-2. Take the staple remover and plug, then go to the dining car.
Place the duct tape and plug to take the clock weight. Place it, then use the latex gloves and vacuum bag to collect the evidence. Choose 1 or 2, print, and take the staff and passenger list and clippers. Use the staple remover to get a note and a new fingerprinting kit.

Place the evidence and new fingerprinting kit to get fingerprints. Use them for the puzzle to receive fingerprint analysis results. Place them with the staff and passenger list and make your selection. Choose 1 or 2.
If you select 2, skip the steps marked for optional actions. Otherwise, continue and take the gas canister. Collect lure 1 of 2. Use the gas canister and start the generator. Easy walkthrough: 1-3-4. Hard walkthrough: 1-4-5.
Take the note and awl. Use the awl to take the remote control without batteries and hex key. Walk down, open the next area, and take the hook and broken petrol lighter. Use the clippers to collect a life jacket. Place the pump and life jacket, then move on.
Take the screw and lighter ring. Use the knitted scarf to find the broken weathervane. Attach the hook and broken weathervane to take the bird-shaped amulet 1 of 2 and a bucket.
Use the bucket to get a bucket of sand, then pour it out to collect the seashell figure. If you have the hex key, take the flash drive.
Place the seashell figure and solve the light puzzle so each tile shines. Follow the easy or hard walkthrough. Take the note and rattle. If you have the flash drive, use it for a puzzle to get a broken disc.
Continue to the cliff. Use the rattle to get the two rings amulet. Place it and arrange the stones from smallest to largest. Follow the sequence: 4-2-1-5-2. Take the note and lighter fluid. If you have the broken disc, take the batteries.
Fix the broken petrol lighter by adding the lighter ring and lighter fluid to receive a petrol lighter. Use it, move the wire for the puzzle, and take Theresa’s pendant. Use it to collect the windmill blades.
If you have the batteries, place them in the remote control, use it, and take lure 2 of 2. Place them and complete the lure puzzle. Follow the easy or hard walkthrough to take the papers.
Return to the cliff. Attach the screw and windmill blades to get the bird-shaped amulet 2 of 2. Place both amulets to receive the motorboat key. Walk down and use it to start the chase. Avoid obstacles and choose 1 or 2.
Take the photo, collect the code lock cylinders 1 of 2, and grab the gear. Place the photo, then arrange the piggy banks as shown: (1-5)-(2-4)-(3-5). Take the fortune teller chip.
Use the fortune teller chip for a puzzle to get the House of Horrors key. Use it, move forward, and press the button after placing the gear.
Take the battery, collect the roulette and magnifier, and use the battery. Continue collecting items and solving puzzles as they appear until you reach the final analysis stage.
Use the magnifier and take the hatchet. Then use the hatchet to clear the way and collect the plank and net. Move forward and use the net to retrieve the light bulb and broken fuse. Take the note and use the roulette to open the compartment. Insert the light bulb and fix the broken fuse to receive a functional fuse. Place it and move ahead.
Take the lever and small mirror, then use the lever to lower the gate. Continue inside, collect the knob, and use the small mirror to reveal the symbol. Place the knob and complete the sequence puzzle. Easy walkthrough: 2-4-1-3. Hard walkthrough: 3-1-4-2-5. Take the seal ring and use it to open the box.
Take the note and medical scalpel, then use the scalpel to cut open the fabric and reveal a switch. Press it to unlock the next area. Go forward, use the hatchet, and take the code lock cylinders 2 of 2. Place both cylinders to start the lock puzzle.
Rotate the cylinders to match the pattern. Solution: A×2-B×3-C×2. Take the brooch and shard. Use the brooch and collect the note along with a piece of fabric.
Combine the piece of fabric with the tweezers to receive the bandage. Use the bandage, then take the latch handle. Move back and use the latch handle to open the storage compartment. Collect the metal disc and note. Place the metal disc and start the rotation puzzle.
Align the rings until the symbols connect. Easy walkthrough: rotate outer ring twice, middle ring once, inner ring twice. Hard walkthrough: rotate outer ring three times, middle ring twice, inner ring four times. Once done, take the secret file and battered notebook.
Use the secret file to reveal a hidden message, then place the battered notebook for analysis. Complete the puzzle by matching the clues to the correct names. Solution: A-3, B-1, C-2. Take the decision token.
Move to the final area, use the decision token, and select option 1 or 2. Option 1 leads to saving the victim; option 2 reveals the hidden truth. After the choice, take the final clue and place it for the last analysis puzzle.
Assemble the clues to complete the evidence board. Solution: D×3-E×4-F×2. The final sequence reveals the true culprit and ends the investigation. Watch the closing scene, and after the dialogue ends, the case concludes.


