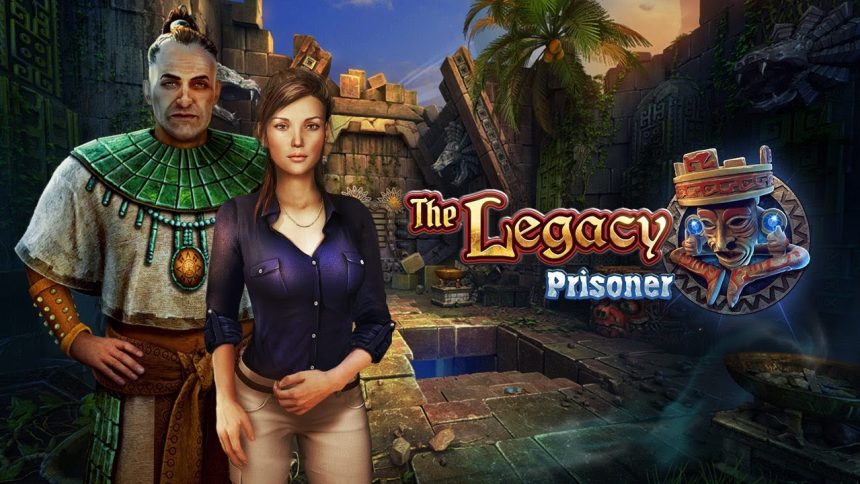
What would you be your reaction if you found yourself lost in another world with a goal of finding the lost artifact. Surely, your reaction would be surprising because of having in a world you aren’t familiar with and new inhabitants. Everyone may want to embark on that exciting journey in the realm of an ancient civilization. The Legacy 2 is a game with a mix of Adventure, Exciting Mini-game, and puzzles to complete.
The plot follows a female character named Diana – an employee at a Museum of Natural History. She is looking for your help to get through the difficult puzzles and to find the way back to her home. During the journey, you will find new worlds and put your detective abilities and puzzle-solving skill to test in a 40-fun mini-games and puzzles. If you have been trapped and in search for help, try The Legacy 2: Prisoner Walkthrough Guide to find clues.
The Legacy 2: Prisoner – A Complete Walkthrough
Talk to the man, then take the unsharpened pencil. Use it to get the sharpened pencil, then use the pencil to take the code, knife case, and sheet of paper. Enter the code 1-5-7-9 and press check.
Go right and place the sheet of paper to take the knife blade and paper clip. Combine the knife blade with the knife case to make a knife, then move ahead and take the photo.
Read the paper, open the pocket, and take the key. Use the key to get the hammer and string. Combine the paper clip with the string to create a hook on a shoelace, then go down.
Use the hook on a shoelace to get the key card, then use it to take the navipad. Place the photo to view the missing exhibit.
Read the note about the golden bust from Guatemala and learn how to trace it using the navipad. Use the navipad, enter the code 2-4-5-5-7-8-5, and confirm to proceed.
Remove the net, use the hammer, and take the pliers, crowbar, and oil. Use the pliers to get the chemical lantern, then use the oil and move ahead.
Use the crowbar, solve the puzzle to earn the wrench, open the grate, and use the chemical lantern to enter the well.
Take two seals and place the first one, rotating the rings until the grooves match in the center. Adjust the outer ring to align correctly, then place the second seal and repeat the rotation to unlock the mechanism.
Take the mask and tube, open the tube, remove the ink, and refill it. Select the tube again to take the constellation chart. Follow the story as you find the artifact near the museum and chase after the guard who throws it into the well.
Place the constellation chart and light up the stars according to the drawing, then place the mask. Continue as the portal activates and you fall into another world, starting a new search for help in a strange temple.
Take the first mask piece, the axe, and the first stone plate. Collect the detail, place it to get the second stone plate, then take the third one.
Move ahead and place all three stone plates, matching the patterns by rotating them until all pairs connect correctly. Go forward to continue deeper into the ruins.
Take the pedestal part and the spear, then go down. Use the spear to take the valve, move forward, use the valve again, and continue. Talk to the man, take the goblet, go down twice, and fill it with water to get the cup of water. Go forward twice to meet Kitron and begin the search for the Pink Quartz.
Give the cup of water to earn the second pedestal part, place both to take the stone head, then go down. Place the stone head, solve the puzzle, and move the block with the emerald into the notch on the right side to complete it. Place the dragon figurine, go right, and meet the ghost of the High Wizard.
Talk to the ghost, take the mace handle, mask piece, and sturdy cord. Use the axe to take the fruit, then go right.
Use the knife on the grate to take another mask piece and the mace head, then combine the mace head and sturdy cord with the handle to make a mace. Take the unlit torch, collect the broken lens, then go down twice and move forward.
Use the unlit torch to get a torch, go down and right, use the mace, then go left. Light the area with the torch, read the note, remove the branch, take another mask piece, and collect a decorated plank.
Go down and right, use the torch again, give the fruit to get a marmoset, press the symbols in the correct order, and go forward.
Take the lever, mask piece, and stone knife. Open the stone box with the stone knife to get the brass knuckle key, then use the marmoset to take the second decorated plank. Place both planks and restore the image by swapping them correctly to earn blood water. Go down twice and left.
Use the lever, take the lens, and use the brass knuckle key. Solve the puzzle by moving all the blocks into the hole, take the last mask piece and the skull, and fix the broken lens.
Go down three times, place the six masks to get the fire powder, move forward and right twice, place the lens, and take the mask. Move forward, place the mask, solve the puzzle to earn the heart, then place the heart, blood water, skull, and fire powder.
Talk to the spirit, take the crystal skull, go down twice, and place it. Swap the skull pairs until all face the center, then take the pink quartz.
Move forward and give the pink quartz to Kitron, realizing too late that it was a trap. Locktor rescues you, and you set out to find the Elder Karphoo to fix your mistake.
Talk to Locktor, take the stairs, rope, and fish bone, use the fish bone to unlock the next path, and go right. Talk again, take more stairs, the empty bottle, and the map pieces. Gather the broken ladder and remaining map parts, then assemble the forest map.
Use the forest map to travel through the dark forest following the correct route. Take the rail, fix the broken ladder using the rope and knife, add the rail and stairs to make a ladder, then place it.
Take the slingshot, remove the cloth, solve the chest line puzzle, and take the horn and note. Go down and forward.
Place the horn, use the knife to take the hammer, hit the bells in the correct order using the hint, and go forward. Talk to the sorceress to get the protective glove, then use it to collect the bird.
Give the bird, take the yellow part, read the recipe, and collect the key to the gates. Cut the blue flower, then place the yellow part and return the color chips to their correct spots to get the ladle.
Use the ladle to fill it, go down twice, use the gate key, and go left. Take the stave, open the pouch for a key, unlock the chest to get the empty basket, and fill it with berries to make berry juice. Use the stave to get the bug, then use the bug to get the scale.
Prepare the potion by placing the blue flower, bottle, filled ladle, berry juice, and scale. Follow the mixing steps carefully to create the potion basis, then add the bat claw to complete the evocation potion.
Use it to get the fish figurine, go down, place it, and complete the puzzle to get the saddle. Place the saddle and proceed to Rocktown.
Collect the bas-relief parts, assemble them, and go right to reach Locktor. Take the empty sack, chain with hook, and cart ledge, then fill the sack. Gather brushwood, remove debris, and find the glowing mushroom.
Use it to get the chest key, open the chest to find the saw, fuse, and gunpowder, then collect the pickaxe, hook, and forked club. Combine the saw and slingshot with the club to make a slingshot.
Gather the rest of the brushwood, use it with the metal tray to create a burning branch and meat, then use the pickaxe to earn the pot.
Combine the gunpowder and fuse with the pot to make a bomb, use the slingshot and burning branch to fire it, and take the summer element. Use the hook and saw to make a turnkey, then open the path forward.
Take the shaft, spring element, and bowstring, solve the puzzle to earn the crossbow stock, and take the sight.
Use the hook, go left, talk to the local, use the meat, and take the battle axe and crossbow bolt. Find the disks and limbs, use the battle axe to get the key, unlock the area, and take the trigger.
Place the disks to complete the pathway puzzle, take the autumn element, and go right. Place the tile and move all the chips to red cells, then continue forward.
Take the winter element, place all four seasonal elements, take the seed, and assemble the loaded crossbow using all its parts. Use it to defeat the golem, earn the special key, and move forward to the underwater city.
Take the elastic, place the cart ledge, use the elastic to create tension, and go right. Remove the cloth, take the firewood, lever, and panel part, then go down and forward. Place the lever, open the clamps, take the broken propeller, and fix it.
Install the propeller, take the aquarium, cobble, and scheme, then use the cobble to find the diving mask and molecule figurines.
Follow the scheme to complete the puzzle and go forward. Collect all molecule figurines, assemble the fish spear, use it to catch bait, then place the aquarium and use the bait to collect electrical plankton.
Start the mechanism, use the plankton, take the seal, and place the six molecule figurines to align the crystal rays.
Take the planks, remove the cloth, take the steering wheel and rock, place and turn the wheel to navigate forward. Place the seal to complete the final step of The Legacy 2: Prisoner.


