
We’ve completed the Secrets of Salem: Phantom Cab Chapter 1, now move on to give a try to the second. It holds lots of secrets to reveal, puzzles to complete, and mini-games to play. In short, you have an opportunity to be a detective with goals of finding hidden items with your naked eyes, use your puzzle-solving skills to find connections between objects, and try to find the way out.
There are lots of suspecious activities happening around you, people are curious to know the reason, and they know you are the only one who can help them solve problem and bring the peace back to their land. So, without wasting a minute, roll up your sleeves, put on your detective hat, and start playing the game. During the gameplay, if you feel something difficult, you can read Secrets of Salem: Phantom Cab Chapter 2 Walkthrough Guide as it holds everything you need to solve puzzles and complete mini-games.
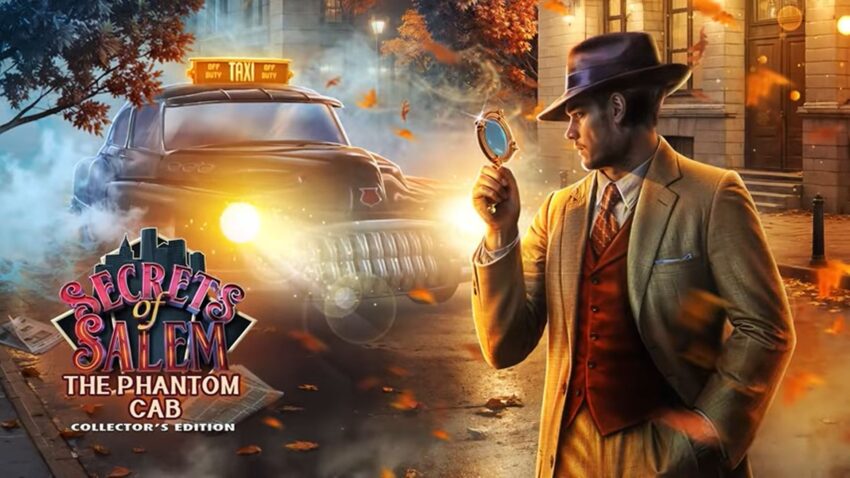
Secrets of Salem: Phantom Cab – Walkthrough
In this detailed guide, you will learn everything from beginning to end in steps and how to solve puzzles, complete mini-games, and achieve the end. It holds lots of secrets to reveal and you will learn about the plot as you proceed through the game. Let’s begin solving puzzles.
- First, look to your left and grab the small notebook, along with that little lamp from the bedside table, then head to the window.
- Use the lamp to wedge it open and grab the cork that’s sitting in the window. Now, use the cork to pop open the medicine cabinet next to the bed, and grab the needles, the weight, and the nippers.
- Take a look at the IV and use the nippers to cut the tube. For this mini game, tap the part of the screen that’s green to cut the right amount.
Return to the Window
Head back to the window and use the weight with the tube to grab the branch that is farther away, so you can grab the jar lid, torn glove, and wire. Go to the sink and use the wire to grab the lock piece from the drain.

Once you have that, you can use the lock piece to open the notebook. Next, you can look through the photos and notes of the victims, which you have to hand to the policeman.
Keep insisting until the policeman hands you the card so you can go to the Magic Salon. It says to check the bike, read the paper, and grab the incense and ribbon.
You take the glove and the needles and ribbon to the right door. You read the note, and with the glove, you grab the roses and take the empty lighter and the lampshade.
You check out the bushes in front of the house, and with the lampshade and jar cap, you catch some insects. You search the bushes to find all the insects.
Pick up Ritual Mirror
You take the termites and go to the fountain. You place the termites in the fountain and let them chew through the weeds. You pick the ritual mirror and the metal flower.
You go to the bike, and with the metal flower, you open the bag and take the metal flute. You place the flute as a lever on the car seat.
With the flute, you can reach the awl and the detective badge. You go to the magic shop and show your badge to the lady to enter.
You show her the victims’ photos, and you insist until she agrees to help. That’s everything to gather the ritual supplies.
Head over to the black glass cupboard and take the first picture frame. It’s located above the light switch. On the wall shelf, take the small silver bowl and the small key.
How to Play a Mini-game?
Use the small key on the small piano and complete the mini game by turning the key:
- Degrees clockwise
- 0 degrees counterclockwise
- 70 degrees counterclockwise
- 40 degrees clockwise
- 90 degrees counterclockwise
Take the lighter and fill it with the liquid. From the shelf, go to the statuette. Then, place the incense stick on the tray and light it to take the pendant.
Examine the Jewellery Table
Now, go to the jewellery table and place the pendant. Then, follow the left hint to put the pendant in the correct order to get the aluminium plate and the baby chick.
Your first step is to go out to the fountain, place the chick beside the bird, and fill the silver bowl with water. When that’s done, go inside and water the Bonsai tree.
After that, take the light bulb and the second photo frame. Place the frame with the other frames on the shelf, then take the magic powder and the red lipstick.
Go back to the Bonsai tree and, using the mirror with the lipstick, recreate the symbols. Once you finish, go outside and look through the bushes for some hidden items.
Once you find the trident, use it on the bicycle’s basket, and read the note. Then, take the herbs. Go inside and put the mirror, magic powder, and herbs onto the book.
Complete the Ritual Puzzle
After that, complete the ritual puzzle by turning each arrow until they all point to the correct symbol on the puzzle. Once you finish, you will end back at the Police Station with all your materials.
Once you’re back at the Police Station, check the top of the file cabinets. You’ll find a fork, a donut, and a pipe. Next, take your awl and aluminium plate and use the awl to punch out the correct holes for the punch card.
Once you’ve made your card, use it on the back door after reading the note that’s on the door. When you’re done, go inside, find the ceiling lamp, and change the light bulb.
First, looking between the cupboards, pick up the antenna, and give the donut to the rat to obtain the wrench and lock picks. Observe the glass cupboard, and pick up the ink and surgical clamp.
Then, use the lock picks to open the cupboard and take the award. Proceed to the cabinet on the ground and use the award to unlock the stuck drawer, read the documents, and take the audio file, open case file, and the cloth.
Check the Desk
Check the machine on the desk, read the notes, and go to the first room where the cloth is used to wipe the disk. Go back to the archives and put the disk, audio file, antenna, and tube on the desk.
After that, manipulate the wires until the waves turn green to obtain the first piece and the forensic handbook. In the handbook, the police badge can be found.
Go back to the first room and use the badge on the safe box by the phone to obtain the brush, cotton, and the powder.
To brew an ink developer, grab the ink and powder ingredients and place them on the forensic handbook. Go to the tray on the other desk and place the open case file, cotton, surgical clamp, and the ink developer to play the spot game.
Reveal the Code
Get the number part (2/2) and use the two numbers to make the call. Get the depot nameplate and enter the archive room. Place the nameplate on the map and put the numbers in the correct order: 72165834 for the hard puzzle or 246351 for the easy one. You’ll arrive at the depot.
Look at the raccoon on the right, take the drumstick (1/2) and the chisel, and use the oil and brush to unlock the carabiner.
Check the phone booth, use the fork to open it and answer the call. Look at the metal door under the smiley face and attach the chain with the carabiner. Now open the slide and rotate the gears to form a clear image so that you can enter.
Pull the tarp from the chair to grab the clamp ring and use the wrench to take off the wheel. Go to the tyre trolley and take the die. Put the wheel on the trolley to transport it.
Grab the glove and use it to take out the light sign, then look through the items to find the ones that have been highlighted.
Take the coins and use them at the vending machine to grab evidence and get two soft drinks. Go to the phone box and use the evidence to call once more.
Take a look at the pump and pour in the soft drinks. Then, start each liquid at the right time so they all reach the bottom at the same time.
For the red, do it at four seconds, for purple do it at three, for yellow do it at one, and for blue do it right away. Adjust it as needed.
Grab the Handle
Grab the handle and use it to stick the clamp ring with the chisel. Go to the poster and carve out the second drumstick. Go to the inside, take the tarp off the taxi and get inside it.
Put the two drumsticks on the bunny to take a picture. You will also get a slingshot. Look through the lost items once more and find the differences.
First, take the brooch and open the car window. Then, take the rubber band and attach it to the slingshot. Load the slingshot with the dice, shoot it at the pear, grab the pear, and hand it to the raccoon.
After that, open the boxes and grab the red flag. Go to the cart location and put the flag down, then arrange the colours in this order. Red, yellow, purple, green, and blue.


