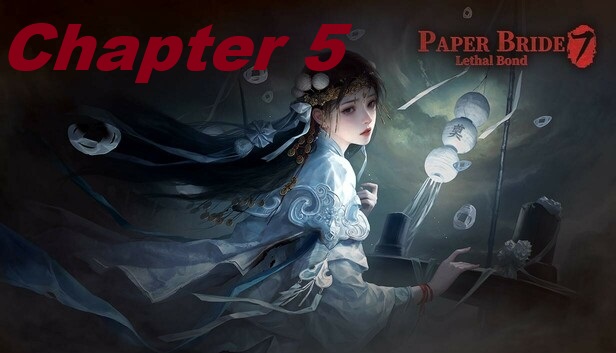
Paper Bride 7, Chapter 5: Misfortune Returns – Liu Fengze awakens in a hellish space, where paper dolls are cooked in cauldrons of oil, and iron pillars burn to the skin and extend into the void. He is alone, without a sign of a companion, and only a muter prophecy tells him that the situation is not irrevocably black and the ruin can be undone.
But all night and day are shadows and danger and frigid spirits and phantom hands poised to spring into your cold chest with infinite disdain. In the future, Fengze finds Mozi and Tongton and confronts the truth: the pages of the quiet prophecy tell of a bargain with the eight unspoken ones, and the death of the golden boy.
Chapter 5 – Misfortune Returns
With these revelations the hero begins to challenge his allies words, question who the true owner of the prophecy is, and what they will have to sacrifice to gain salvation. Despite panic and not knowing what to do, Liu Fengze still looking for the key to salvation, and Tongton risk himself running to the danger, of win or lose, in destiny is a man, should still fighting for someone you love!
- First off, take the Torch from the altar, then go to Chakravartin’s Hall and pick up the Statue’s Broken Arm from the floor. Next, go to Bitterfrost Hell and take the Large Clamps from the torturer paper figure’s hand.
- Hold the Torch near the frozen pool to melt the ice, then use the Large Clamps to pull out the Paper Weight.
- Then return to Bitterblaze Hell and use the Large Clamps to lift the Carving Piece from the oil pot. After that, place the Paper Weight there and observe how many sinners each character block falls on, and treat this as the password clue. Then go back to Chakravartin’s Hall and enter 3624 on the incense burner lock to receive a Cube.
- Next, return to Bitterfrost Hell and place the Cube into the goods van slider, then solve the puzzle to get an Extension Ladder. Then go back to Chakravartin’s Hall and set the ladder under the wall door to open the Near-Hell gate.
- Examine the prayer wheel designs and their Sanskrit characters for a clue, then take the torn page of the Wordless Prophecy from the ground crevice.
- Watch the reincarnating paper figures and adjust the sword on the stabbed Buddha statue to match the before-and-after changes, then take the Pearl and the Statue Arm.
- Then attach both Statue Arms to Avalokitesvara’s statue to open the Mirror of Sin entrance. After that, go to the only lit TV and adjust the backpack images based on the torn page to receive a Cloth Doll and another Pearl.
- Return to Bitterblaze Hell and place the Cloth Doll on the altar to put out the fire, then collect the Stone Shard and the Carving Piece. Then go back to the Near-Hell and insert the Stone Shard into the Buddha statue’s back stone to open the Lonely Hell.
- After that, place both Carving Pieces into the drawer to get the Logo and the Matchmaker’s Drawing. Then follow the furniture clues and enter the correct doors four times to escape the Lonely Hell.
- Go to the Mirror of Sin and stick the Logo onto the three TVs in the first row to reveal new images. Then follow the prayer wheel needle clue to turn the needle and collect the third Pearl. After that, check Eight Unspoken’s torn page and note the important hint.
- Return to Chakravartin’s Hall and place all three Pearls onto the sign. After that, take Eight Unspoken’s key in Bitterfrost Hell, then return to Chakravartin’s Hall to trigger the scene.
- Take the Crushed Ice Block near the footprint in Bitterfrost Hell and take the Boy Figurine from the floor in Chakravartin’s Hall.
- Confront Du Yanta in the Lonely Hell and answer the questions as follows:
- Du Yanta for the trade,
- Luring me for the conspiracy,
- Yanta took goods for the cell,
- Evil-doer on the Scales of Benevolence for falling into hell,
- Astral projection skill for astral projection,
- Never drank it before for Granny Meng’s soup,
- Du Yanta for the prophecy, say ritual item for the photo,
- Du Yanta for the kindred spirit,
- Pulled back by Yanta for Tong Tong,
- Planning for the reason,
- I have the Wordless Prophecy for entering Yin and Yang,
- Golden pair sacrifice for her goal to receive the Bronze Key.
- Then return to Bitterblaze Hell and place the Bronze Key into the iron pillar, then use the Large Clamps to turn it and open the lock to receive the Knob.
- Go back to the Mirror of Sin and study the Matchmaker’s Drawing for clues, then attach the Knob to any TV and switch channels on all screens. Then, tune the TVs to match the drawing and go to the carving wall in Bitterfrost Hell, then adjust the pattern using the pupil clues to collect the Child Key and Mold.
- Next, return to Bitterblaze Hell and place the Mold onto the molten iron device, then turn the crank to fill it and turn the crank again to return it. Then, cool the mold with the Crushed Ice Block to get an Iron Cup.
- After that, give the Iron Cup to Eight Unspoken to receive the Girl Figurine. Then return to the Mirror of Sin and place the Boy Figurine and Girl Figurine into the Matchmaker Shrine to get the Red Thread.
- Finally, go to the Lonely Hell and use both Child Keys to release Du Yanta’s shackles, then tie your wrist to Du Yanta’s with the Red Thread to finish the game.


