
We have already completed the previous 4 chapters and helped you reach the end of each one with our highly detailed guide. Tutorial.games is back with the fifth chapter, and this time, you may see how Trapmaker reaches with the mercenaries and forces Kate to jump into the hole to escape. This time, the plot is pretty challenging and won’t let you help Kate easily complete the puzzles. If you didn’t complete the previous chapters, then start with the main post of Adventure Escape Mysteries: Trapmaker Returns, or visit the official Haiku Games website to learn about them.
AEM: Trapmaker Returns – Chapter 5 Walkthrough
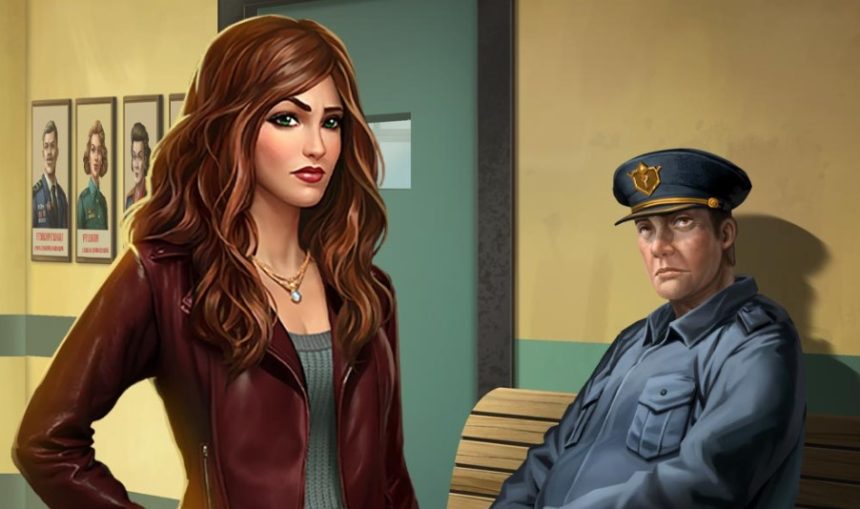
First off, watch Trapmaker arrive with the mercenaries and have Kate jump down into the hole to escape. Take the wheel from the ground.
Next, place the wheel on the back wall, take the question mark tile and the hook from inside, and use the hook on the chain to drain the water.
After that, take the tongs, move the skeleton aside, and collect the sunrise tile and the diamond tile. Use the tongs to pull out the loose brick, then take more question mark tiles, another diamond tile, and the ornate key.
Open the locked chest with the key and take the sunrise tiles, the waterdrop tile, the arrowhead tiles, more sunrise tiles, and the shovel.
Use the shovel to dig through the sand, take the chisel, and use it to extract four arc tiles from the wall.
Next, solve the tile symbol puzzle by ordering the symbols based on how many of each tile you have, placing waterdrop first for one, sunrise second for two, and continuing through all six shapes until the display matches the solution, then go up the stairs.
After that, reunite with Allie, learn that the mercenaries took the donut to Hyderabad, hitch a ride, and take the paper fan and nail file. Talk to the chai cart owner and agree to remove the boot from his cart.
Inspect the boot, open the panel with the nail file, press the faded buttons in lightning order from zero to three as 098653, and take the rupees.
Use the rupees to call Murphy, talk to the woman who answers, and hang up. Then watch the suspect arrive, wait for the parade smoke, clear it with the fan, and get on the motorcycle.
Next, follow the rickshaw stealth puzzle by staying inside the green zone, avoiding the line of sight, using arrows to move twice per turn, pausing when needed, and following the movement sequence exactly as listed to reach the checkpoint and continue safely.
After that, move the curtain aside when the doctor hides the door, clear the blue smoke with the fan, and take the crumpled newspaper and powder ball.
Use the newspaper to wipe the blue powder off the clues, read the purple overlay as 4298, wipe the blue powder off the lock, and enter 4298.
Throw the powder ball at the security camera to blind it, break the chair, take the two metal bars, pry open the trash, and collect the bent slide rule, fiber optic camera, circuit paper, and battery.
Next, use the slide rule to remove the screw on the locked door, place the fiber optic camera inside, replace its battery for a clear view, check the circuit paper for color mapping, and rotate the dial by turning yellow right, orange left, pink right, and purple left until each disappears, ending with 85, 15, 35, and 50.
Finally, go through the door and complete the chapter. To read all chapters Walkthroughs guides, here’s the page for you to check out and find the targeted chapter to complete.


