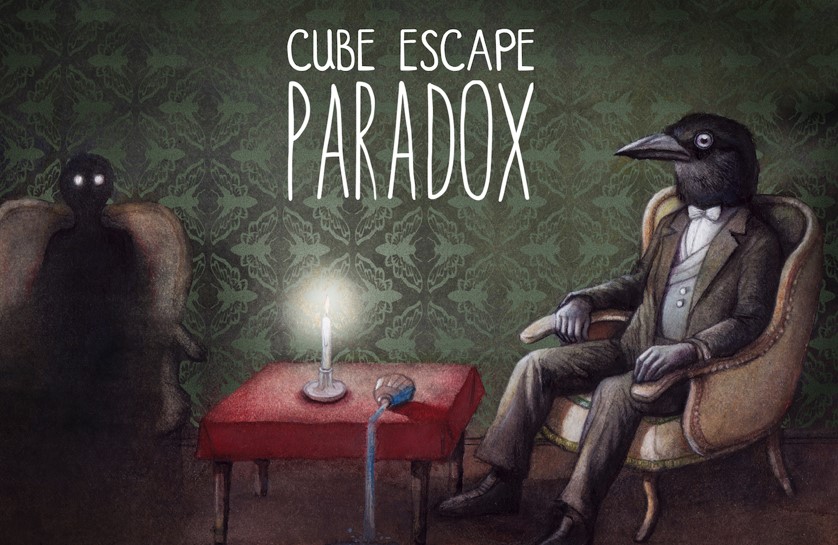
There is a detective Vale Vandermeer who wakes up in a room with no memory and needs your help to escape. As the plot proceeds, he finds himself trapped in several rooms where you must help him recover memories. The crossover between the movie and the film will offer the thrilling and unique experience. The atmosphere is fully loaded with puzzles and dozens of connections as well as interactions with Paradox, a Rusty Lake Short Film.
- Chapter 1 Walkthrough – Cube Escape: Paradox
- Room 1 Walkthrough
- Putting the Clues Together
- Slide & Projector Puzzle
- Cigar Puzzle & Safe Code
- Circle, S, Square, Z, Spiral
- Final Steps
- Room 2 Walkthrough
- Solving the Book Puzzle
- Robert, Van Gosh, Vanderboom, J. Eilander, Ida, C. Eilander
- Slide & TV Code Puzzle
- T, Z, Triangle, Square, S
- Globe Puzzle
- Getting the Second Glass Eye
- Final Puzzle: Deer Skull & Dots
- Skull, Clock, Typewriter, TV, Door, Mirror
- Maze Puzzle Walkthrough
- Room 3 Walkthrough
- Laura & The Case File
- The Safe & the Cubes
- Triangle, T, Circle, S, Square
- The Forest
- Forest Map Sequence
- Replay Room 1
- Achievement Guide
When playing the game, you will discover hand-drawn paintings and powerful voice-overs. There are two chapters available with multiple endings. First chapter is for free while you have to pay for the second premium chapter. I suggest you to play the game before the film because the film contains lots of clues that may help you unlock achievements.
Chapter 1 Walkthrough – Cube Escape: Paradox
As said earlier, it has two chapters to play – one free and one premium. In this guide, we will reveal how to solve puzzles, what and where to find hidden objects, and how to proceed further to reach the end. There are multiple endings, depending on the decisions you make. Keep reading Cube Escape: Paradox Walkthrough Chapter 1 to get hints.
Room 1 Walkthrough
- First, plug in the cable under the TV.
- Head to the right and solve the tile-swapping puzzle box.
- Grab the key and the first photo piece inside.
- Keep going right. Open the left drawer and take the cigar from the top. Grab another photo piece from the picture on the wall.
- Head right again. Pick up the jacket hanging there.
- Check the drawers, you’ll find a wooden cube, a pencil, scissors, and another photo piece.
- Flip on the lights if you haven’t already.
- Go right once more. Grab a photo piece from the light fixture.
- Use the scissors to cut a twig from the plant.
- Stand in front of the mirror and equip both the jacket and the cigar.
- Now head back to the front door, you’ll find the final photo piece there.
Putting the Clues Together
- Combine all the photo pieces to get your next clue.
- Use the typewriter, type “the woman.”
- Color in the picture as prompted, and you’ll get a key.
- Use that key to unlock the cupboard back in the TV room.
- Inside, check the evidence folder, you’ll find a newspaper clipping, a cassette tape, and a slide.
- Don’t forget to pick up the camera grip from the floor below.
Slide & Projector Puzzle
- Insert the slide into the projector.
- Head to the picture room.
- Use the grip on the backdrop to pull it down.
- Match the shapes/outlines in the scene to reveal your next clue. You’ll also find another photo here.
- Change the nearby clock to 4:25, this gives you some matches.
Cigar Puzzle & Safe Code
- Play the cassette tape, it reveals a code that’s spoken backwards.
- Light the cigar using the matches and take a puff. Symbols will appear, memorize them:
Circle, S, Square, Z, Spiral
- Use these to open the safe inside the big cupboard.
- Take the new tape and fix the TV cable.
Final Steps
- Use the cassette code 669 as instructed on screen.
- Go back to the typewriter,this time, type “the lake.”
- Cut the paper that comes out to reveal a phone number: 14335
- Dial that number.
- Look through the keyhole and change the clock to 12:45.
- A triangle key will be revealed, take it.
Room 2 Walkthrough
- First, take the cigar back, you’ll need it again soon.
- Head to the picture room and unlock all four drawers.
- Inside, you’ll find Slide 2 and a handkerchief.
Solving the Book Puzzle
- Use the books to search up the profiles for each author, including Laura Vanderboom. You’re looking for a prescription note.
- Based on the info in the files, arrange the books in this specific order:
Robert, Van Gosh, Vanderboom, J. Eilander, Ida, C. Eilander
- Open each book, they’ll give you various clues, plus you’ll find a glass eye and an iron cube along the way.
Slide & TV Code Puzzle
- Insert Slide 2 into the projector.
- Raise the background again to reveal a TV code.
- Set the TV to 588.
- Now you can open the second safe using this symbol combination:
T, Z, Triangle, Square, S
- Inside, grab the globe key.
Globe Puzzle
- Use the key on the globe to unlock a navigation puzzle.
- Follow the route based on the image clues to get to the end:
Up, Right, Top of island, Down, Right, Right to next island, Up, Right to mini island, Under the cabin, Right through the stream, Up to next island, Right to the rock on the next island, The End
- Once you complete the path, you’ll receive a glass and a newspaper article.
Getting the Second Glass Eye
- Fill the glass with water from the bookcase.
- Examine the bottles inside the globe.
- Light a match to turn it into a hook.
- Use the twig to free a butterfly.
- Go to the sofa and cut into it to get some string.
- Head back to the globe. Combine the water, string, and hook — this gets you the second glass eye.
Final Puzzle: Deer Skull & Dots
- Place both glass eyes into the deer skull.
- Match the black dots on the skull with key items found in each room:
Skull, Clock, Typewriter, TV, Door, Mirror
- Tap away each dot to complete the sequence and move forward!
Maze Puzzle Walkthrough
Your goal here is to reach the red room, then escape through the mouth. Unless a specific action is mentioned, just focus on moving between rooms and swapping their positions to progress.
- Start by moving the yellow room right next to your starting position.
- Once you’re inside the starting room, walk over to the shadow.
- Bring the pink and blue rooms next to you so you can pass through them.
- Move the grey room next to your position.
- Then place the gear room directly above the grey room.
- Now move the brown room with the short pipe on the floor next to the grey room.
- Go inside and tip over the glass.
- Bring the gear room directly below you now.
- Go inside and use the lever.
- Backtrack to the gear room:
- Move the grey room next to you again, with the gear room above it.
- Now bring over the brown room with the curved pipe and place it next to you.
- Go inside and use the lever there as well.
- Move that same brown room below you, then place the red room right next to it.
- Finally, move the red room all the way to the bottom right corner of the layout — this leads you to the mouth, your exit point.
Room 3 Walkthrough
- Start by using the handkerchief to clean up the blood.
- Lift the board underneath, you’ll find part of a flyer.
- Place that piece onto the flyer next to the phone to complete it.
- Head to the typewriter and type: burn.
- Cut the new piece of paper and burn all of the following items:
- Candle
- TNT
- Cigar
- Matches
- Go back to the typewriter and type: life.
- Repeat the process for these next items:
- Fish
- Shrimp
- Insect
- Then type: red into the typewriter.
- Burn these red-themed items:
- Strawberry
- Tomato
- Rose
- Heart
- Lips
- Now change the TV channel to 910.
Laura & The Case File
- Slide the changing screen out of the way to reveal Laura.
- Adjust her face so she’s looking the opposite direction.
- Take the dress patch from her.
- While you’re here, open the red curtain.
- You should now have everything needed to complete the Case 23 file.
The Safe & the Cubes
- Open the safe using this code:
Triangle, T, Circle, S, Square
- Grab the cassette tape and play it in the cassette player.
- Pick up the glass cube from Harvey’s cage.
- With all three cubes collected, place them in the top of the cupboard near you:
- Wooden Cube – Story Achievement
- Iron Cube – Story Achievement
- Glass Cube – Story Achievement
- Pick up the red vial from below and drink it while looking in the mirror.
- The Red Vial – Story Achievement
The Forest
- Take the key and unlock the door.
- Head into the forest and follow the owl.
- Pick up the map.
Forest Map Sequence
Follow this path through the forest:
- Start
- Shadow Monster
- Rock Clue
- Crow Statue
- Shadow Monster
- Rock Clue
- Woman Statue
- Shadow Monster – tap the weak spots
- Rock Clue
- Man Statue
- End
- Click through to the end and pick up the black cube.
- Clean Up – Achievement
Replay Room 1
- From here on, movie clues will help guide your progress.
- You can also find hints in the achievements panel.
Bonus Tip:
Enter code 315 on the TV for a little thank-you surprise — shoutout to Reki_oeo!
Achievement Guide
1st Achievement:
- Find 5 symbols from:
- TV
- Fish
- Harvey’s Cage
- Ashtray
- Movie Credits
- Input into the safe:
Spiral, Envelope, S, Triangle, Hourglass
- Grab the slide and insert it into the projector.
- Set the TV to 566.
Achievement: The Chapel
Find the chapel channel.
2nd Achievement:
- Change the clock to 8:05.
- Take the key, unlock the cupboard, and grab the hat.
- Put it on.
Achievement: A New Hat
You’re looking stylish now.
3rd Achievement:
- Change the TV to 749.
Achievement: What Happened to the Deer?
Find the deer channel.
4th Achievement:
- Find 5 symbols hidden in the name files:
W ×2, E, M, R - Enter the safe code:
Circle, Triangle, Square, T, S
- Play the cassette tape, then rewind it.
- Set the TV to 247.
Achievement: Bob’s Story
Find the Bob channel.
5th Achievement:
- Use the typewriter and type: the vanderbooms
Achievement: The Comic
Create a comic book.
Final Puzzle
Once you’ve unlocked all the achievements, they reveal one final safe code:
T, Square, S, Triangle, Spiral
- Use it to get the green vial, then drink it.
- Complete the final simple puzzle by following the on-screen instructions.
Achievement: Dale’s Fate
Story complete!


