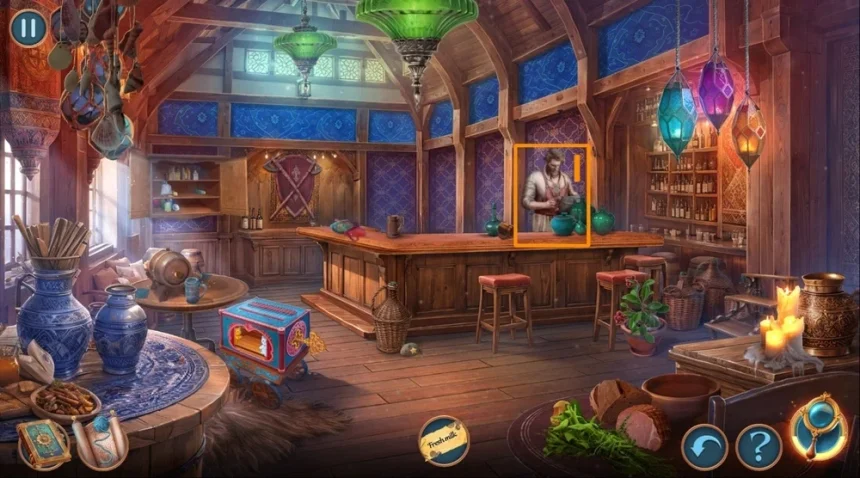
Start by taking the empty basin and use it on the bath to fill it with water. Pick up the cloth nearby and use both the basin with water and the cloth on the King to clean him. Solve the puzzle that appears and collect the golden key.
Use the golden key on the door and move inside. Inspect the cloth, read the note attached to it, and take the knight’s emblem. Place the emblem into the slot to unlock the compartment, then collect the royal pass, the sharp spur, and the knitting needles.
Use the knitting needles on the bag to retrieve the first emerald and the fishing line, then read the book. Complete the puzzle in this room to continue.
Take the boot and combine it with the sharp spur on the plate to reveal the city map. Use the city map on the pass to activate it. Solve the next puzzle by pressing the correct points based on the difficulty you chose.
Complete the following puzzle to obtain the pitchfork, then use it on the hay to find the soap. Use the royal pass to move forward.
Give the wanted poster to the person ahead and collect the tarot card, the map, and the second emerald. Use the soap on the lock to open it and take the tweezers. Use the tweezers on the board to earn the bullfinch emblem, then place the emblem into its slot.
Solve the button puzzle by pressing the buttons in the correct sequence. Take the watering can and the fishing hook, then combine the fishing line with the hook to create a line with hook. Travel to the Central Square of Castelia.
Use the line with hook to retrieve the trowel and move forward. Dig into the ground with the trowel to uncover the third emerald, then place all emeralds into the chest. Solve the stone arrangement puzzle to obtain the winding key and proceed.
Use the winding key on the slot to get fertilizer. Apply the fertilizer and watering can to the plant and take the winter berry. Return to the central square.
Give the winter berry to the ermine to receive a scraper. Use the scraper on the notes, read them carefully, then use the tweezers in the hole to obtain the second tarot card. Move forward.
Place both tarot cards on the table and solve the card puzzle to earn the secret password. Go ahead and use the password on the person blocking the path.
Speak with Felicia to receive her neck scarf. Take the darts and inspect the mirror, then throw the darts at the target. Solve the sector puzzle and collect the worn cloak, metal comb, and pitcher.
Fill the pitcher with water from the barrel, then take the sticky resin and dice. Extinguish the fire using the water, use Felicia’s scarf on the items, and collect the coal and thin chisel. Use the chisel on the dice to create marked dice.
Take the oil lantern and use the marked dice on the table. Solve the thimble puzzle and take the hat. Use the worn cloak, coal, and hat on the mirror, select the correct option, and move forward.
Collect the mural fragment and seeds, place the seeds on the plate to lure the pigeon, then use the pigeon to obtain the corkscrew. Go back.
Pick up the mortar and pestle and the hanger, then use the metal comb on the nails to collect them. Fix the ladder with the nails and take the first gear. Light the roof with the oil lantern and solve the puzzle to obtain the royal gold brooch.
Use the brooch on the lock and complete the arrow puzzle to move forward. Collect the royal glasses and barrel, use the barrel on the shelf to take the second gear, then use the hanger on the lid to get the remaining glasses. Open the cache with the corkscrew and take the long claw. Travel to the secret underground archive.
Use the long claw to retrieve the gargoyle’s heart and place it into the slot to get the cat amulet. Head to the milk cellar.
Use the royal glasses on the shelf and solve the goblet puzzle to obtain the tassel. Use the tassel on the spider web to take the emblem, then use the sticky resin and emblem on the chest.
Solve the fragment puzzle to receive the pearl necklace and head to the underground palace tunnel. Use both gears and the pearl necklace on the pins, read the note, and take the pencil. Complete the puzzle to earn the knight’s helmet, then place it on the armor and take the halberd.
Return to the milk cellar and use the halberd on the barrel to collect poison, sleeping pills, and paper. Use the cat amulet on the slot to get the crown. Go back to the archive.
Place the crown on the statue to get the final mural fragment, then assemble both fragments on the fresco. Solve the large mechanism puzzle and read the note before returning to the tunnel.
Use the pencil and paper on the pattern to create an imprint, then use it on the casket to take the sleeping tincture and leaf key. Unlock the door with the leaf key and solve the sequence puzzle to obtain the botany book.
Use the book on the shelf to get catnip, then combine catnip, sleeping pills, and the mortar with the tincture to improve it. Go back and pour the tincture into the cup.
Solve the movement puzzle to advance, then collect the leaflet and spoon. Take the mace top and numbered stone, dig with the spoon to find the blowpipe, and use it on the bag to obtain flint, dry grass, and coal.
Take the fragile feather and prepare homemade ink by solving the puzzle. Use the ink and feather on the leaflet to get the escape plan, then show it to the person to receive the royal brooch. Use it on the lock and solve the board puzzle.
Light the lamp using dry grass and flint, then collect the oil can and old cloak. Use the mace top on the sheath to get it, oil the statue, and use the sheath on the door. Solve the puzzle to get cheese.
Give the cheese to the rat to take the pole, then return and use the pole to retrieve the code plate. Combine the code plate and numbered stone on the wall, press the correct buttons, and take the magnet. Attach it to the fishing line to create a magnetic line.
Use the magnetic line on the window to retrieve the dagger, then cut the mattress. Solve the hand puzzle to obtain tweezers and topazes.
Place the topazes into the eyes to get the trowel. Dig to find acid and read the note, then complete the puzzle to earn the bandit’s key. Unlock the chains using the key, acid, and hacksaw.
Solve the button puzzle and continue forward. Collect the ladle and hook pole, then retrieve the cat figurine and place it on the pin. Complete the next sequence puzzle and move ahead.
Select the dialogue option and continue. Take chalk and dividers, use the dividers on the safe to get the paw stamp, then use it on the book to retrieve items. Copy the numbers using chalk and tracing paper to get the safe code.
Open the safe, collect the remaining encyclopedia parts, and take the letter opener. Cut the lock to retrieve deadly nightshade berries. Go back and gather oil, clay, and venom, then move forward.
Assemble the encyclopedia, solve the puzzle, and read the antidote recipe. Combine the ingredients in the cauldron and solve the brewing puzzle.
Seal the lid with clay, complete the puzzle to earn the crowbar, and pry the lid open to take the brush. Clean the pipe to retrieve the final pattern fragment and place both fragments into the chest.
Solve the large sequence puzzle to obtain the can opener. Use it on the cap and inspect the book. Solve the puzzle to earn a key, then unlock the cabinet and collect lemon juice and instructions.
Remove rust using lemon juice and the scraper to take scissors, then open the bag. Solve the switch puzzle to get the box number, use it to obtain iodine, and create invisible ink developer.
Reveal the hidden symbols in the book, then open the bottle to take the cork and music box cylinder. Repair the music box and solve the puzzle to get the iron medal and toy dragon.
Use the medal, dragon, and bottle to collect items, then solve the arrow puzzle to complete the card set. Place the cards on the table and finish the puzzle.
Take the cane, retrieve cutters and a belt, then build a pole using the scarecrow. Light the well, cut the lock, attach the grappling hook, and reach the roof.
Solve the chip puzzle, then use the cork to repair the crystal ball. Use it to retrieve a hairpin and firecracker. Unlock the door to take the rapier.
Scare the crow with the firecracker, clean the pole, and dig to find chess pieces. Solve the numeric puzzle, then use the glove to get the hammer and retrieve the final chess piece.
Place all chess pieces on the table, take the light crossbow, and open the box. Solve the chip puzzle, then heal Felicia and free her from the cage. Clean the web and solve the lock puzzle to get the hefty key.
Use the key to collect tools and supplies, restore the pliers, and solve the panel puzzle. Light the candle, solve the puzzle, and break the wall to repair the wheel.
Complete the final mechanism puzzle and move forward. Paint the mechanism, solve it, and collect tweezers. Repair the key slot, talk to Vespeth, and restore the desk lock.
Solve the button puzzle to get the ring and dagger, melt wax, seal the crack, and pick the lock to obtain the coat of arms half. Place it on the shield, show the documents, and operate the mechanism.
Solve the arrow puzzle to get the envelope, read the note, take the spear, and open the hidden passage. Solve the chip puzzle to collect the seal and heavy cubes.
Repair the ring with glue, unlock the door, and solve the arrow maze. Select the option and proceed.
Collect the hook and towers, inspect the painting, retrieve the plaque, and continue. Use the magnet pendant to retrieve the key and unlock the heavy cloak.
Use the diadem to retrieve tools, break the chain, and solve the slot puzzle. Arrange the items correctly to obtain gems and tools.
Collect the badge and towers, place them on the castle, solve the puzzle, and read the note. Use the badge on the book, decode the pattern, and collect supplies.
Mix paints and restore the portrait, solve the puzzle, and retrieve Dragan’s portrait. Use it to unlock the cache and collect the final gems and glove.
Feed the bird, solve the symbol puzzle, and read the note. Collect the mirror and pointer, retrieve the hook line, and unlock the door.
Remove rust, open the chest, and collect tools. Dig to find acid, solve the puzzle, and free the path.
Prepare the explosive mixture, tune the harp, create a lens, and expose the statue. Collect the revolver components, assemble it, and return.
Use the revolver on Dragan, then complete the final sequence puzzle to finish the chapter.


