
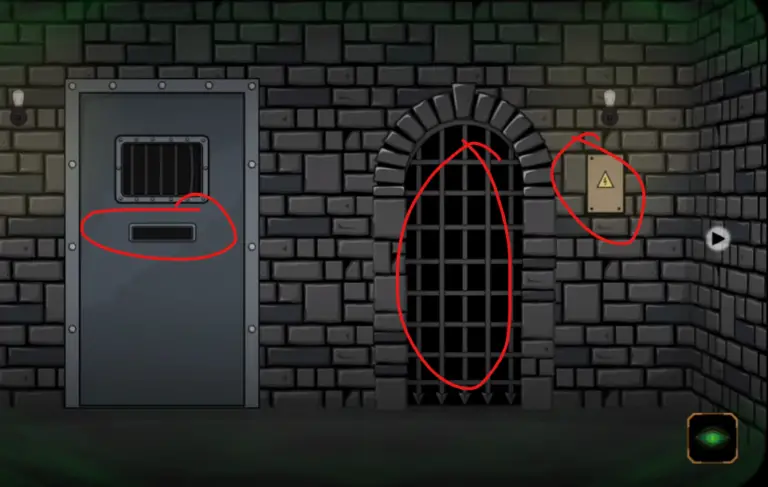
At the beginning of Chapter 2, the protagonist keeps chasing after the Alchemist and won’t stop until he finally overtakes him. That’s the moment he realizes something, someone is guiding him using strange, mysterious powers. Soon after, you’re taken to a new place where you’ll start playing right from the exit door.
You don’t need a key to open it yet, but you can grab one later after solving a mystery. The front wall near the door already has some symbols drawn on it, pay close attention and remember these for later use as you move forward to explore other rooms and clues.
Escape Room: Strange Case Walkthrough – Chapter 2
Now, move to the third room from the right side and check the hanging coat. You’ll find a key inside, take it.

Turn on the Ghost Vision and go back to the second room, where you’ll see two doors. Enter the first one and spot a machine placed in the middle of the area, tap on it.
Adjust the dials and activate the machine to bring out a jar holding a brain.
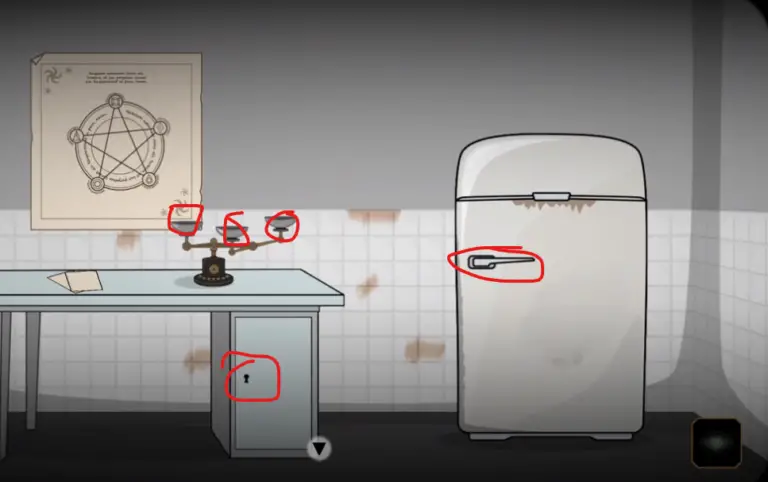
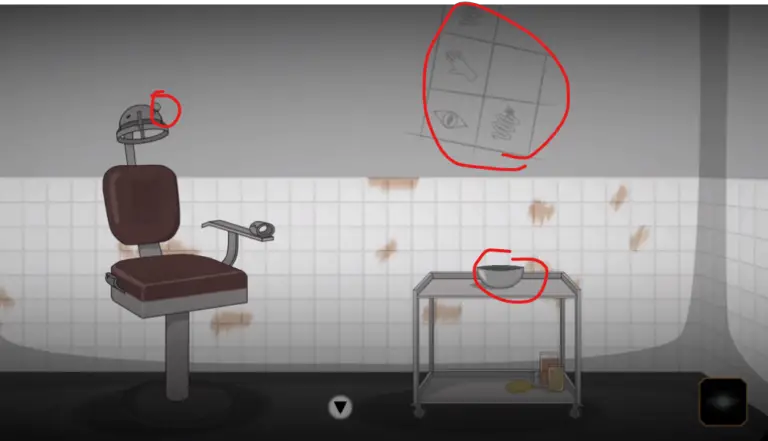
After that, turn off the Ghost Vision and return to the room where you saw a refrigerator next to a table. Tap on the poster above and memorize all the items and their positions. Also, don’t skip reading the notes placed on the table.
Once done, open the fridge and collect the ice cube from inside, adding it to your inventory.
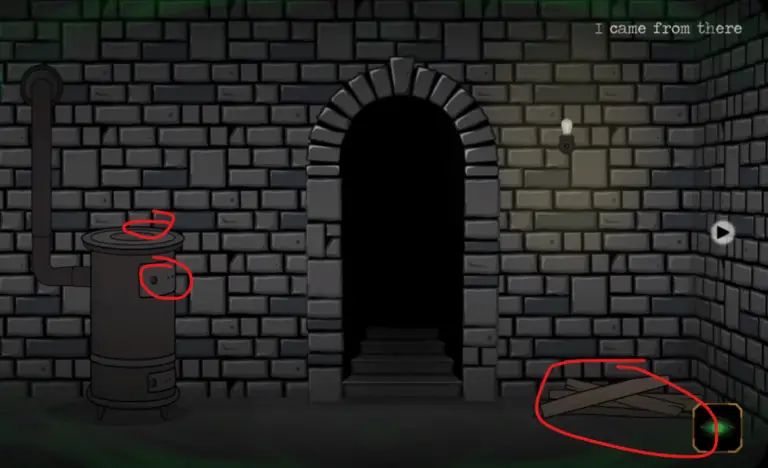
Now, turn on the Ghost Vision again and return to the room with two doors. Look around to collect some wood, and also grab a matchbox placed above the stove.
Open the stove, toss the wood inside, and use the matchbox to light the fire. Place the ice cube above the stove and wait for it to melt. After a while, a red gem will appear, pick it up and leave the room.
Turn off the Ghost Vision to continue.
Now, go back to the room with two doors and tap on the digital locker. Bring the red gem near the dials — this will reveal the code 1607. Enter the code to unlock it and step inside the second room to collect a jar with nasty and a fuse from a nearby lamp.
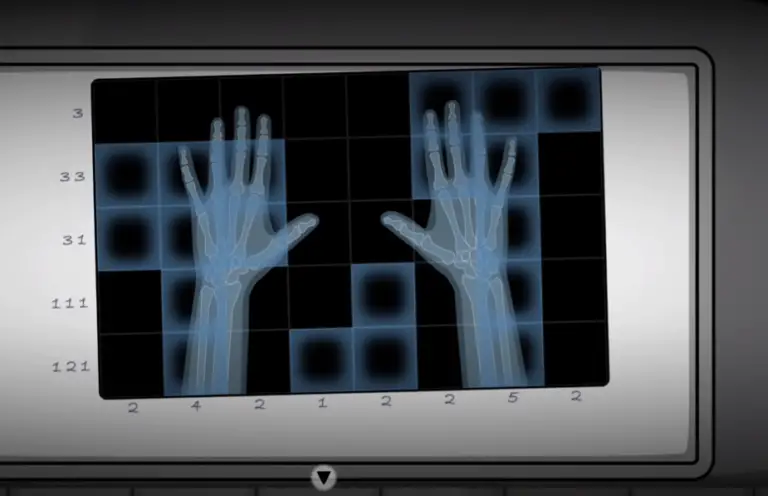
Next, go to the X-ray image on the wall and tap to start a mini-game. Carefully draw the pattern as shown in the picture. This will reveal a locker hidden behind the photo.
Enter the code 1710 to open it and collect the gold bar inside. Now, here’s something important, you might be wondering why we’re not doing everything while the Ghost Vision is active.
That’s because certain objects must be placed or combined while the Ghost Vision is off, and some only appear when it’s on. So, you have to keep switching back and forth.
Turn on the Ghost Vision and place the jar with nasty on the rack. Collect a statuette from above the shelf.
Next, go to the room with a single door and collect a stone from there.
Turn off the Ghost Vision again and go to the table near the fridge. Use the key you got earlier to unlock the wardrobe, and collect a screwdriver from inside.
Turn on the Ghost Vision once more and head to the circuit box located near a door. Use the screwdriver to open it, insert the fuse, and start connecting the wires and buttons to unlock the door. Just note, two buttons move together, so solving this puzzle will take a bit of thought.
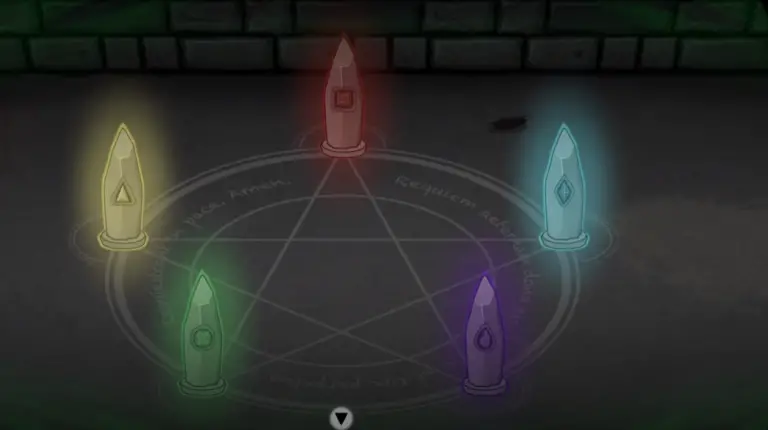
Once the circuit puzzle is solved, a trapdoor will open up, letting you enter. Select the matchbox from your inventory and use it to light all the candles around the book placed on a stand. Put the stone in the center of the drawn diagram on the floor.
Arrange all the stones until they all start to glow. Turn off the Ghost Vision and return to the refrigerator. Interact with the object inside and set the parameters based on the symbols already drawn on it. Once done, collect the flask with blood.
Turn on Ghost Vision again and place the flask of blood among the glowing stones. Afterward, turn off the Ghost Vision and go to the room with a chair and table. Tap the table to collect a scalpel and key. Also, make sure to memorize the images drawn on the wall nearby.
Use the key to unlock the cupboard in the second room and grab a wrench from inside. Now, use the wrench to remove a screw from the chair in the second room.
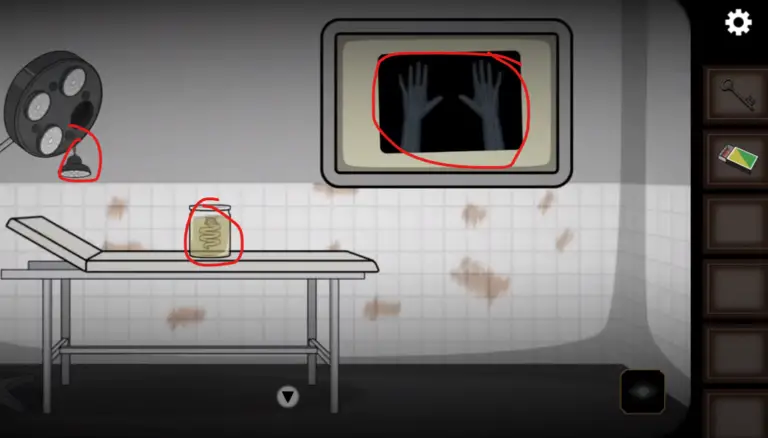
Head to the room with the patient bed and turn on Ghost Vision. This will reveal another dimension — enter it to collect a hammer.
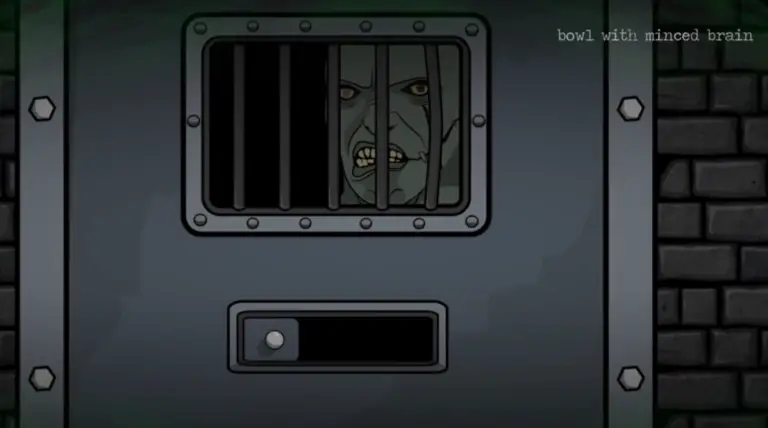
Use the hammer to break the glass that holds the brain, and pick it up. Now place the brain in the bowl located near the dentist chair. Use the scalpel to mince the brain and then collect the bowl filled with minced brain.
Turn on Ghost Vision again and revisit the area where you unlocked the trapdoor earlier. Offer the bowl with minced brain to a terrifying creature and it will give you a tooth.
Put this tooth between the glowing stones. In a moment, the stones will transform into a briefcase. From there, collect a bolt cutter and gold cross.
Go to the punishment room and use the bolt cutter to snip off a piece of chain. Turn off the Ghost Vision now.
Return to the fridge area and go back to the table. Tap on the weight machine to collect a plummet.
Now, for the balancing puzzle:
- Place the screw and plummet on the middle pot
- Add the gold bar and figurine to the left pot
- Put the chain on the right pot
This will balance the weight, and you’ll be rewarded with a gold disk.
Now return to the room with the trapdoor and the single door and turn on the Ghost Vision one last time. Use the gold disk and gold cross to unlock the final door and escape.


