
Icebound Secrets 2 – a puzzle-based hidden object and adventure video game released for mobile devices. It features an evil lurking in the twisted world populated by dark fairies. Once the beautiful land now is under threatened, people are looking for someone who could bring the peace back. It becomes only possible when the expected hero struggles to release the imprisoned souls and restore the balance putting himself in danger.
There are several treacherous challenges available in the introduced mythic world, and you have an opportunity to become the world’s best detective who can put himself to face off dangers, solve puzzles, and back to the world with souls. If you are stuck anywhere, give a try to this walkthrough guide and get solutions in no time.
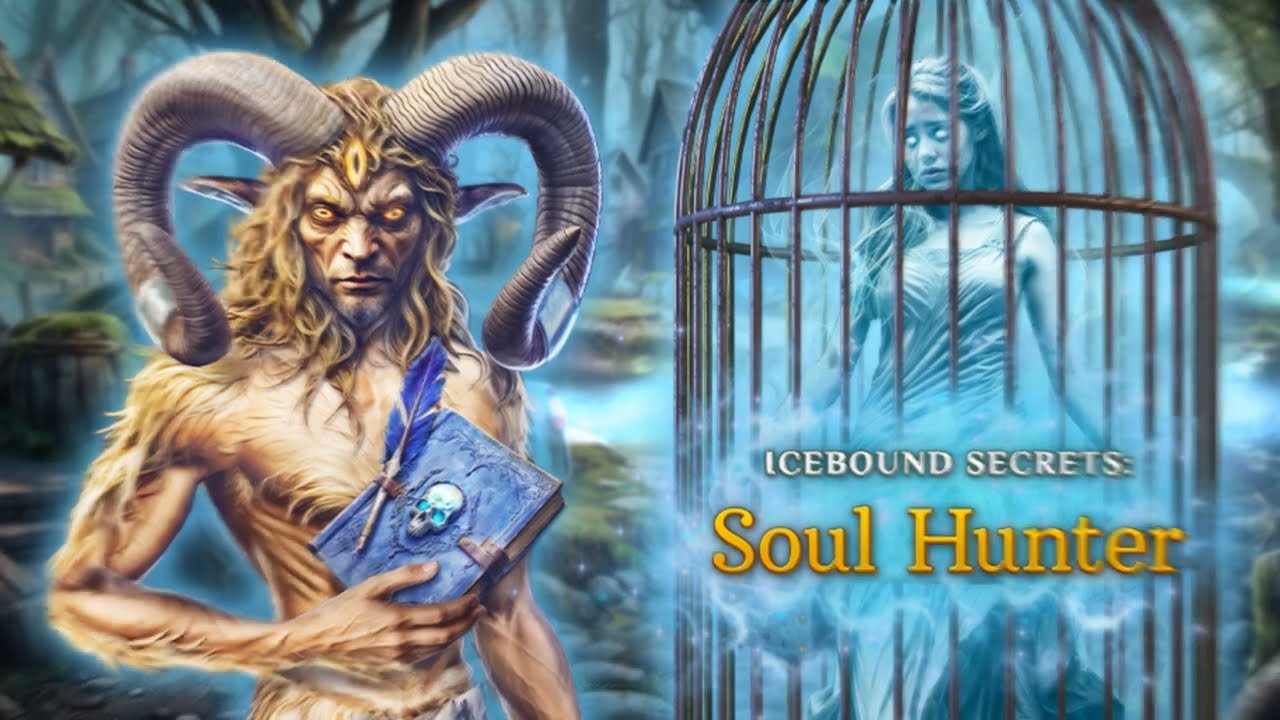
Icebound Secrets 2 Walkthrough Guide – Soul Hunter
First off, take the bridge lever and the heart-shaped locket. Then use the bridge lever and inspect the gate.
After that, collect the astral beads and pruning shears, then use the shears to cut through and pick up the key. Use the key to open the next area and grab token 1/4.
Next, take three candles and a rag. Pick up the mug and fill it with water, then use the mug with water followed by the rag.
Place Candles and use Astral Beads
After cleaning, place the three candles and use the astral beads to get the shutter slider and mystical sign. Use the mystical sign and then the shutter sliders to trigger a puzzle where you move the two-headed ravens until no column has more than one head.
Take the spatula and the ball of yarn, then collect the knife and token 2/4. Use the knife to get the cat figurine and later to cut a stick 1/2. Cut again to find the horse figurine and stick 2/2.
Collect Paraffin
Use the spatula to collect paraffin, then place the horse figurine and pick up the file and token 3/4. File the surface smooth, then combine the two sticks.
Continue by finding all hidden items in several sets until you gather all fifteen and obtain the key. Use the key to progress and collect the salt and the pen with a pommel.
Sprinkle the salt, then use the pen to draw and take the royal chain. Examine it to find the royal ring and a sharp icicle. Use the icicle to break open a slot and collect token 4/4 and the fox figurine.
Insert all four tokens to unlock another puzzle where you swap animal tiles with matching landscapes to get the hare figurine.
Collect Car Amulet
Use the hare, fox, and cat figurines to unlock lock parts 1–3/5, a car amulet, and a cash register key. Use the amulet to get a magnet and corkscrew, then make a magnet on a string with the ball of yarn.
Use the corkscrew to get the bear mask, then fish out the cash register key and lock parts 3/5 with the magnet.
Open the register using both keys and solve the grid puzzle to earn a gold coin. Collect lock parts 4/5 and a nail, then use the nail and the monkey mask to get the final lock part. Assemble all five lock parts and solve the lock puzzle to receive a broken blade.
Pick up the paper and use the blade to get the goblet and hammer. Smash through with the hammer, use the bear mask, and take the snake amulet and black candle.
Place the amulet and goblet to begin a gear puzzle. Once solved, grab the pencil and use the black candle. Add the astral beads, take the wick, and combine it with paraffin to craft candles.
Use the pencil on paper to reveal symbols and find a suitcase wheel, then use it to access the candle mold and matches.
Pour paraffin, insert the wicks, and collect two candles and a tree-shaped token. Light the candles with matches, use the paper with symbols to get Amanda’s note, and solve the symbol-light puzzle to proceed.
Adjust the wheel and use the royal ring and poker to find the steel wedge and merchant’s amulet. Use the amulet to gain a sledgehammer, then use it and the wedge to clear the area.
Fin Insecticide Spray
Take the note and crowbar, grab insecticide spray, and open the chest with the crowbar. Use the heart-shaped locket to find another key, spray the bugs, and use the key to take the plate with a pattern.
Complete the ornament puzzle to open the library lock, then collect the lady’s locket and jar. Brush resin into the jar, use the gold coin to find scissors, and cut rope to combine with boards and resin to repair the path.
Light the sacred candles with matches and take the shelf key. Use it to open the cabinet and move the jar and toy.

Take the wasp amulet, solve the color-number grid puzzle, and get stone fingers 1/5 and the lord’s locket. Use the locket to open new sections, gather papers, stone fingers 2/5, an axe, and a hook on a line.
Find the owl figurine, use the axe, and collect all eighteen items in the sequence to obtain the horned figurine. Use the carving knife to unlock more areas and get the artist’s set, then draw the correct symbols in the painting puzzle.
Get Blue Gems
Collect the blue gems and combine them, then use the librarian’s notes with the gems to solve a rotation puzzle. After that, gather all five stone fingers and place them on the statue to receive the tangled cryptex.
Insert the tree-shaped token into the cryptex and solve the connection puzzle to earn the spirit shard. Use it to light the ghostly fire torch and collect the crescent-shaped locket and all-seeing amulet.
Activate both along with astral beads and matches, then pick up the bag, list, and wisteria flowers. Search around for measuring cups, salt, flowers, sticks, weights, and scales.
Mix the ingredients using the instructions to craft the reverse talisman, then charge it and use it to unlock the next door.
Keep using the talisman to find a key, open the next chamber, and collect the full moon locket. Move the lockets to reveal a pen, amber pieces, and gloves.
Combine shards, wear the gloves, and solve the debris-clearing puzzle to get a broken chainsaw. Fix it by adding the starter and chain, then use it to break through obstacles.
Gather cassettes, tools, figurines, and medallions while solving color and motion puzzles until you get the adjustment wheel, amulets, and wings.
Keep combining clues and items like gems, rust remover, beetle, and daggers until you finally complete all rune and mosaic puzzles.
In the final stretch, use the crafted items, figurines, and talismans to open the last gates. Solve the final pattern puzzle and collect the deer figurine.
Continue through to use the lion handles, find the last items, and gather the warm blankets and peaches. Refuel the chainsaw, cut through, and use the ruby panel to trigger the last puzzle.
Move all chips to the right spots and finish the sequence to complete Icebound Secrets 2: Soul Hunter.


