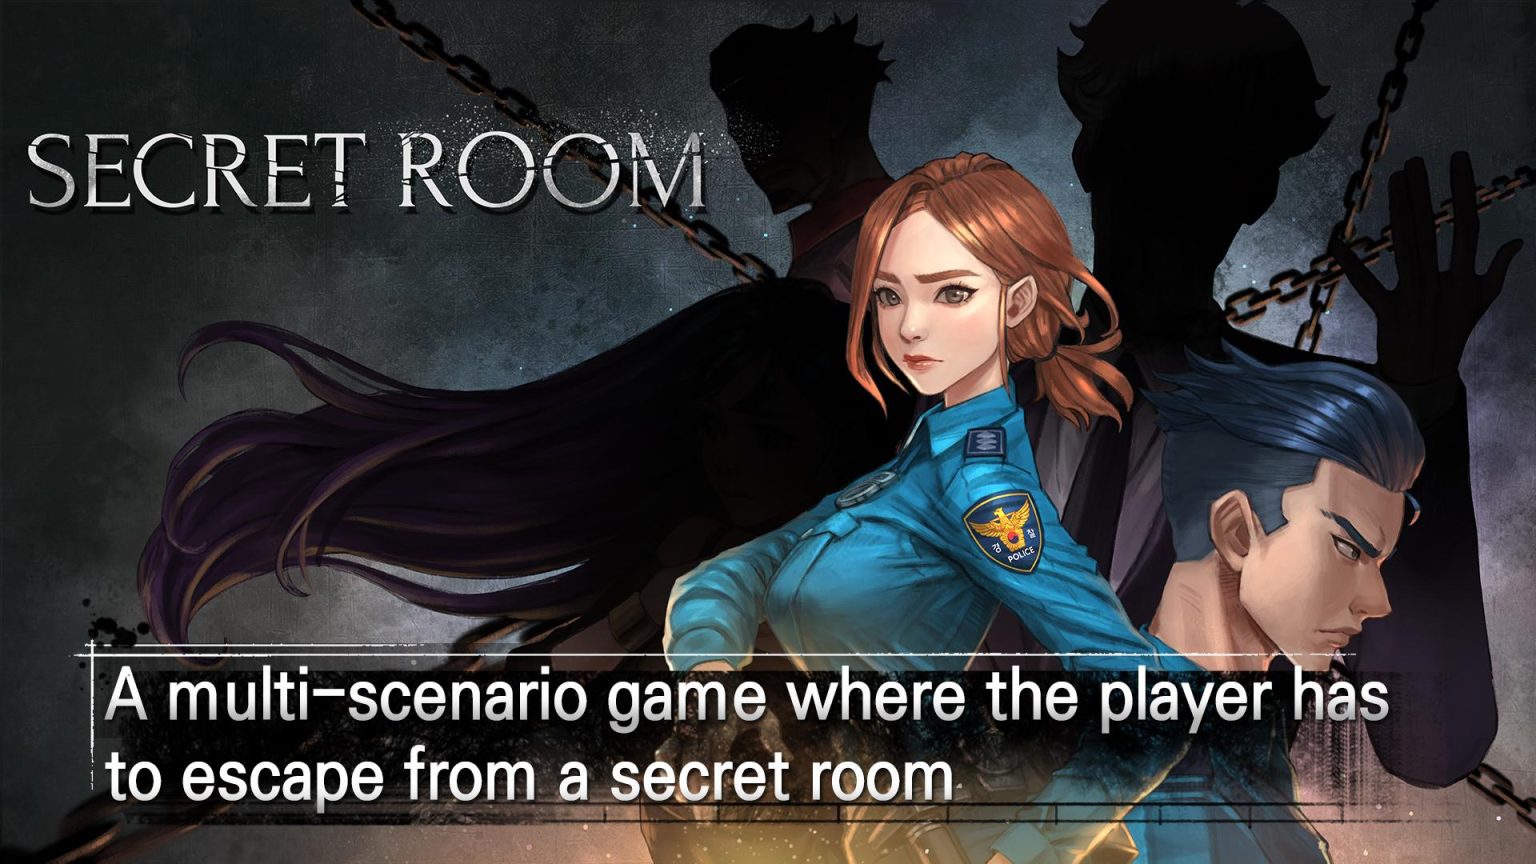
Secret Room: Room Escape – a puzzle-based hidden object video game released by B&Dangle for mobile users. The story follows a character trapped to an unknown location and in search of someone’s help who could help him escape the scene. It holds a variety of puzzles to keep the character stuck for the lifetime, but a person with detective-like thinking can easily bring the victim back to his regular life.
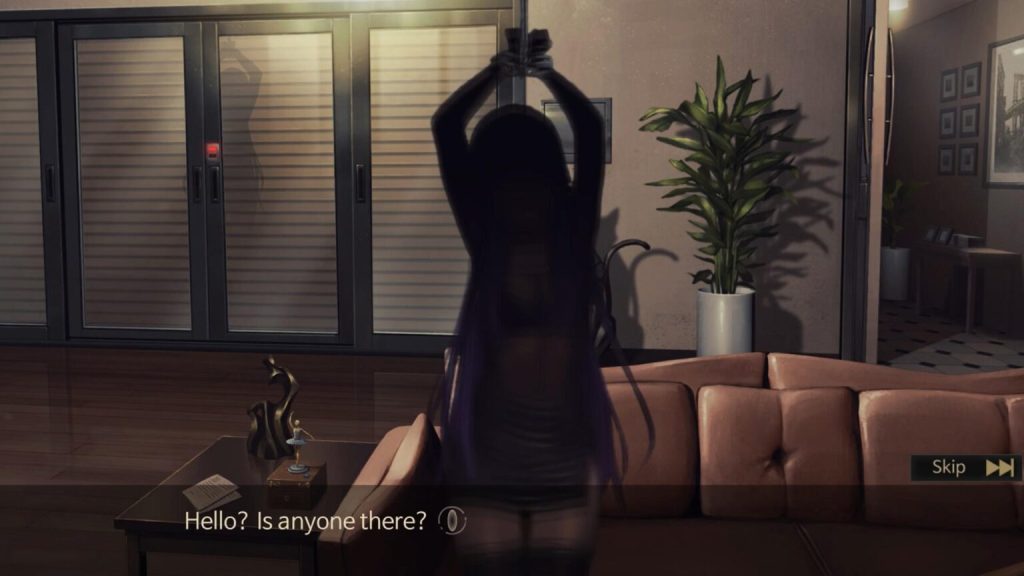
The game is full of thrill, suspense, and lots of riddles, as well as danger is lurking every corners. If you are a puzzle lover, you should jump in to help the man solve puzzles, play mini-games, and solve the mystery how he reached here. If you need any kind of help in solve puzzles, read Secret Room: Room Escape Walkthrough Guide as it shows you how to solve riddles step by step and proceed through the game.
Here is the Walkthrough to Secret Room: Room Escape
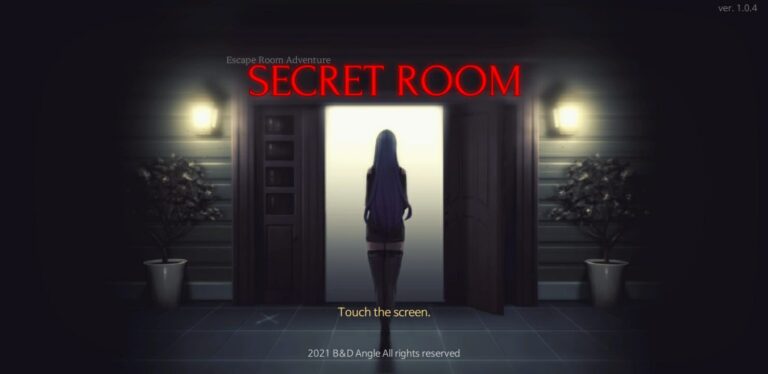
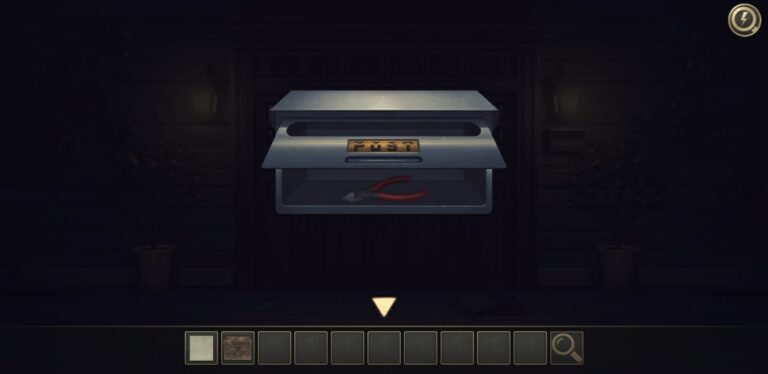
Start by clicking the plant pot on the right side to get the Tree Bench and open the post box above it to obtain a Nipper.
Next, search the plant pot on the left side to collect the Garden Trowel and use the Tree Bench to take the Note placed above the entrance door.
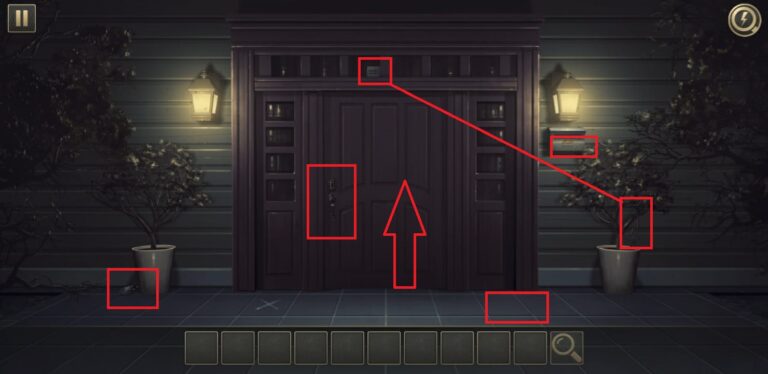
Then select the note, use the magnifying glass to examine it, and follow the clue to locate the hidden spot. After that, choose the Garden Trowel, remove the tile, and take the Wooden Crate that appears.
Go to your inventory, select the Wooden Crate, and cut its string using the Nipper to unlock it. Turn the crate around once it opens, collect the key from inside, and use it on the entrance door to step into the house.
Once inside, tap the mirror fixed on the left wall to get the cabinet key. Then check the table on the right side to take the Box Cutter from the pen holder and use the key to unlock the cabinet.
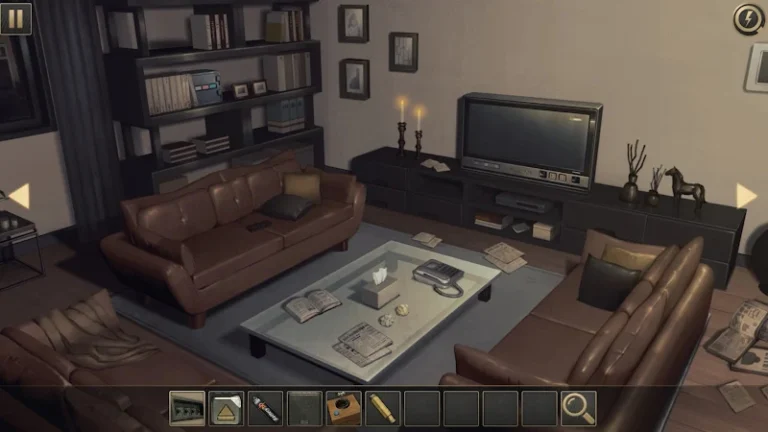
Examine the boxes inside, open one using the Box Cutter, and add the Spider Crate to your inventory.
Select the Spider Crate, use the magnifying glass to examine the dots, and match them with the door panel to figure out the spider leg pattern. Count each set to get the code 7546 and use it to unlock the door that leads to the next room.
Go to the Second Room
You move into the second room and lift the right-side cushion on the sofa to obtain a Handle. Then examine the cabinet under the TV to collect an AA Battery and take the Cross-shaped Iron Rod from the second drawer. Select the Handle in your inventory, attach it to the rod, and create a screwdriver.
Go right and lift the rug to find the CD-ROM Button. Next, examine the book cupboard on the left, take another AA Battery from between the books, and collect a CD Case. Hit the right arrow again to reach the next room filled with hidden items.
You see a sofa with a table and a large cupboard behind it. Tap the vault near the door and use the screwdriver to open it. Then go to the table, take the Music Box, and return to the first living room.
Select the Music Box in your inventory, use the magnifying glass, flip it upside down, and place both batteries inside to make it work.
Then take the Button that appears and head to the cupboard to unlock the CD Case for the CD. After that, tap the TV, insert the CD into the DVD player, and press the forward button to watch the footage.
Color Sequence is here
Note the colors shown on the screen, go to the vault on the left side, and tap the buttons in this order: Red, Blue, White, Blue, Red, Blue, Blue, and Red.
As the vault opens, take the key inside and add it to your inventory. Now select the Spider Case, use the key to unlock it, and collect the fuse.
Visit the Third Room
Go back to the third room, tap the circuit box next to the door, and place the fuse to start the mini-game. Connect the wires to repair the circuit and turn both switches on once everything aligns.
A shadow reveals itself on the wall, so open the door behind it and enter the kitchen, where you find a woman tied with ropes.
Start by opening the cabinet on the left side of the stove to get the Saucepan. Then tap the furnace to collect a Battery and open the top cabinet to take the Pipe.
Check the refrigerator, open its upper section, and take the Ice Cubes. After that, open the lower right cabinet under the oven to pick up the Gas Valve.
Select the Pipe in your inventory, repair the broken line above the toaster, and attach the Gas Valve properly. Then place the Saucepan on the stove, add an ice cube, and turn the knob to melt it.
As soon as the water forms, use the Tongs to take a key from the pot. The door closes immediately, so tap the down arrow to switch your view.
Open the cabinet on the right, unlock it using the key, and collect the Torch Part and the Light Bulb. Go back, select the Torch Part, use the magnifying glass, and examine its back.
Making use of Magnifying Glass
- Tap the chair to find a Switch and hit the down arrow to face the other side of the kitchen.
- Take the Pipe you fixed earlier, examine it with the magnifying glass, and note the code 368.
- After that, check the calendar near the door to learn the value of Triangle 617.
Tap the chair again to count the brown and gray pieces and figure out the Square value 825. With all three values ready, go to the microwave oven and set Circle 386, Triangle 617, and Square 825 to unlock it.
Take the Butane Gas inside, attach it to the Torch Part, and add the Switch to complete your torch. Use the torch to melt the iron chain and free the woman.
Reveal the Code
Select the Light Bulb, place it in the holder above the table, and reveal the code 9277. Go to the digital lock on the main door, insert the battery, and enter 9277 to unlock it and escape the kitchen.
- As you leave, the Corridor Key is added to your inventory. Move back to the second room, use the key on the locked door, and step into the Corridor.
- As you enter the corridor, tap the door on the right to step into the reading room filled with books and hidden clues.
- Check the table to pick up Tile 2 from the newspaper and take note of the date printed on it.
Then open the second drawer to get a Hammer and a Coin, and collect a Safe from the book cupboard. Move to the right side of the cupboard and take Book Vol. 2 before returning to the corridor.
Select the Safe in your inventory, rotate it to see the numbers printed on its back, and solve the puzzle to form the values 617 and 224. Set the safe dials to 3, 6, and 4 dots to unlock it and take the Spinning Device.
Then go to the next door, insert the coin to remove the cover, and collect the USB device hidden underneath.
After that, return to the first room, plug the USB into the computer, and watch the footage of rotating spinners. Tap the arrows to change the symbols until you see the clue pattern.
Examine the Spinning Device in your inventory, rotate its rings, and match the same sequence you saw on the tablet.
Take the key from the back of the device once it opens and use it on the bookshelf on the right side of the corridor to unlock the bathroom key. Go back to the corridor, use the key on the front door, and step into the bathroom.
Inside the bathroom, open the dustbin to take Tile 4 and check the cabinet above the commode for Tile 5. Look under the basin to collect Tile 0, then tap the bathtub to take a Faucet from the left side and Tile 8 from the right.
Move back to the basin, select the Hammer, break the mirror, and pick up Tile 3 along with the Desk Drawer Key.
Now tap the wall in front of you, arrange all collected tiles in their slots, and recall the newspaper date clue from the reading room. Set the code to 40251384 to unlock the vault and take a Gear from inside. Return to the corridor and insert the gear into the machine box, but leave it for a moment.
Return to the First Room
Go to the first room, unlock the drawer using the Key from your inventory, and pick up another Gear. After that, head back to the machine box, place the second gear, and open the door leading into the bedroom.
Step into the bedroom and tap the pillow to take a Cellphone. Then open the drawer on the right side to pick up a notebook and study the symbols printed on the poster above the bed to figure out the phone code.
Enter 0690 to unlock the cellphone, check its notes, and read the numbers hidden inside to reveal the code 8563 for the trapdoor in the corridor.
Leave the Bedroom for further investigation
Leave the bedroom for a moment and head back to the trapdoor in the corridor. Enter the code 8563 to unlock it and climb down into the basement. Start by opening the trunk on the left to get a Magnet, then check the rack on the front wall to collect a Lubricant.
Move toward the grill sewerage, use the lubricant on the rusty valve, and rotate it to release the water flow. Pick up the Saw near the drums and look into the sewerage to take the Rope.
Then combine the Rope with the Magnet to pull the Power Button out of the water. Before leaving, make sure you check the lower-left corner of the grill to note the code.
Tap the closet on the right, enter the code 4712, and obtain the Crowbar along with the Pipe Parts. Select the Power Button in your inventory and attach it to the circuit on the left wall.
Leave the circuit for a moment, return to the broken pipe, and attach the Pipe Parts to stop the water. Now return to the circuit, tap the panel repeatedly until the entire screen turns red, and listen for the gunshot echoing through the house.
Visit the Corridor
Go back to the corridor, where the Revolver Pistol is automatically added to your inventory. Move toward the bathroom again, attach the Faucet to the basin, and turn on the hot water.
Wait until the steam forms on the mirror to reveal the code 1294. After that, head to the second room on the right, pick Book Vol. 7 from the bookshelf, and leave the room.
Now go to the third room on the left side of the bathroom and enter the code 1294 to unlock it. Step inside the room, walk through it, and return to your starting position near the entrance.
Use the Crowbar beside the rug to dig out the safe hidden in the floor. Then tap the cupboard on the left, place the red and yellow books, and follow the painting clue from the room with the policeman to arrange them in the right sequence. The final code you get is 0629.
Rearrange the books again, open the lower section, and collect the White Safe. Examine the safe, enter the code 4003 from the computer images, and take the Medal N.
Go back to the PC Room
Return to the PC room, unplug the USB, rotate it in your inventory, and note the code 5817 printed on it. Use that code to unlock the red safe and collect the Medal S.
Head back to the corridor, remove the painting between the two doors, and use the Saw to cut through the wood. Take the Paper and the Ring hidden inside.
Take the Ring to the kitchen and move straight to the oven. Insert the hexagonal ring into the slot to unlock it and collect the Green Safe. Return to Livingroom 1, tap the TV to eject the CD, flip it around, and note the code 8897 printed on its back.
Select the Green Safe, enter 8897, and take the Medal I. Then go to the vault on the left wall, place all three medals, and collect the CD hidden inside.
Tap the TV again, insert the new CD, and watch the footage until the numbers blinking at the edge reveal the last clue.
After noting the sequence, return to Livingroom 3, where the dynamite bomb is attached to the exit door. Tap the device, enter the code 6890, and claim the Necklace.
Head back to the bedroom, select the revolver, and shoot your partner to take the second Necklace. Then return to Livingroom 3, tap the dynamite again, and place both necklaces on the tray to diffuse it.
Chapter 1 ends here
Open the main door, move through the hallway, and tap the right wall to reveal the clue that marks the end of Chapter 1.
Alternate Ending
If you want the alternate ending, go to Livingroom 3 again, tap the dynamite, add a single necklace, and keep pressing the red area until it turns blue.
Walk through the door, check the right wall, and read the number 75035#. Go back to Livingroom 1, tap the phone, dial 75035#, and press call to receive the Entrance Wall Key.
Return to the entrance, tap the right wall, and use the key to highlight shapes above the arrows. Move through different rooms including Livingroom 1, Study, Bedroom, and Kitchen to match the symbols.
Set the arrows in this order: Up, Left, Right, Left, Down, and Up. Open the box that unlocks and take the final key. Use it on the main door to escape the house and complete the second ending.


