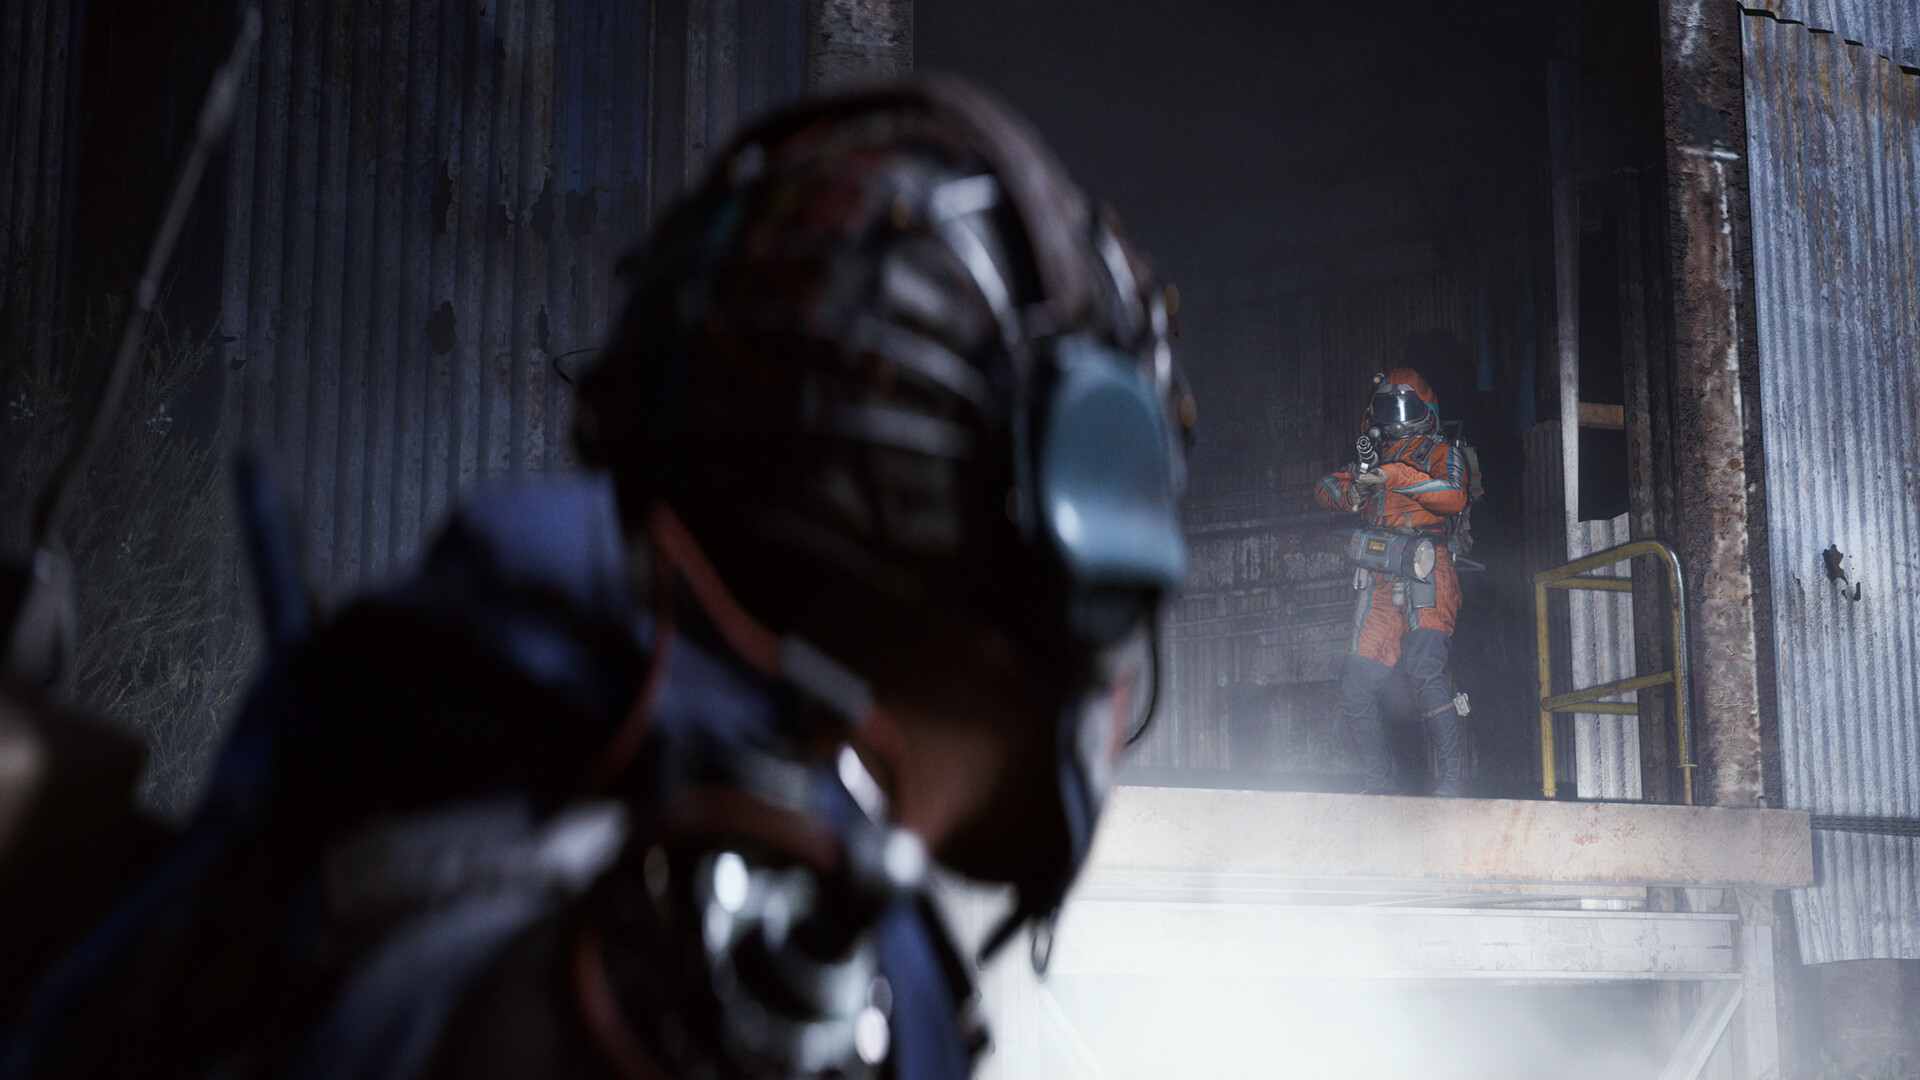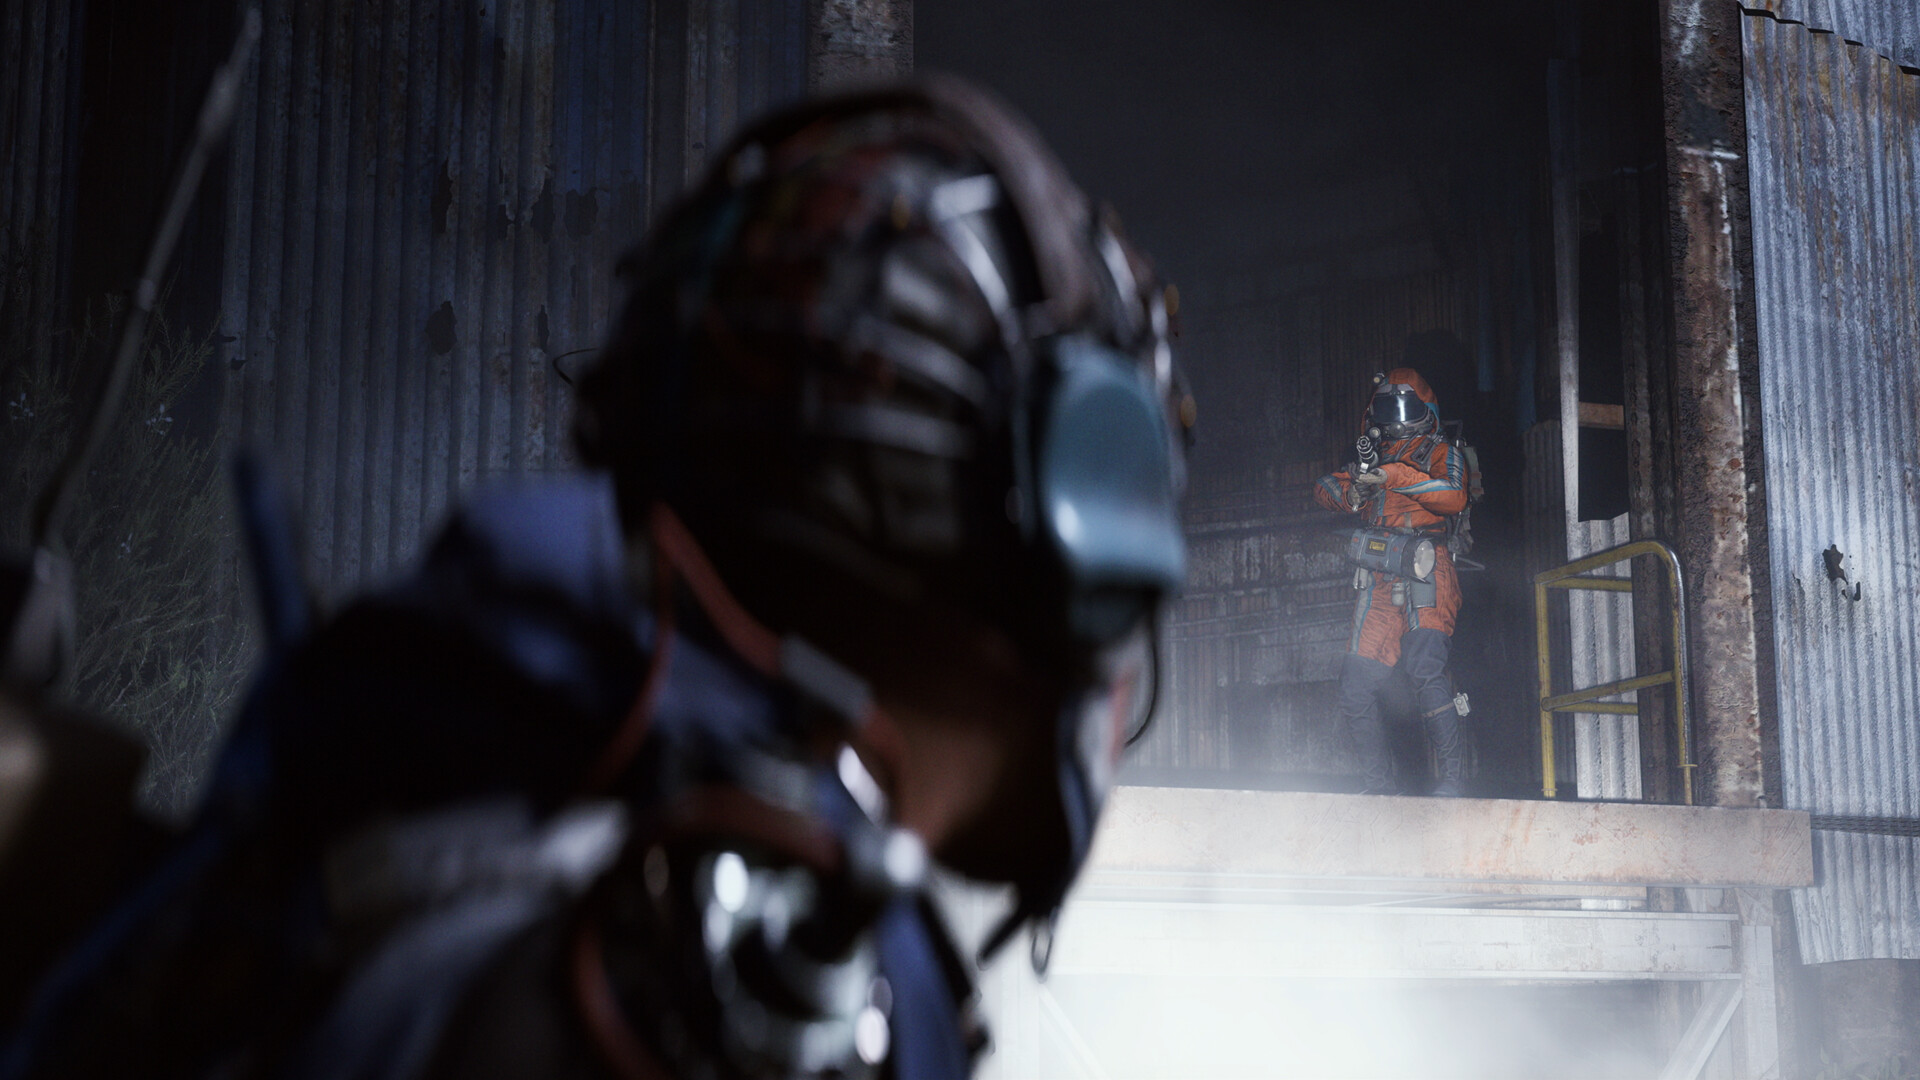
ARC Raiders Matriarch Boss Guide: Phases, Loadout, Loot
The Matriarch is ARC Raiders' deadliest boss fight yet, with three brutal phases and a huge ARC swarm. Here's how to break her armor and survive.
The Matriarch is the biggest fight ARC Raiders has thrown at players since launch, and with the Frozen Trail update's new high-level encounters landing October 8, she's the best practice raiders have for coordinating around a boss that actually punishes a bad plan. She isn't a guaranteed spawn — you have to catch her map condition active — but when she shows up, she's currently the toughest kill in the Rust Belt. Here's how to find her, gear for her, and get through all three phases without wiping your squad.
01What Makes the Matriarch ARC Raiders' Toughest Fight
Embark built the Matriarch as the follow-up to the Queen, and it shows. She's a heavily armored ARC machine wrapped in plating that has to be broken before you can touch her health, and she's surrounded by smaller "children" units that throw themselves between you and her core. Community trackers that log her health pool put it at roughly 23,000 — Embark hasn't published an exact number, so treat that figure as an estimate rather than a confirmed stat. What is confirmed is the shape of the fight: a slow damage race that opens up into a full ARC swarm by the final third of her health bar.
She arrived in the North Line update (version 1.2.0), which also added the Stella Montis map and the Shredder enemy, and she's remained part of the regular map rotation through every store and balance update since, including the current Store Update 1.48.0.
02Where to Find a Matriarch Event
The Matriarch doesn't have a fixed spawn point — she's a map condition that rotates on and off, currently tied to Dam Battlegrounds, The Blue Gate and Spaceport. You'll know her event is live from an in-raid warning that her children are keeping raiders away from her, which is your cue to head toward the marked zone instead of your usual loot route. Because the event is conditional, you may drop into several raids in a row without seeing her at all; don't force the fight on a map where her condition isn't active.
Dam Battlegrounds is generally considered the safer of the three maps to fight her on, since it gives you more cover and fewer sightlines for her missile volleys than the open ground around Spaceport's launch towers.
03The Best Loadout for the Fight
Her armor plating has Very Strong resistance to most small-arms fire, so your loadout needs at least one weapon built for anti-armor work. The pump-action Hullcracker grenade launcher is the community go-to: it's an Epic-tier launcher whose explosive rounds only detonate on ARC targets, which makes it safe to fire at close range without blowing yourself up, and its armor penetration is rated Very Strong. You can scavenge one, buy it from the trader Tian Wen for 30,000 coins (limited to one purchase a day), or craft it at Gunsmith level 3 once you've pulled the blueprint from the Major's Footlocker quest. Pair it with a high-penetration rifle like the Equalizer or Jupiter to keep damage flowing on the core once the Hullcracker has cracked the plating.
Bring healing items beyond what you'd normally carry into a raid — this fight runs long — and at least one EMP grenade for her phase transitions. A full squad coordinating target priority beats three raiders each shooting whatever's closest; agree before the fight starts on who focuses the core and who handles the summoned ARCs.
| Weapon | Type | ARC Penetration | How to Get It |
|---|---|---|---|
| Hullcracker | Pump-action grenade launcher | Very Strong | Scavenge, buy from Tian Wen (30,000 coins/day), or craft at Gunsmith level 3 |
| Equalizer | Rifle | Strong | Scavenge or craft |
| Jupiter | Rifle | Strong | Scavenge or craft |
None of these weapons are mandatory on their own — what matters is that at least one raider in the squad is carrying something in this tier before you commit to the fight. Showing up with only close-range shotguns or low-penetration sidearms turns a long fight into an impossibly long one, since you'll barely dent the plating before the Matriarch cycles into her next attack pattern.
04Phase 1: Breaking the Armor and the Core
The opening phase is the simplest to read but still the most important to get right. The Matriarch's outer plates — concentrated around her head and chest — have to be destroyed before any of your damage reaches her health pool, so resist the urge to spray her whole body and instead concentrate fire on the plating. Once a plate breaks off, it exposes a bright red glowing core underneath; that core is the only point that meaningfully moves her health bar, so switch your highest-penetration weapon onto it the moment it's visible.
This phase is also when you'll want to confirm sightlines and fallback routes. The Matriarch doesn't move much yet, but her children — smaller ARC units like Leapers and Wasps — will start probing your position, so keep someone watching your flanks even while the rest of the squad focuses the core.
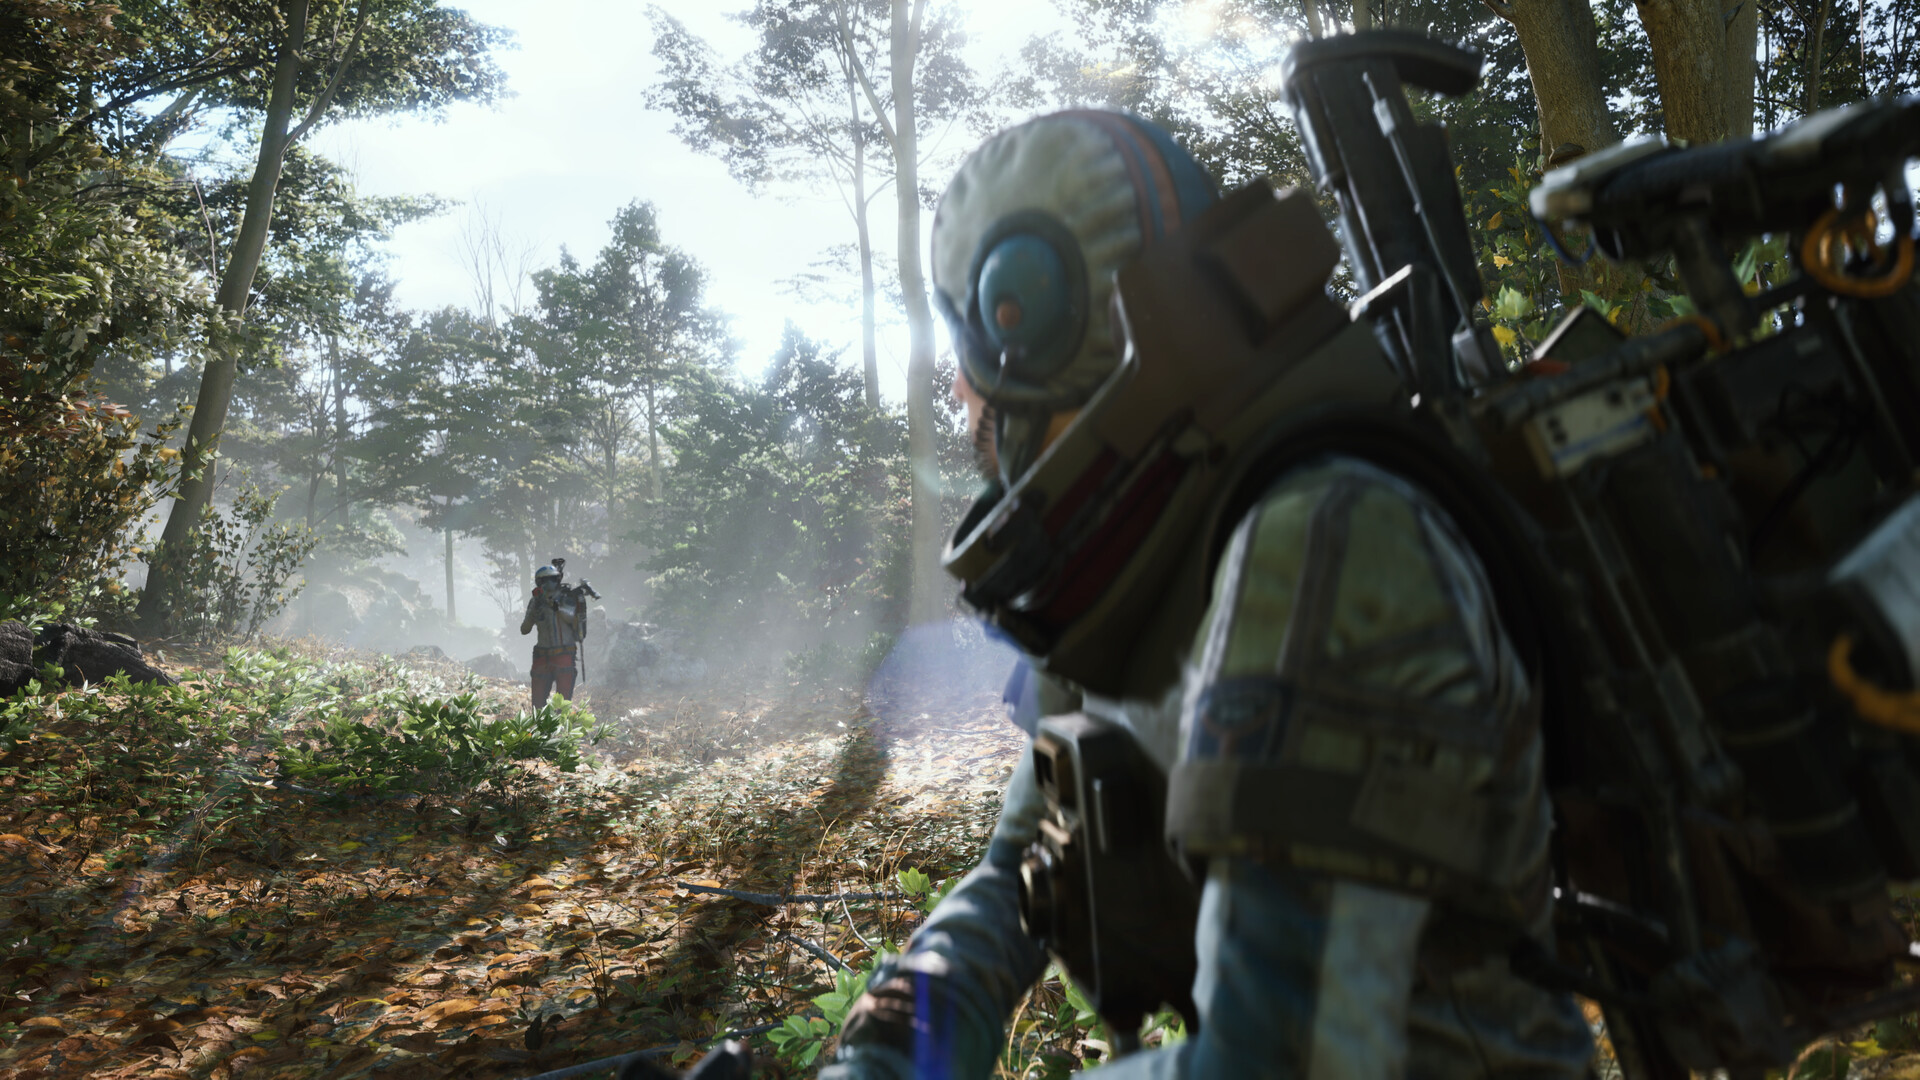
05Phase 2: Mobility, the Shield and Reading the Fight
Once she's down to roughly two-thirds health, the fight changes shape. She gains a leg stomp that stuns anyone caught standing too close, a missile swarm that fires three to six tracking projectiles, and gas and flashbang capsules that obscure your screen and drain stamina. Don't try to outrun the missiles in the open; breaking line of sight behind solid cover is far more reliable than sprinting.
She'll also periodically raise an energy shield that lasts close to a minute and absorbs bullets, grenades and Jupiter shots alike. Don't burn ammo trying to break it — reposition, reload, revive anyone who's down, or push for a better angle, then resume unloading on the core the moment the shield drops on its own. This is also the point where your saved EMP grenade earns its keep during her attack transitions, buying your squad a window to reset positioning.
06Phase 3: Surviving the ARC Swarm and Extracting
Below roughly a third health, the Matriarch calls in reinforcements — Bastions, Bombardiers, Leapers and Rocketeers arrive to defend her, turning a boss fight into a chaotic multi-target scramble. Pulling back to a chokepoint, like a control tower doorway or an electrical substation, lets you funnel the swarm into a line instead of getting surrounded while someone keeps chipping the core. This is the phase that separates a clean kill from a wipe: squads that panic and scatter tend to get picked off by the smaller ARCs one at a time, while squads that hold a single defensible position usually have enough sustained damage to finish her off.
The reward is worth the risk. The Matriarch drops some of the best loot available outside a vault, but the extended gunfight is loud enough to draw every other raider on the map toward the noise. Grab what you can carry quickly and move straight for an extraction point rather than looting every crate she leaves behind — a fight this long rarely ends with you as the only squad still alive nearby.

07Common Mistakes That Get Squads Wiped
Most failed Matriarch attempts share the same handful of mistakes. The biggest is splitting fire between the plating and the core instead of committing to one target as a team — shooting her unarmored torso while a plate is still up wastes every bullet, since damage doesn't carry through armor. The second is wasting resources on her energy shield; it's designed to absorb exactly the kind of sustained fire raiders want to throw at it, so hold your ammo and your utility items until it drops.
The third is treating phase three like phase one. Standing in the open to keep shooting the core while Bastions and Rocketeers close in is how squads lose their healer first and unravel from there. Falling back to a chokepoint the moment the swarm spawns costs you a few seconds of core damage, but it keeps your whole squad alive long enough to actually finish the fight and loot the kill, which matters more than a slightly faster clear.
How to Beat the Matriarch Step by Step
- 1Equip a weapon with Very Strong ARC penetration before you queue in — the pump-action Hullcracker grenade launcher is the community go-to, alongside rifles like the Equalizer and Jupiter — plus extra heals and an EMP grenade for the harder phases.Before you queue
- 2The Matriarch only spawns when her map condition is active on Dam Battlegrounds, The Blue Gate or Spaceport — watch for the in-raid warning that her children are keeping raiders away from her, then head toward the marked zone.First 5-10 minutes
- 3Her outer armor plates have to be destroyed before you can hurt the core underneath — focus sustained fire on the plating covering her head and chest rather than spraying her whole body.Phase 1
- 4Once the plates fall away, a bright red core is exposed — dump your highest-penetration weapon into it, since this is the only point that drops her health bar quickly.Phase 1
- 5At roughly two-thirds health she adds a stomp that stuns anyone standing near her legs, plus tracking missile volleys and gas and flashbang capsules — break line of sight behind cover instead of trying to outrun the missiles.Phase 2
- 6She periodically raises an energy shield for about a minute that absorbs bullets, grenades and Jupiter shots — stop wasting ammo on it and reposition or reload instead, then resume once it drops.Phase 2
- 7Below roughly a third health she calls in a wave of Bastions, Bombardiers, Leapers and Rocketeers — pull back to a chokepoint like a control tower or substation doorway so you only face a few ARCs at once while still working on the core.Phase 3
- 8The Matriarch drops some of the best loot in ARC Raiders, but the gunfire draws every raider on the map — grab what you can carry and move straight to an extraction point instead of looting every crate.After the kill
FAQ
Where does the Matriarch spawn in ARC Raiders?
The Matriarch is a map-condition event, not a fixed spawn — she appears on Dam Battlegrounds, The Blue Gate or Spaceport only when her event is active for that raid, flagged by an in-raid warning that her children are protecting her.
What weapons are best against the Matriarch?
Anything with Very Strong ARC armor penetration. The pump-action Hullcracker grenade launcher is built for exactly this fight, and rifles like the Equalizer and Jupiter are commonly paired with it to keep shredding the core once the plates are down.
How many phases does the Matriarch fight have?
Three. Phase one is a damage race against her armored plates and core, phase two adds stomps, missiles and a damage-blocking shield, and phase three summons a wave of smaller ARC units to defend her.
Is the Matriarch harder than the Queen?
Yes — Embark built the Matriarch as a bigger, tougher follow-up to the Queen, with far more health than the Queen (community trackers put it at roughly 23,000, though Embark hasn't published an exact number), more attack patterns, and a swarm of ARC reinforcements once she drops below a third health.
When was the Matriarch added to ARC Raiders?
She arrived in the North Line update (version 1.2.0), which also added the Stella Montis map and the Shredder enemy. She's remained part of the regular map rotation through every store and balance update since, including the current Store Update 1.48.0.
Official resources

Jonas runs the guides desk at Tutorial.Games. He replays every route, build and boss strategy on the current patch before it goes up, and re-checks it when the developer ships a balance update. Soulslikes, co-op action games and anything with a build planner.