
Control Resonant Boss Guide: Every Resonant After Hotfix 1.3.3
Control Resonant's day-one Hotfix 1.3.3 softened the Dancer and Deserter bosses. Here's every Resonant, the smartest fight order, and how Falter works.
Control Resonant dropped its shapeshifting Aberrant into your hands on September 24, and within a few hours you're already lining up against the first of Manhattan's Resonants — the paranatural entities gatekeeping every major zone Dylan Faden fights through. Remedy also shipped a same-day hotfix that changes how those fights feel, so before you go boss to boss, here's what's actually different, what each Resonant guards, and how the Falter system you'll be leaning on the whole game actually works.
01Why Resonant Plays So Differently From the Original Control
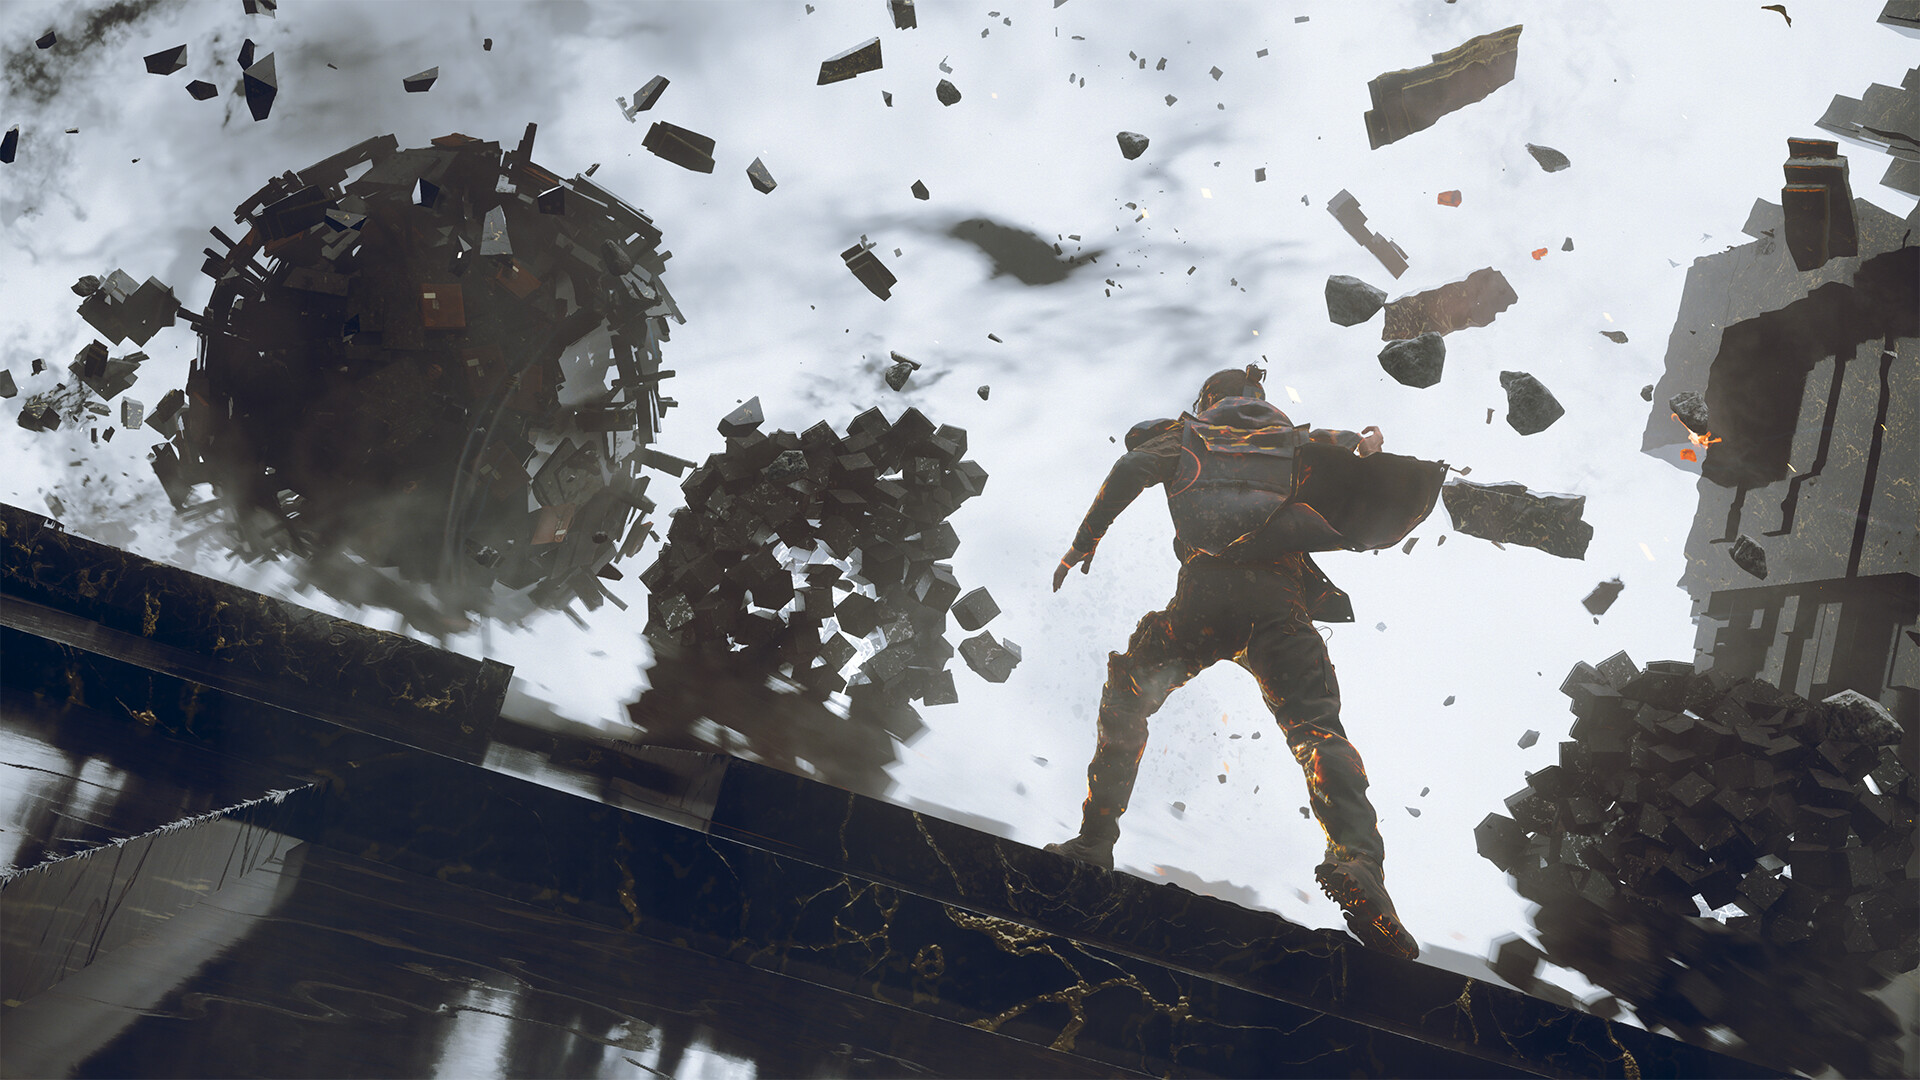
If you're coming in expecting Jesse Faden's gunplay, recalibrate. Remedy built Control Resonant around melee, with Dylan's Aberrant able to reshape itself into distinct Primary and Secondary Forms plus dedicated Combo Enders, letting you tune speed, range and role the way you'd tune a loadout in an action-RPG rather than a shooter. You can carry up to three of those weapon forms at once and swap mid-fight, which matters against Resonants specifically, since several of them punish players who stick to one attack pattern for too long. The result plays closer to a superhero brawler than a survival-horror shooter, and Remedy has been upfront that this is a deliberate genre shift for the sequel, not a side mode bolted onto the original formula.
02Every Resonant Boss in Control Resonant
Six Resonants block your path across the city, plus a seventh and final fight once you've severed every one of Hedron's links to Manhattan. Exact drops and secondary rewards are still being pinned down as more players clear the campaign, but the roster and the general shape of each encounter are consistent across early playthroughs:
| Resonant | Where You Find It | What It Guards |
|---|---|---|
| The Artist | Downtown, at the end of the prologue | Your first Combat Ability choice |
| The Deserter | The Patterned Factory, Central Manhattan | A fire-based Combat Ability |
| The Dancer | A theater in the West Incursion Zone | A knockback-style Combat Ability |
| The Collective | The Park, behind a Mold-consumption gate | A Mold-based Combat Ability |
| The Physicist | The Underpass, gated behind Astral Keys | A gravity-based Combat Ability |
| The Co-Director | The Field Office, once you reach the Unknown zone | A command-style Combat Ability |
| Hedron | A western arena, after severing its Links citywide | The story's final Combat Ability point |
The Artist is a soft opener by design; it's the last thing standing between you and the open world, and Remedy tuned it to teach the Falter loop rather than punish you for missing it. From the Dancer onward the game expects you to actually use whatever ability you picked from the Artist, not just your base Aberrant swings, since each later Resonant is built to counter a narrow playstyle rather than raw damage.
03The Smartest Order to Fight the Resonants
Remedy lets you tackle the middle of that list in almost any order, and the route most players are settling into lines up nicely with how the Aberrant grows: the Artist first, then the Dancer, the Deserter, the Collective, the Physicist and the Co-Director in whatever order suits your build, with Hedron saved for last. The one sequencing choice worth making on purpose is beating the Deserter before the Collective — its fire-based ability gives Dylan a direct counter to the Mold enemies filling the Collective's Park route, so you're not improvising an answer to spore clouds mid-fight. Swapping the Dancer and Deserter is safe either way; neither one gates content the other needs.
04Master the Falter Loop Before You Chase Resonants
Every Resonant, and most of the enemies standing between you and one, run on the same system: Falter. It's the stagger meter underneath an enemy's health bar, and it fills as you land hits with the Aberrant, Dylan's shapeshifting melee weapon. Fill it and you get a prompt to execute the target outright, and that execution briefly boosts your own melee damage — the loop Remedy built its entire combat system around. Landing hits also recharges the resource behind your Combat Abilities, so backing off to play it safe is the wrong instinct here. Staying in a Resonant's face is what keeps your abilities coming back online.
“One of the drivers of the story is that Dylan has to chase down Resonants, which are former persons of power transformed by the mysterious pattern changing the world.”Sergey Mohov, Lead Gameplay Designer, Remedy Entertainment
05Build Around Talents, Not Just Combat Abilities
Combat Abilities get the headlines because you earn them from Resonants, but Remedy's own breakdown of the build system puts equal weight on Talents, the passive layer that connects your Aberrant forms and abilities into a single combo chain. One effect is meant to trigger the next, so a build that only stacks damage numbers underperforms one that chains a Falter proc into an execution into an ability refund. Because Hotfix 1.3.3 also made respeccing cheaper and stocked more Reset Items at vendors, there's little reason to commit to a single build before you've actually fought a Resonant with it. Try a loadout, see which Talents you're not using, and reset for free rather than fighting through a boss with a build you already know isn't working. Remedy calls the menu where you actually shape all of this "the Gap," a dreamlike progression space you pull up mid-run rather than a traditional pause-menu skill tree, and it's built around the same three pillars every Resonant fight tests: your Combat Abilities, your Aberrant Forms, and the Talents linking them together.
That framing matters going into a boss fight cold. A Resonant that looks unbeatable on your first pull is often just testing a pillar your current build ignores — a Physicist encounter built around gravity manipulation will feel unfair if every Talent you've slotted is tuned for close-range Aberrant damage, for instance. Before you retry a fight for the third time, it's worth a trip back to the Gap to see whether the ability you're leaning on actually answers what that specific Resonant is throwing at you, rather than just grinding the same attempt harder.
06What Hotfix 1.3.3 Actually Changed
Remedy didn't wait for a post-launch season to start tuning these fights. Hotfix 1.3.3 went out alongside the game on September 24 specifically because early feedback said enemies, and two of the Resonants, were soaking up too many hits. The patch reduces the base health and the required Falter level of most standard enemies, plus the Dancer and Deserter bosses by name. It also raises the ceiling on Dylan's maximum Aberrant Strength and Ability Strength, with the biggest jumps saved for later upgrades, and permanently cuts the cost of respeccing while stocking more Reset Items at vendors — the Artist fight now drops two of them instead of one. Remedy also cleaned up a couple of confusing UI labels, so the Aberrant Strength stat now reads "Damage and Falter X%" instead of the old generic "Multiplier" text. None of that changes what the Resonants actually do, just how many hits it takes to get there, so if you bounced off the game in its first few hours, know that the Dancer and Deserter specifically are softer than they were at launch.
07Prep Work: Reset Items, Astral Keys and the Late Game
A few of the later fights gate themselves behind small side objectives rather than raw difficulty. The Physicist won't engage until you've tracked down a set of Astral Keys scattered around the Underpass and its Astral Plane offshoot, and the Co-Director doesn't appear until you've pushed into the Unknown zone around the Field Office. None of that is optional grinding — it's paced into the story — but it does mean you shouldn't expect to walk straight from the Collective to the credits. Use the downtime between those objectives to farm Reset Items and lock in whichever Talent combo felt strongest against the Collective, since the Physicist and Co-Director both test a very different skill set than the earlier Resonants do.

Resonant Boss Order Walkthrough
- 1Beat the prologue's final fight to pick your first Combat Ability and open up Manhattan proper.Prologue
- 2Check for updates before your first real Resonant fight — the day-one patch already softened the Dancer and Deserter.Before Manhattan
- 3Head to the West Incursion Zone theater once you've got a movement ability that opens its route.Early game
- 4Clear the Patterned Factory for a fire-based Combat Ability before the Collective puts Mold enemies in your way.Early-mid game
- 5Work through the Park's Mold-consumption gate; the Deserter's fire ability makes this fight far more manageable.Mid game
- 6Search the Underpass and its Astral Plane offshoot before the fight will trigger.Mid-late game
- 7Push into the Unknown zone around the Field Office, then sever every Hedron Link across the city before the finale.Late game
08Turn On Assist Mode If You Just Want the Story
If a Resonant is the reason you've stopped playing, Remedy built an out. Assist Mode, in the Gameplay options menu, breaks difficulty into independent sliders for incoming damage, outgoing damage, outgoing Falter and enemy aggression, on top of toggles for Immortality, One-Hit Kills and a new One-Hit Falters option that ends any fight in a single stagger. None of it is hidden behind a hub you need a guide to find. It's built to let you dial in exactly the amount of friction you want, fight by fight, without committing to one overall difficulty label that changes the entire game at once.
FAQ
How many Resonant bosses are in Control Resonant?
Six: The Artist, The Deserter, The Dancer, The Collective, The Physicist and The Co-Director, plus Hedron as the final boss once you've severed its Links across Manhattan.
What does Hotfix 1.3.3 change about the bosses?
Remedy's day-one hotfix lowers the base health and Falter requirement of most enemies and specifically the Dancer and Deserter, raises the ceiling on Dylan's Aberrant and Ability Strength, and makes respeccing cheaper with more Reset Items in circulation.
What's the best order to fight the Resonants?
The Artist first, then the Dancer, Deserter, Collective, Physicist and Co-Director in whatever order suits your build, with Hedron last. The one sequencing choice worth making on purpose is beating the Deserter before the Collective, since its fire ability counters the Mold enemies guarding the Park.
What do you get for beating a Resonant?
A unique Combat Ability. Lead gameplay designer Sergey Mohov has said defeating a Resonant is how Dylan inherits its supernatural ability.
Can I make the boss fights easier or harder?
Yes. Assist Mode in the Gameplay menu has independent sliders for incoming damage, outgoing damage, outgoing Falter and enemy aggression, plus toggles like Immortality, One-Hit Kills and One-Hit Falters.
Official resources
- Control Resonant on Steamstore.steampowered.com
- Hotfix 1.3.3 patch notessteamcommunity.com
- Remedy Entertainment: Control Resonantremedygames.com
- PlayStation Blog: combat and buildcrafting deep diveblog.playstation.com
- Control Resonant on Wikipediaen.wikipedia.org
- Official Control Resonant supportremedy.helpshift.com

Jonas runs the guides desk at Tutorial.Games. He replays every route, build and boss strategy on the current patch before it goes up, and re-checks it when the developer ships a balance update. Soulslikes, co-op action games and anything with a build planner.