Ocarina of Time Switch 2: Best Settings and Controls Guide
Nintendo's Ocarina of Time remake buries its best settings in a crowded menu. Here's every HUD, control and ocarina option worth changing first.
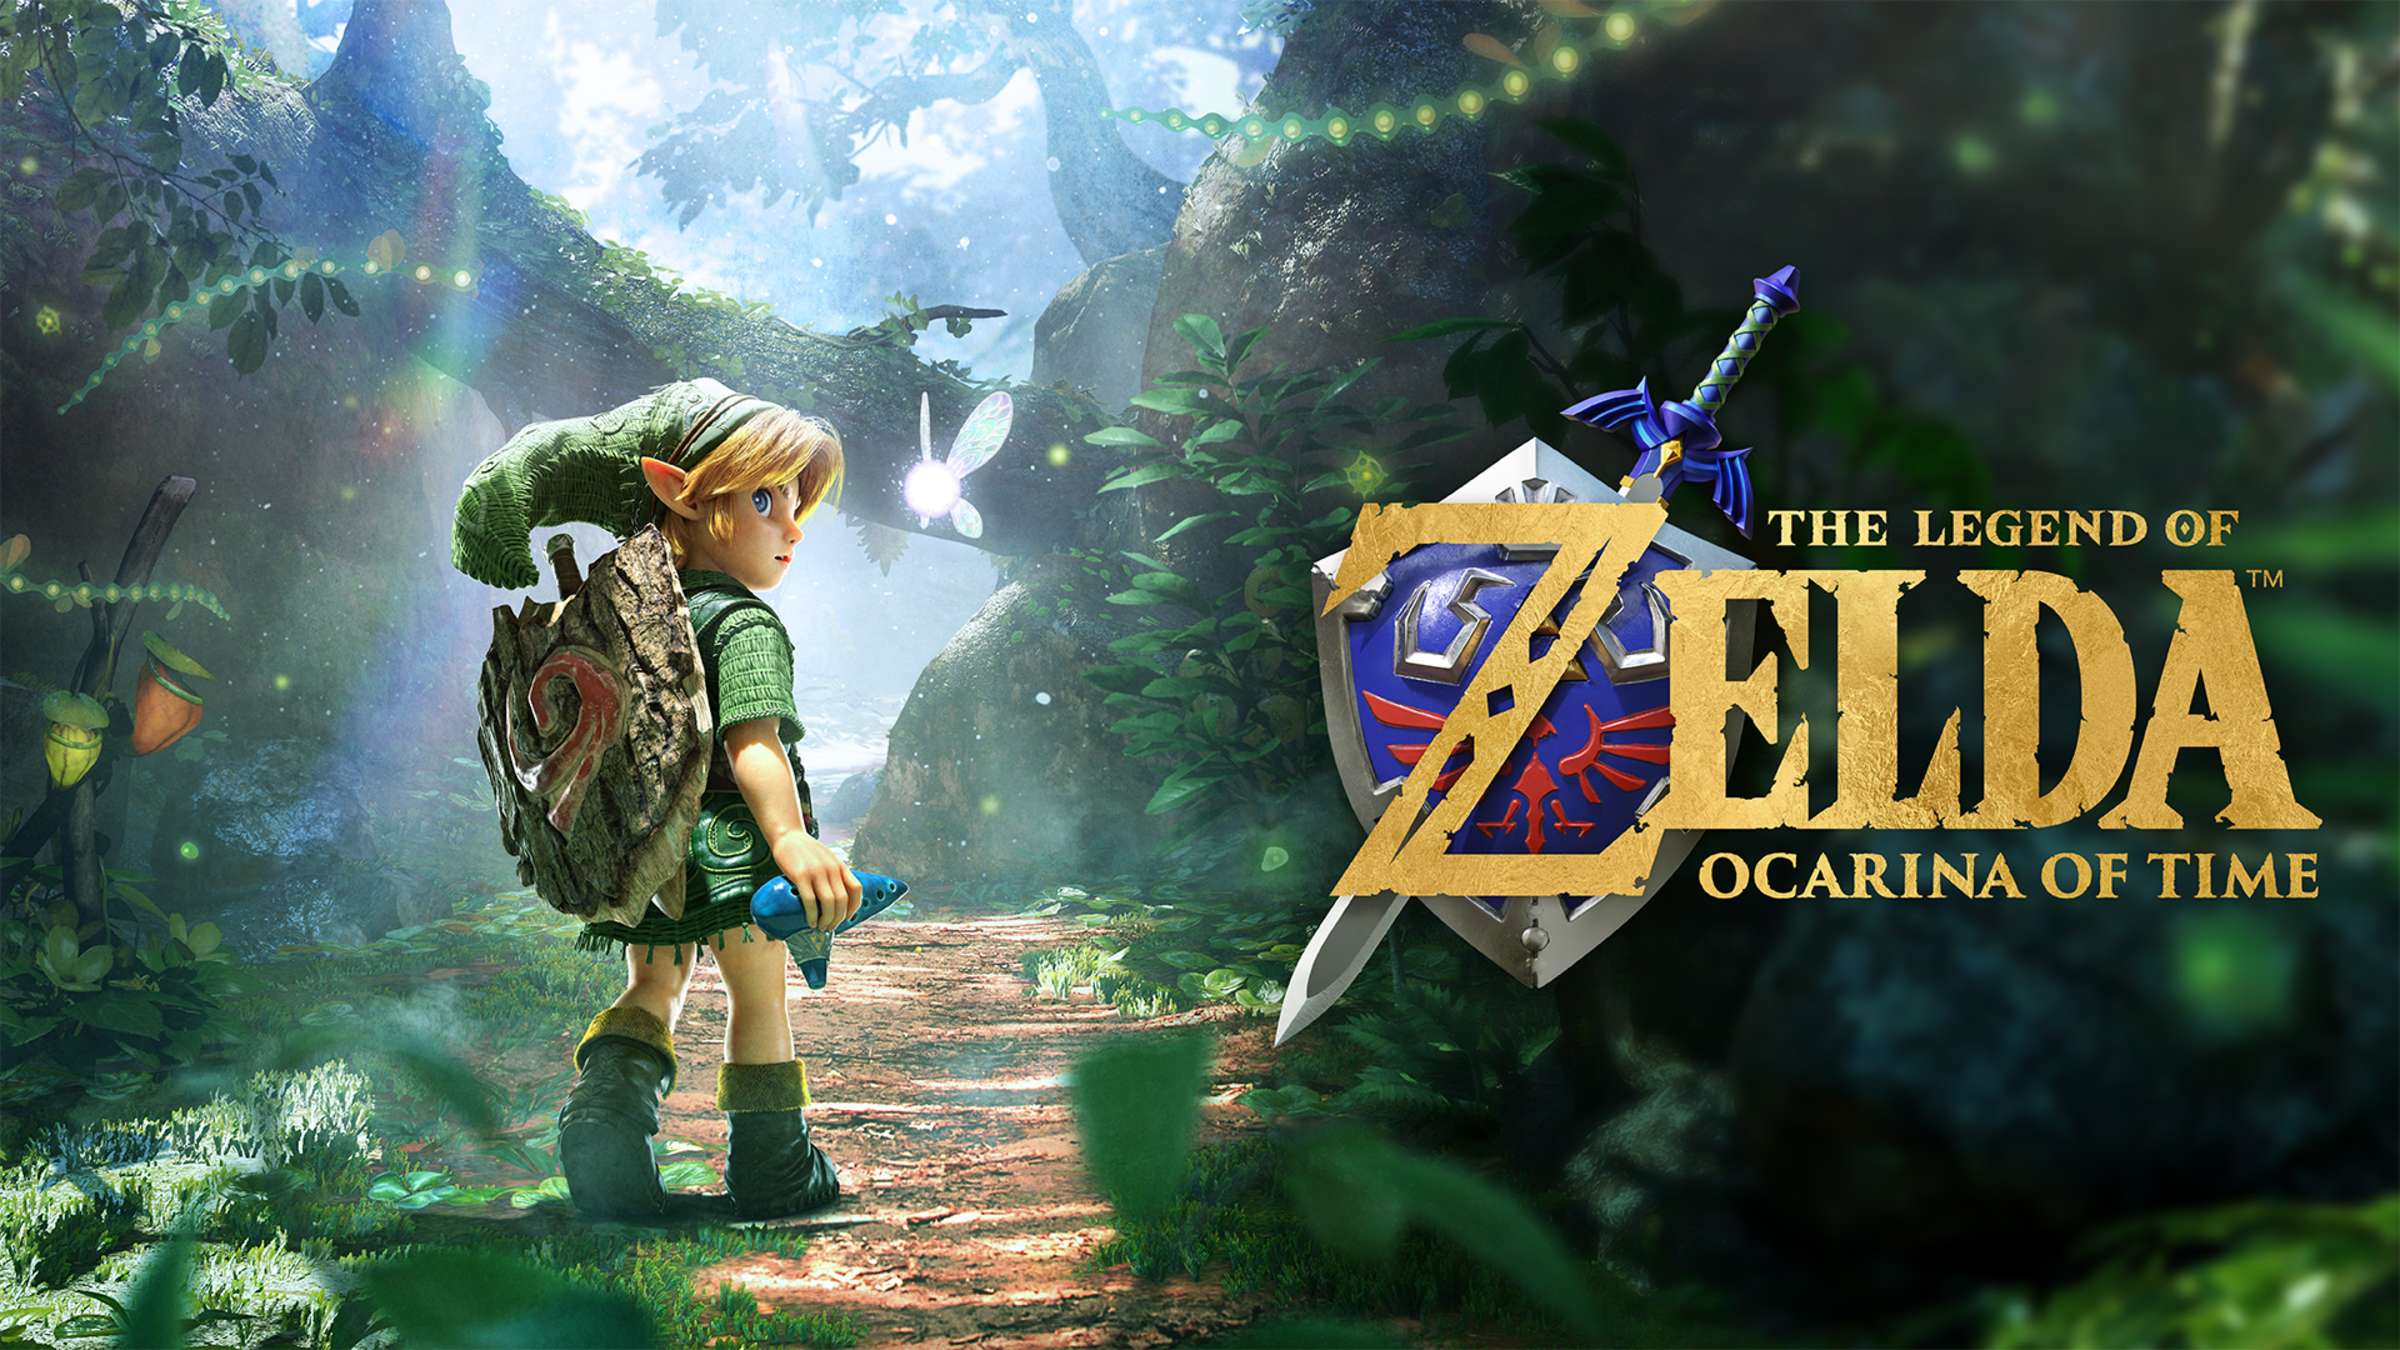
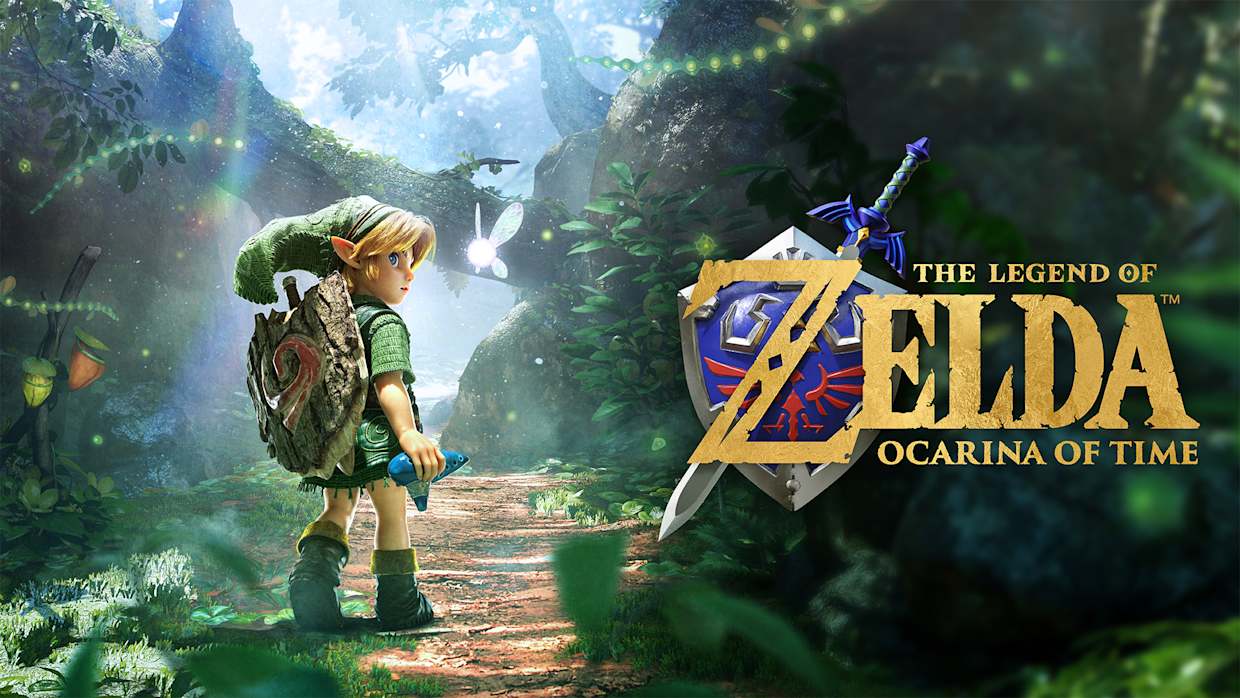
Nintendo's ground-up remake of The Legend of Zelda: Ocarina of Time launched on Switch 2 on November 5, 2026, and it isn't just a resolution bump. The in-house EPD team that built Breath of the Wild and Tears of the Kingdom rebuilt the N64 classic with new HUD presets, reworked targeting, motion aiming, and an ocarina you can play with a real instrument if you own one. None of that is explained in a tutorial inside the game itself, and the options menu buries several of the most useful toggles. This guide walks through every setting worth changing before you leave Link's house, plus the save, amiibo and accessibility details Nintendo's own product page only mentions in passing. It applies whether you're coming in fresh or replaying a run you know by heart — returning players will want to look hardest at the HUD presets and motion aiming, since both change how familiar fights actually feel, while newcomers should prioritize the targeting and ocarina sections first.
Series producer Eiji Aonuma has said the point of revisiting this specific game was generational: many of today's Zelda developers only ever worked on the open-world era, and remaking Ocarina of Time was a way to reconnect the whole team with where the series started. That context matters for a settings guide, because it explains why so much of the interface is rebuilt rather than just reskinned — the HUD, the targeting, and the ocarina input are all new systems layered onto the original dungeon design, not simple ports of the N64 options.
01Choosing Your HUD: Standard, Pro and Master Display Modes
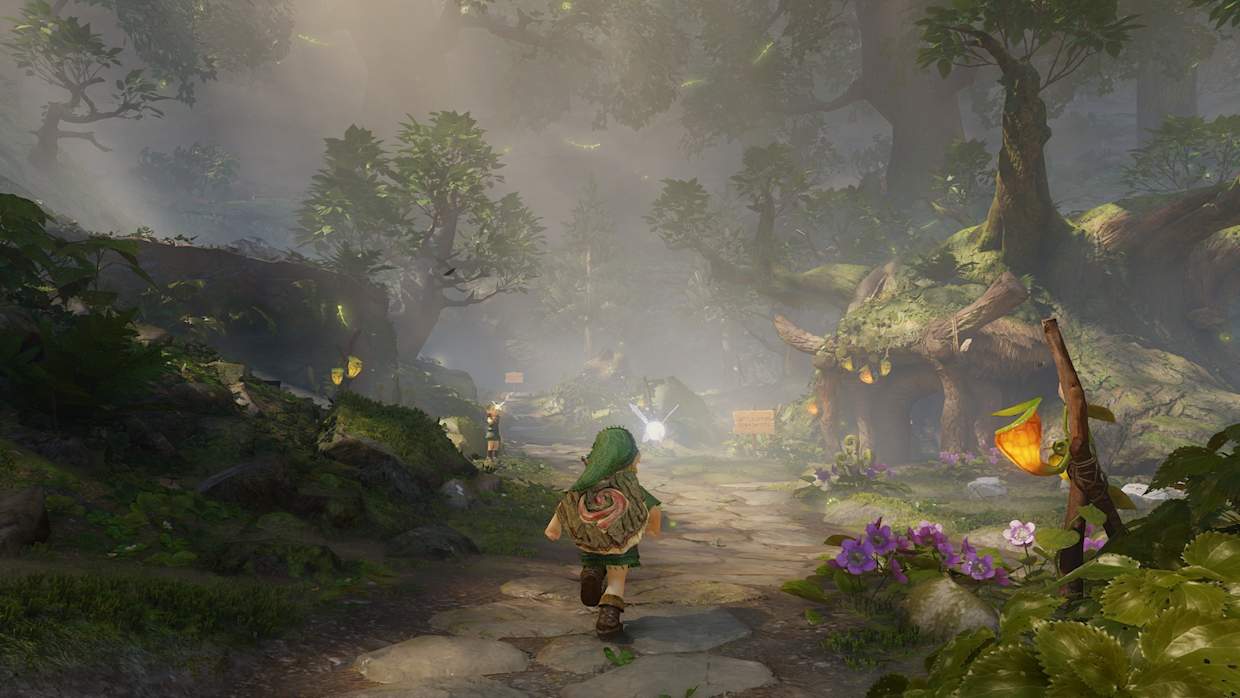
Open the pause menu and head to Options to find the first decision worth making: the display mode. Nintendo built three distinct presets rather than a single toggle.
- Standard keeps the full interface — control reminders, your selected item, and your Hearts are all visible, matching how most players remember the original.
- Pro strips the screen down to minimal information, hiding most of the HUD including your Hearts so combat and exploration read more cinematically.
- Master removes everything non-diegetic, including the lock-on reticle over enemies, for a screenshot-clean presentation with no safety net telling you what's targeted.
Start on Standard for your first dungeon. Pro and Master are genuinely harder to play on, since you lose the Heart count and, on Master, the targeting reticle — switch once you know the controls well enough to read enemy tells without a HUD cue. There's no separate photo mode bundled with any of the three presets, so if you want a clean shot, Pro or Master during a cutscene is currently the closest substitute.
| Mode | What's visible | Best for |
|---|---|---|
| Standard | Hearts, item slot, control prompts | First playthrough, bosses |
| Pro | Minimal prompts, Hearts hidden | Exploration, screenshots |
| Master | No HUD, no targeting reticle | Replays, challenge runs |
02Controls, Targeting and Motion Aiming
The core layout is closer to a modern action game than the N64 original: ZL handles Z-targeting, ZR uses your equipped item, and L/R scroll through your Quick Select item bar instead of pausing to swap manually. Jump and sprint are now dedicated inputs rather than context-sensitive actions, and sprinting has no stamina meter shown on screen.
Two settings are worth checking immediately in Options:
- Targeting style — set Z-targeting to Hold or Toggle depending on whether you want to keep a finger on ZL through a whole fight or tap it once and let go.
- Motion aiming — turning this on lets you fine-tune the Fairy Bow, Hookshot and slingshot by physically tilting the controller, layered on top of regular stick aiming rather than replacing it. It's off by default and worth enabling before the Dodongo's Cavern boss, where precise Bomb Bag timing matters.
If you own a Switch 2 Pro Controller, you can also remap its GL and GR back buttons to frequently used actions — but that remap lives in the system-level Switch 2 menu (hold the Home button), not in the game's own Options screen, and it only works with the Pro Controller in docked or tabletop play, not Joy-Con 2 or handheld mode. In-game remapping itself is limited: you can swap which button handles jumping versus item use, but the rest of the layout is fixed.
03Playing the Ocarina: Buttons, Humming or a Real Instrument
The title instrument gets its own input menu, and it's the one setting genuinely unique to this remake. You can play every song the traditional way, pressing face buttons for each note, or switch to a one-handed N64-style grip versus the two-handed grip from the 2011 3DS remake, whichever feels more natural.
Two more options go further than any past version of the game:
- Hum or whistle the melody into the Switch 2's built-in microphone and the game will recognize the notes, no buttons required.
- Play a real ocarina into the mic. Nintendo has acknowledged third-party electric ocarina accessories, including one from HORI, as compatible input devices.
Once you've picked an input method, keep a rundown of what each melody triggers handy so you know which tune to reach for in the field rather than scrolling through your song list mid-fight. Whichever input you choose, practicing Zelda's Lullaby and Saria's Song in a safe room before you need them under pressure will save you more time than any display setting on this page.
04Amiibo Bonuses, Save Slots and Cloud Saves
Tap any existing Legend of Zelda amiibo on your Switch 2 to unlock in-game extras — Nintendo's own product listing confirms the figures you already own work with this remake, and dedicated Young Link and Young Zelda amiibo tied to the game are planned for 2027, after launch, as a separate purchase.
Saving works differently than it did on N64. Each Switch 2 user profile gets a single save file for this remake instead of the original's three manual slots, with cloud backups available through a Nintendo Switch Online subscription — that cloud sync is tied to your subscription staying active, so if it lapses you're relying on local storage alone until you renew. If you want a second, independent save — say, for a sibling or a fresh low-percent run — the practical workaround is creating an extra local user profile on the console, since the game itself doesn't offer multiple save slots per profile. The Switch 2 supports up to eight local profiles, so there's plenty of room to set one aside purely for a second file.
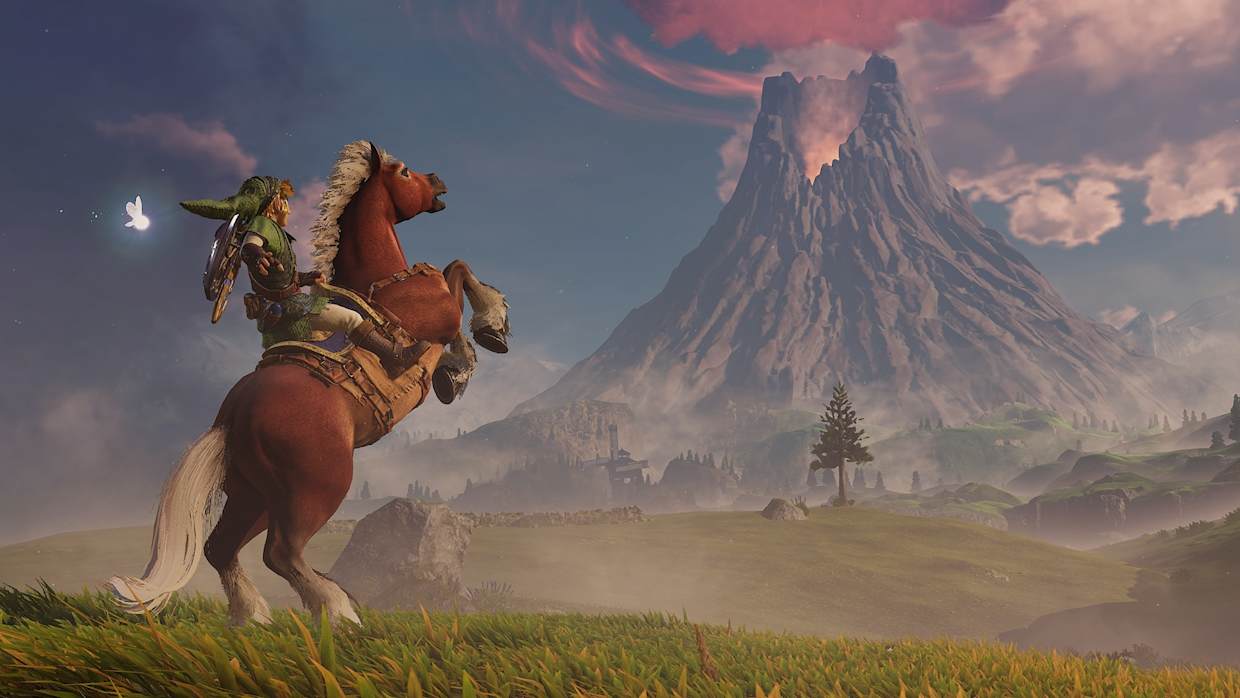
“Do they truly understand just how significant The Legend of Zelda: Ocarina of Time was to the series as a whole?”Eiji Aonuma, Series Producer, Nintendo
05Accessibility, Audio and the Day-One Patch
In Options you'll find subtitles with an on/off toggle and an optional speaker-name display, a separate voice language selection independent of your system language, and controller vibration settings. Nintendo's own product page also lists the game as playable without motion controls and playable without touch controls, with color alternatives noted for some UI elements. A dedicated colorblind filter, adjustable text size, and a named difficulty or assist mode are not confirmed in any options menu we could verify — if you need one of those specifically, treat it as unconfirmed rather than assume it's hiding in a submenu.
Make sure you're on version 1.1.1 or later, the day-one patch that shipped the day before launch. Beyond unspecified stability fixes, it's what enables ZELDA NOTES companion-app support, including a daily quiz and a virtual ocarina you can practice on away from the TV. Third-party technical analysis has pointed to a 1080p-and-below, 60fps target using FSR1 upscaling rather than DLSS, with some sharpening visible in handheld mode — Nintendo itself hasn't published official resolution numbers, so treat any specific pixel count you read as a press estimate, not a spec sheet.
06Quick Setup Checklist Before You Start
If you'd rather just work through the options menu once and get playing, use this order.
Settings Checklist Before Kokiri Forest
- 1Open Options and choose Standard, Pro or Master depending on how much interface you want on screen.1 min
- 2Choose Hold or Toggle for Z-targeting on ZL so it matches how you naturally hold the controller in a fight.1 min
- 3Enable motion aiming if you want finer control over the Fairy Bow, Hookshot and slingshot on top of stick aiming.1 min
- 4Decide between button presses, humming into the microphone, or a compatible physical ocarina accessory.2 min
- 5Turn on subtitles with speaker names if you want them, and pick your voice language independently of your system language.1 min
- 6Update if prompted so ZELDA NOTES companion features and day-one fixes are active before you start.2 min
None of these settings are permanent — you can revisit Options between dungeons as your comfort with the controls grows, and nothing here affects your save file or progress. Spend five minutes on this checklist before Kokiri Forest and the rest of the remake plays the way Nintendo actually designed it to.
FAQ
Does the Ocarina of Time remake have a photo mode?
No photo mode has been confirmed for this remake. The closest substitute is switching to the Pro or Master HUD preset during a cutscene for a cleaner screenshot.
Can I fully remap the controls?
Not in-game. You can swap jump and item-use buttons from the Options menu, and separately remap the GL/GR back buttons on a Switch 2 Pro Controller through the system-level menu, but the rest of the layout is fixed.
Do my existing Zelda amiibo work with this remake?
Yes. Nintendo's own product listing confirms tapping any existing Legend of Zelda amiibo unlocks in-game extras, and dedicated Young Link and Young Zelda amiibo are planned for 2027.
How many save files can I have?
One per Switch 2 user profile. If you want a second independent save, create an extra local profile on the console since the game itself doesn't offer multiple slots per profile.
Can I really play the ocarina with a real instrument?
Yes. The game can recognize humming or whistling through the Switch 2 microphone, and Nintendo has acknowledged compatible third-party electric ocarina accessories, including one from HORI.
Official resources

Ana writes the step-by-step tutorials: settings, controls, configs and the systems games never explain properly. Every tutorial is tested on the version named at the top of the page, with the official patch notes linked so you can check what changed.