Once Human Isles of Abyss Guide: How to Beat the Sunken Lord
Once Human Isles of Abyss expansion guide: build a Sea Fortress, survive Phase II and defeat the Sunken Lord raid boss in the new ocean scenario.
Once Human's free Isles of Abyss scenario went live after maintenance on October 21 (PT), and it is the biggest content drop Starry Studio has shipped since the game's 2024 launch. The update swaps the familiar Nalcott wasteland for a new ocean archipelago, adds full ship building and naval combat, and caps off with a team raid against an entity the game calls the Sunken Lord. This guide covers how the scenario is structured, how to get your first ship on the water, and the fight steps for the Sunken Lord itself, pulled directly from Starry Studio's own dev blog rather than guesswork.
01How Isles of Abyss Is Structured
Isles of Abyss is a separate PvE scenario, not a patch to the main Nalcott map, and you sign up for it from the scenario selection screen the same way you would any other scenario. Each server runs 12 worlds, and the core experience cycle lasts roughly 21 days split into two phases: Phase I runs 5 to 10 days (the exact length shrinks as server-wide purification advances), and Phase II runs 11 days. A rest stage follows once both phases are done. A permanent server is expected to open on November 12 (PT), ahead of the first batch of temporary servers closing, so anyone who joins late still has a long-term home for their build.
Characters start the scenario at max level, and the Cradle system from the main game is turned off here. Instead, you advance through Tech points earned by exploring, gathering, and clearing challenges, which gradually unlocks higher-rarity gear, ship parts, and ocean facilities. Your existing Blueprints and Mods carry over, but the rarity you can craft is capped by how far your Tech has progressed.
02Getting Your First Ship on the Water
You start on Fragrant Cape, a coastal region of flower fields, coconut groves, and grounded shipwrecks that's built to be an easy first stop for gathering basic supplies before you head out. The moment you're ready, open Build Mode to put down your first vessel; once you own a ship, you can either reposition it from Build Mode or summon it to your location with a shortcut key, so you're never stuck walking back to find it.
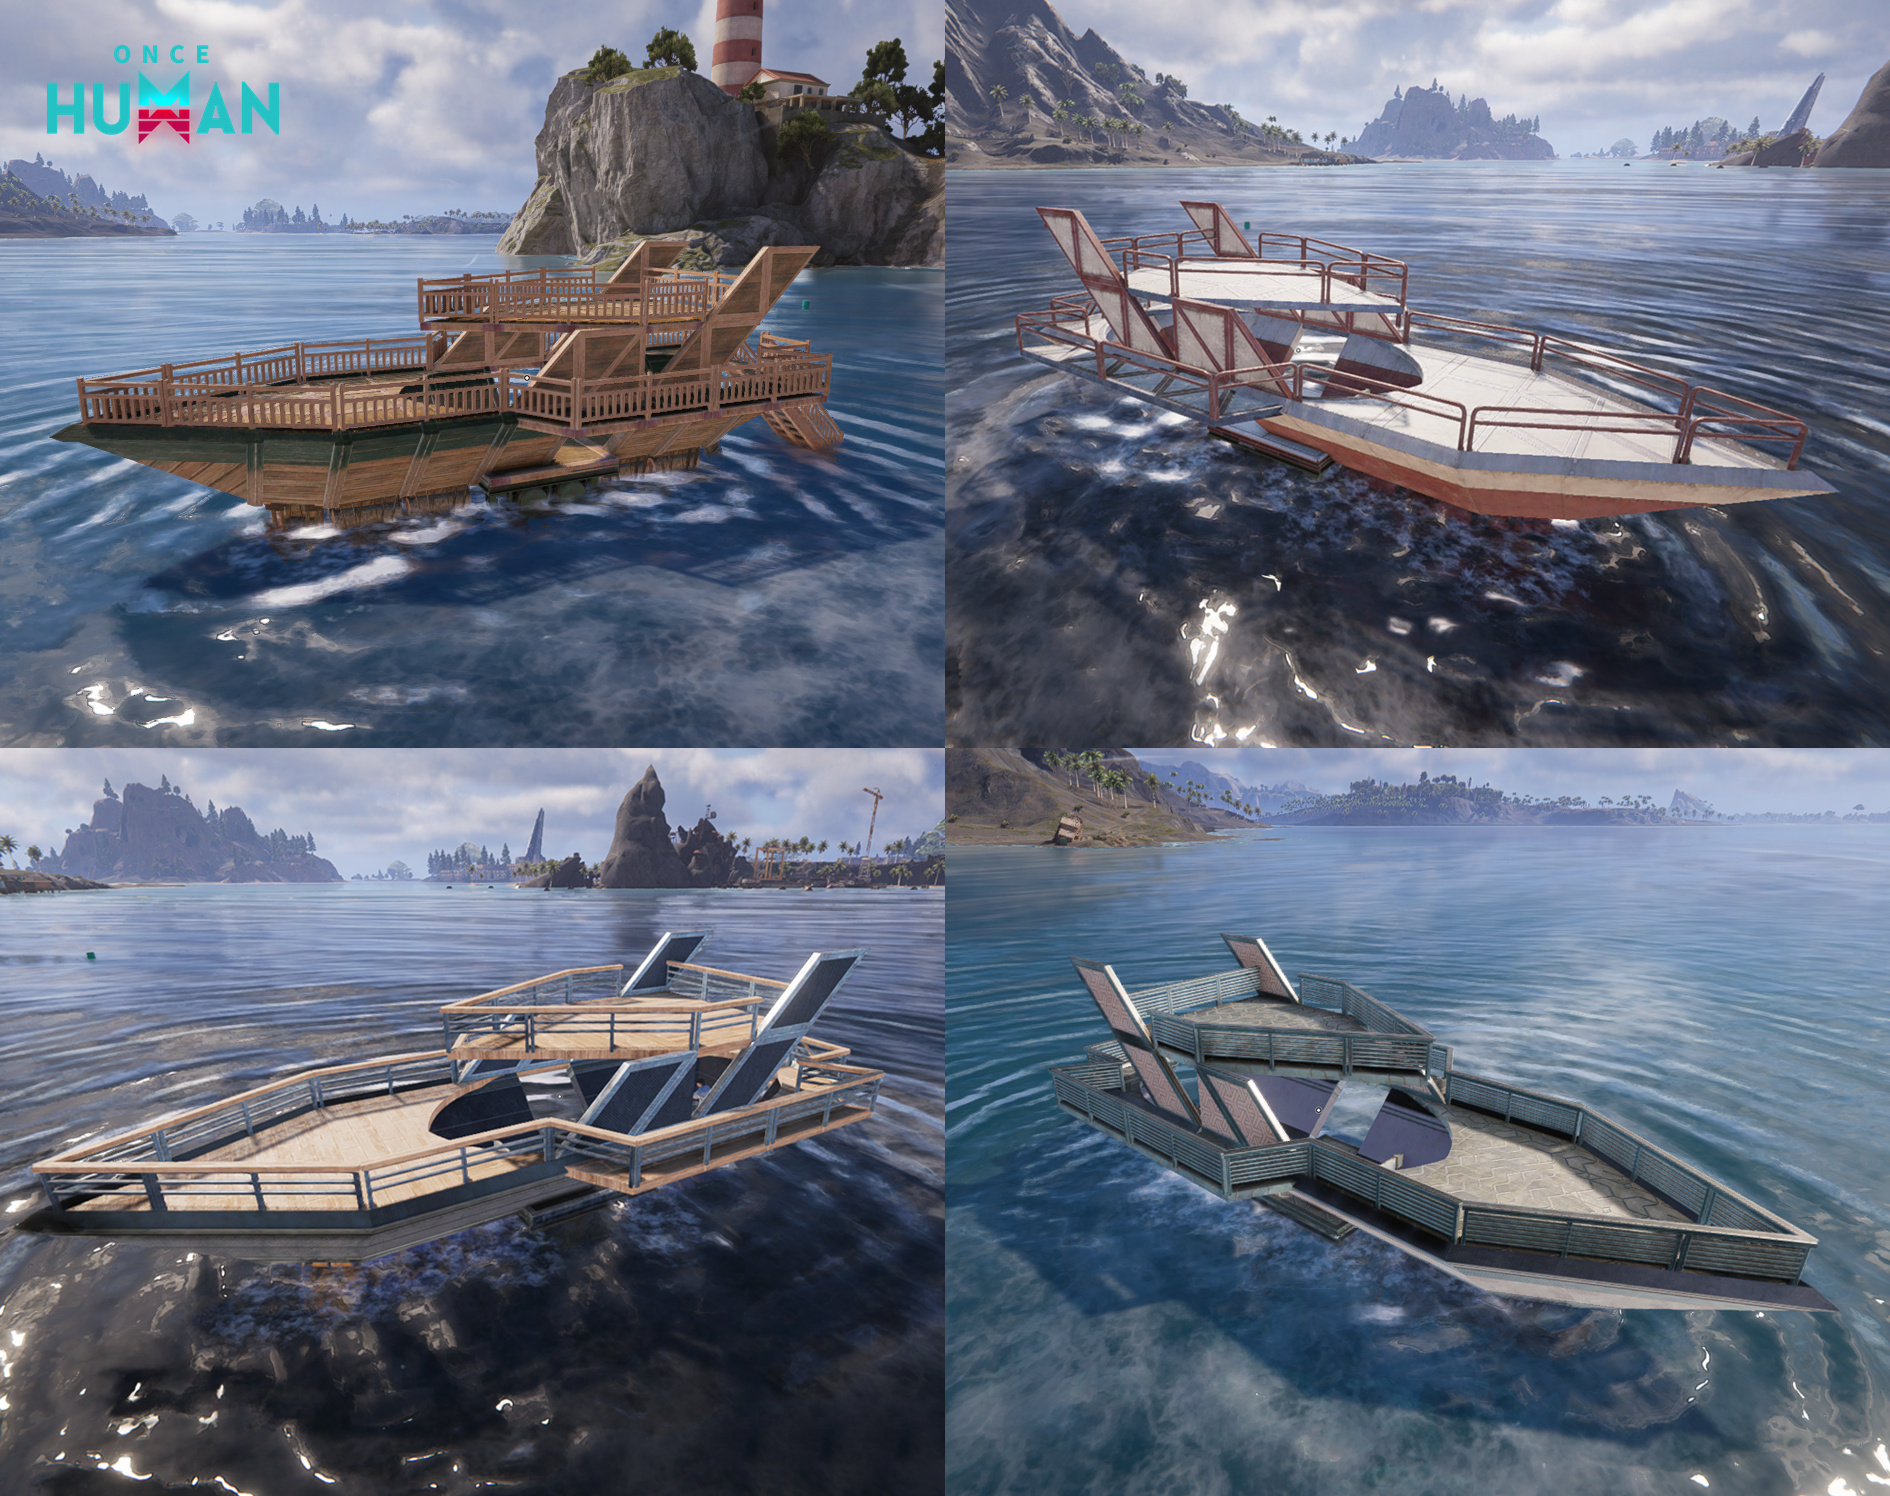
Ship construction uses dedicated hull, gunwale, bow, deck, handrail, and bulwark pieces in square, triangular, sloped, and curved shapes, built in wood, iron, steel, or alloy. You can save a finished layout as a design and drop it again later instead of rebuilding from scratch, which matters once you're iterating on a dedicated Sea Fortress rather than a starter raft. Propulsion scales from manual paddling and sails up through fuel engines and electric drives, and you can mark a route and let Auto Cruise sail it for you while you manage supplies or fight off whatever finds you along the way.
03Surviving the Five Sea Regions
Each of the five sea regions pairs a distinct biome with its own recurring weather hazard, called a Haywire Zone, and each hazard both punishes you and hands you a resource you can't get anywhere else:
- Fragrant Cape — the starting coastline; no major hazard, just coastal gathering and wrecked ships to loot.
- Reefshadow Bay — cold tundra and reef cliffs hit by the Mist of Deceit, which shrinks your view the lower your HP drops; gathering Mist Core Grass here yields Wicks used for cannonballs and electrical facilities.
- Misty Marsh — dense swamp forest under the Black Tide, which deepens Stardust contamination but drops Stardust Ore and Black Tide Clots (gathering clots costs Sanity, so keep it topped up before you farm them).
- Spring Valley — humid mangroves and crocodile-infested coast hit by Time Rain, which speeds up gear durability loss but also speeds up crop and animal growth; fighting or farming in the rain yields Bottled Raindrops.
- Falling Ember — a volcanic island under Skyfire, where falling meteors damage nearby players and buildings and spawn Deviant guardians; mining the meteors nets Skyfire Gold for alloy ship parts.
Small islands between the main landmasses exist purely for docking, resupply, and short gathering stops, and which Haywire Zones are active shifts as the scenario phase advances, so don't assume Phase I conditions will hold once Phase II opens up.
04Gear, Dishes, and Ocean Tech Worth Prioritizing
Before you dive, a Basic Diving Suit gives baseline resistance to ocean contamination, and Fish Oil Paste adds temperature resistance plus a short window of contamination immunity. The Shark Diving Suit, unlocked later, protects better and swims faster. An Oxygen Tank auto-fills when you're about to run out, an Inflatable Float gets you to the surface fast in an emergency, and an Air Cushion throws down a temporary floating platform when you need a breather mid-swim. The Spear Gun is your answer to underwater threats directly.
Each Haywire Zone has a matching counter-item: Mist Core Clarity Soup and the Blaze Core Lantern for the Mist of Deceit, the Black Tide Protective Mask for the Black Tide, Time-Reverse Cookies or a Time-Reverse Raincoat for Time Rain, and Cooling Patches or All-Weather Stew for Falling Ember's heat. None of these are optional flavor items — pack the one that matches wherever you're sailing, because Starry Studio built real mechanical pressure (vision loss, Sanity drain, durability loss, heatstroke) into skipping them.
For your ship, the cannon you mount matters as much as the hull you build. The Javelin Cannon tracks small moving targets, the Harpoon Cannon punches through the water surface at marine life, the Long Cannon is built for decks and structures, the Rapid-fire Cannon trades damage for a faster rate of fire against exposed weakspots, and the Shotgun Turret covers a wide spread against enemy ships. Reaching Phase II unlocks four more: the Rocket Launcher, the explosive Oil Drum Launcher, the triple-burst Repeating Shotgun Turret, and the freezing Freezing Cannon. You can flip between mounted cannons mid-fight with the ship's weapon wheel, so there's no reason to commit to one loadout for an entire voyage.
05Clearing the Calamity Tower and Calamity Nest First
Before you're anywhere near ready for the Sunken Lord, the Calamity Tower and Calamity Nest are the challenges that gear you up for it, and both unlock craft recipes tied to the main scenario story as you clear them.
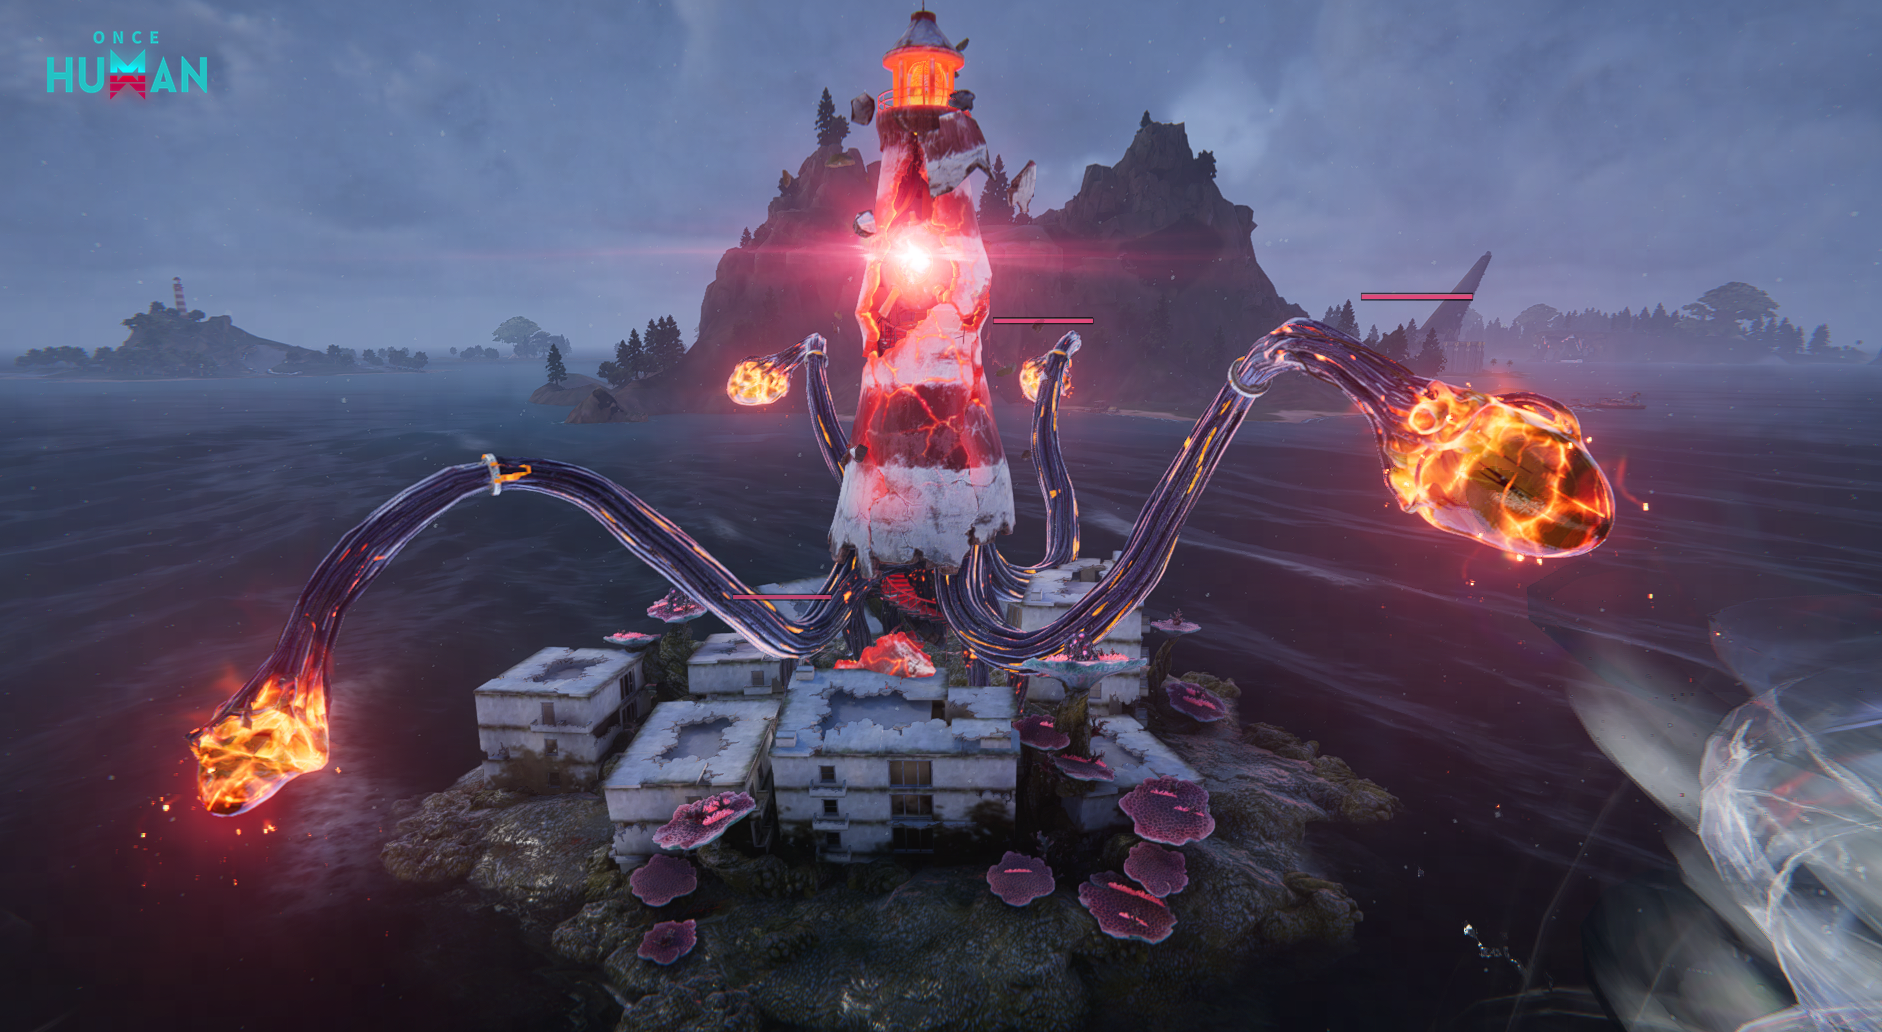
The Calamity Tower revolves around tentacles and exposed weakspots: clear the outer threats first, then focus fire the moment a weakspot opens. Some tentacles block paths, summon reinforcements, or heal and share damage across the fight, so assigning who handles support duty matters as much as raw DPS. Ship cannon damage is specifically relevant here, since some tentacles sit behind building protection that only heavier ordnance cracks open. In Phase II, the deeper "Calamity Tower: Abyss" variant stacks tentacle abilities, adds active core attacks, throws in Voyager reinforcements, and layers on waves, fog, icebergs, and water tornadoes that mess with your routing.
The Calamity Nest, on land, centers on the Calamity Owl, which summons adds and leans on sound-wave and area attacks. Its "Revenge" mechanic marks one player as the pursuit target while opening a window for that player to land a hit on the alpha, so protecting whoever's marked is the core of the fight. Some difficulty tiers extend into the air — grab fallen feathers for a brief lift, and touch floating energy orbs to counter the Owl directly.
06How to Beat the Sunken Lord
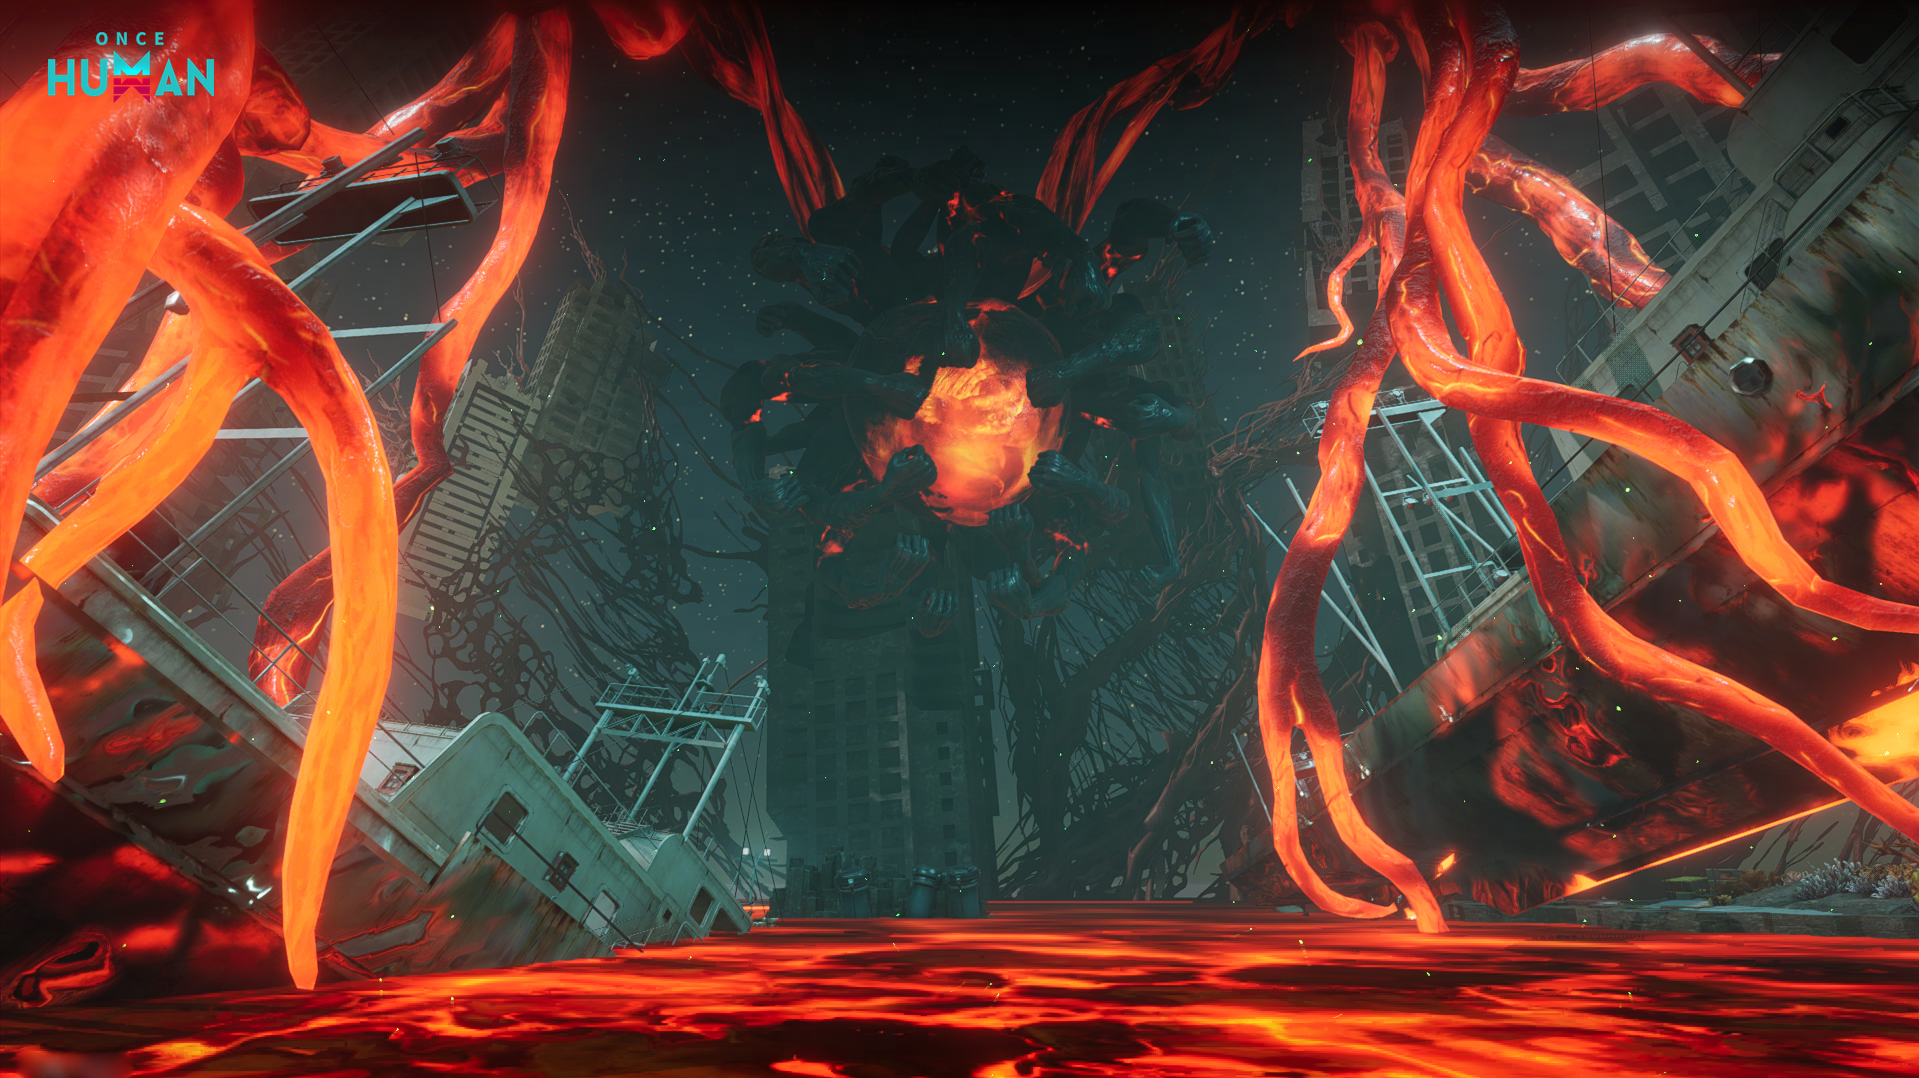
The Sunken Lord is the scenario's endgame raid boss, and it only becomes accessible once your server's purification progress hits 100% in Phase II, at which point its entrance platform physically rises out of the water. Starry Studio has been upfront that this is a team challenge built around ship handling, cannon management, and coordination rather than a solo DPS check.
How to Beat the Sunken Lord
- 1Keep clearing Phase II content until your server's purification meter fills; the Sunken Lord's entrance platform only rises out of the water once it hits 100%.Phase II
- 2Group up and defeat the Calamity Hatchling guarding the entrance area before the platform opens into the raid proper.~10 min
- 3Push through the door battle that follows the Hatchling kill — this is the checkpoint that unlocks the deeper corridors.~5 min
- 4Fight through multi-layered platforms and corridors, clearing tentacles and enemies that support each other as you go.~10 min
- 5At the Core, clear outer tentacle sieges and arrayed barrage waves before focusing exposed weakspots, the same pattern as the Calamity Tower.~10-15 min
- 6Watch for the Core's heavy smash attacks against your ship's hull — move out of the impact zone rather than tanking it, especially in a lighter-armored Sea Fortress.Ongoing
- 7Lava spreads and compresses the safe area as the fight continues, so plan your retreat routes early instead of fighting yourself into a corner.Final stretch
Clearing it is worth the trouble: Starry Studio has confirmed the Sunken Lord is one of the sources for the new Duet Deviation, which lets you shift weather effects inside your own territory in real time, along with the scenario's new armor Mods (Precision Load for the lower body, which returns bullets on long-range weakspot hits, and Turret Enhancement for gloves, which boosts facility damage). Both the Mods and the Deviation can also be chased separately by spending Heart of the Ocean, the scenario's dedicated advanced resource, during the Calamity Tower or Sunken Lord reward stage if the drop doesn't land on your first clear.
Launch week also comes with sign-in gifts of Legendary and Gear Blueprints, a double rebate on your first purchase, and a free commemorative weapon skin, and Starry Studio timed a Halloween event to run alongside the scenario for extra cosmetics and Shiny Mods. None of that is required to clear the Sunken Lord, but it's worth picking up while you're already logging in for the ocean content.
FAQ
When did Isles of Abyss launch in Once Human?
Starry Studio's official dev blog confirms the scenario went live after maintenance on October 21, 2026 (PT), which lands as October 22 in most other time zones.
Do I need to clear the main Nalcott story first?
No — Isles of Abyss is a separate PvE scenario you join from the scenario selection or sign-up screen, the same way you'd join any other scenario, and characters start at max level inside it.
How long does one Isles of Abyss cycle last?
Roughly 21 days total: Phase I runs 5 to 10 days, Phase II runs 11 days, and a rest stage follows once both are complete.
Can I fight the Sunken Lord alone?
Starry Studio describes it as a team challenge built around ship handling and coordinated cannon fire, not a solo encounter, so plan to bring a crew.
What does beating the Sunken Lord reward?
Confirmed drops include the new Duet Deviation and the scenario's Precision Load and Turret Enhancement armor Mods, both of which can also be chased with Heart of the Ocean if they don't drop on your first clear.
Official resources

Jonas runs the guides desk at Tutorial.Games. He replays every route, build and boss strategy on the current patch before it goes up, and re-checks it when the developer ships a balance update. Soulslikes, co-op action games and anything with a build planner.