Rainbow Six Siege: Best Noor Loadout, Tips and Y11S3.3 Changes
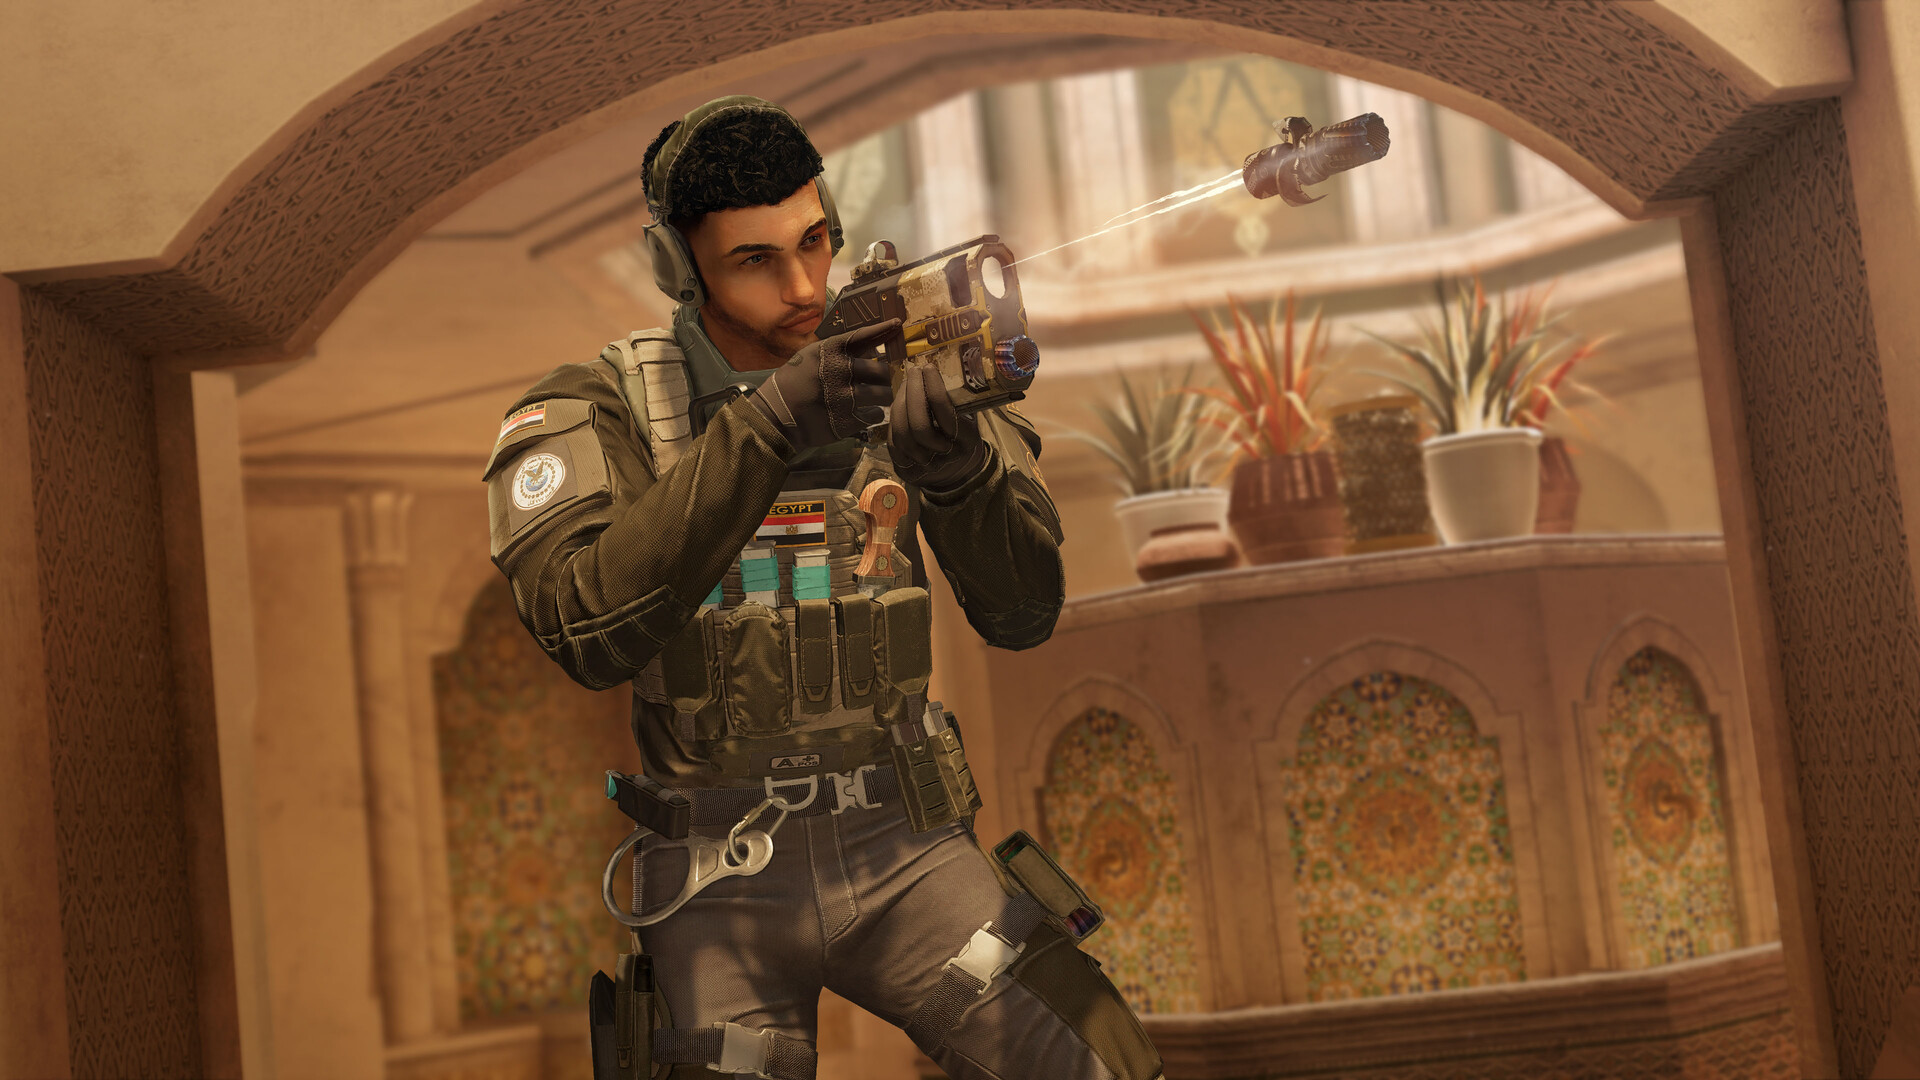
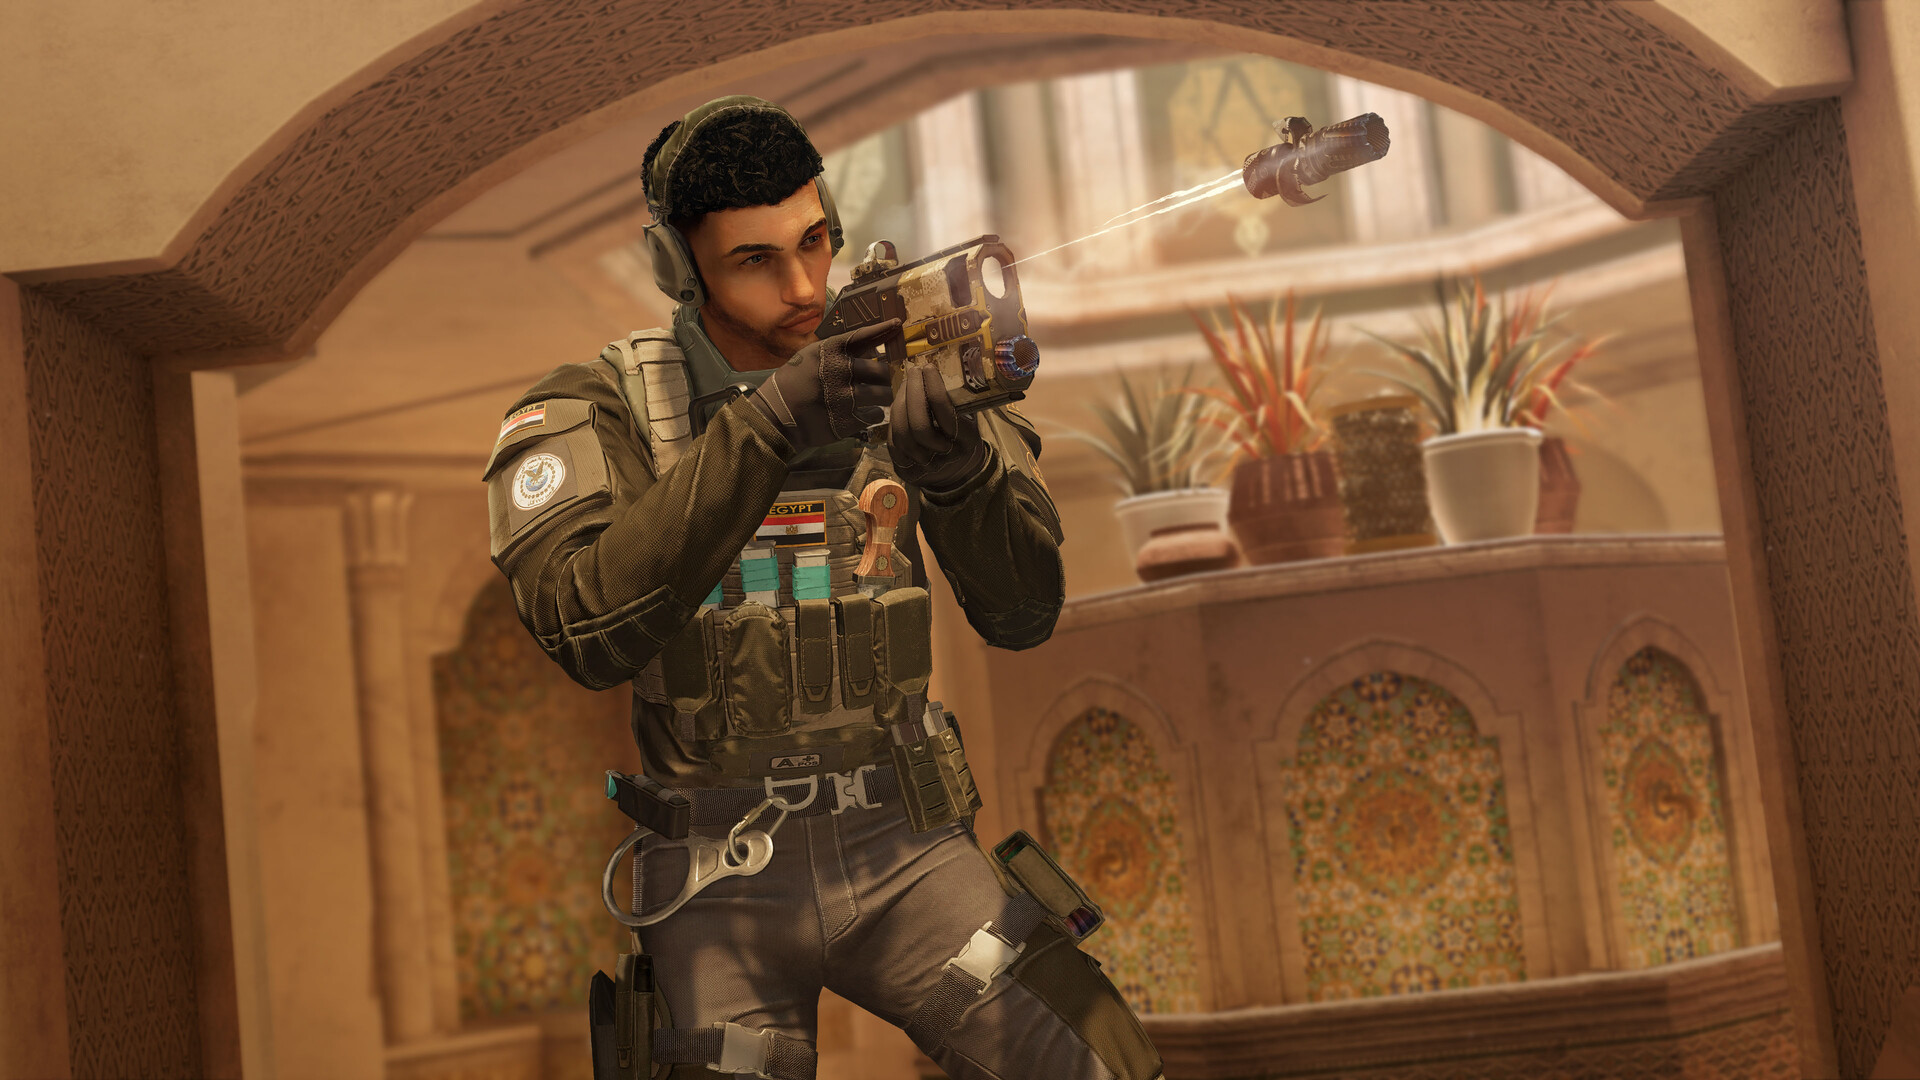
Rainbow Six Siege's Noor got no direct changes in Y11S3.3, but here's his best loadout, how to use the Horus Lance Launcher, and what else shifted.
Noor has been one of the most contested defenders in Rainbow Six Siege since Operation Split Fire added him on September 1, and the Y11S3.3 update on November 3 only sharpened the conversation around how Ubisoft wants shields to work in Ranked. His Horus Lance Launcher punches fire through soft walls, floors, ceilings, and shield gadgets alike, which changes how both sides have to approach a site. If you are picking him up for the first time or trying to get more consistent value out of him, this guide covers his kit, the best loadout, how to land the ability reliably, and what else changed around him in the newest patch.
01Who Is Noor and What Does the Horus Lance Launcher Do?
Noor is a Defender from Rainbow's Egyptian roster, built around Anti-Entry and Crowd Control. His unique gadget, the Horus Lance Launcher, fires five projectiles that pierce shields and destructible surfaces before erupting into flames. According to Ubisoft's official operator page, the projectiles can pass through floors, ceilings, and walls from adjacent rooms, and Noor can also target shields, surfaces, and other devices directly, including Castle's Armor Panels and Azami's Kiba Barriers.
That last part is what makes him stand out. Before Noor, a well-placed Castle panel or Azami barrier was a hard stop for an Attacker trying to push a doorway. Now a Defender can burn through that cover from the other side, which forces both teams to rethink how they use hard cover on bomb sites with soft walls nearby.
02Best Loadout for Noor
Noor's weapon pool is built for close-to-mid range trades rather than long sightlines, so lean into that rather than fighting it.
- Primary: The Commando 9 is the steadier pick for most players, a reliable assault rifle that rewards good recoil control in the corridors Noor usually holds. The ALDA 5.56 light machine gun trades some handling for a bigger magazine if you expect to hold a long rotation alone.
- Secondary: The 1911 TACOPS is the cleaner one-for-one trade pistol. The Bailiff 410 hits harder per shot but has a slower rate of fire, so it suits a more deliberate, peek-and-reposition playstyle.
- Gadgets: Deployable Shield and Barbed Wire round out his loadout. The shield is good for holding a flank after you've used your ability, while Barbed Wire slows pushes into the lane you're denying with fire.
Most high-level Noor players run the Commando 9 and 1911 TACOPS together for the most predictable gunfights, since his real value comes from the Horus Lance Launcher rather than winning long-range duels.
03How to Land the Horus Lance Launcher Step by Step
The Horus Lance Launcher rewards preparation more than reaction speed. These are the fundamentals that separate a wasted cast from a round-winning one.
How to Land the Horus Lance Launcher
- 1Before the round starts, pick one or two doorways where Attackers usually push with a shield or hard cover, and line up your shot on that spot ahead of time.Pre-round
- 2If you hear or see movement through a soft wall, fire the Lance Launcher through it rather than waiting for a direct line of sight — the projectiles don't need one.On rotation
- 3Aim at the shield, Castle panel, or Azami barrier itself. The projectiles pierce it and the resulting flames still damage whoever is using it as cover.On contact
- 4Noor is exposed during the cast, so move to a new angle or fall back behind your Deployable Shield right after firing instead of holding the same spot.Post-cast
- 5A teammate holding an angle on the same door can trade an Attacker who's been set alight and has nowhere left to hide.Follow-up
04Countering Shields, Castle Panels and Azami Barriers
The single biggest reason to pick Noor is hard cover denial. A shield Operator pushing through a doorway usually buys a few seconds of total safety; Noor's projectiles strip that away. Fire into the shield itself, and the Attacker is exposed to the follow-up flames even if the shield absorbs the initial hit. The same logic applies to a Castle Armor Panel or an Azami Kiba Barrier sealing a rotation hole: target the barrier directly and it stops being free real estate for whoever placed it.

This is also where team coordination matters. Noor's cast has a brief wind-up, and he's exposed to return fire while the projectiles are in flight, so a teammate holding an angle on the door he's burning through turns a defensive gadget into a trade in your favor almost every time.
05Best Sites and Positioning
Noor is strongest on sites with a lot of soft-wall connectivity between rooms, since that's where the Horus Lance Launcher can hit an Attacker without you even needing to see them. Flank routes with multiple breakable walls, basements with wooden flooring above a bomb site, and rooms where Attackers like to stack behind a single piece of hard cover are all good fits. He's a weaker pick on sites that are mostly concrete-walled with few soft connections, since his ability loses most of its surprise value there.
Hold him from a secondary position rather than directly on the bomb site when you can. Firing the Lance Launcher from a flank or an adjacent room lets you punish a push without immediately giving up your own location to the rest of the attacking team.
A few site-specific habits help him pay off consistently:
- Pre-plan which soft walls on the current site line up with common shield or Castle-panel setups, so you're not deciding where to fire under pressure.
- Rotate your cast between two or three known angles each round rather than always firing from the same spot — Attackers adjust fast once they've seen one of your lanes.
- Pair with an Operator who can confirm a hit with a frag or impact grenade through the same soft wall, since a burning Attacker with no cover left is an easy follow-up kill.
06How to Play Against Noor as an Attacker
If you're on the other side of the Horus Lance Launcher, the counter-play is less about out-dueling it and more about denying Noor the angles it needs. A few habits go a long way:
- Don't stack behind a single piece of soft cover. A Castle panel or Azami barrier only stops a straight shot — Noor's projectiles are made to go through exactly that kind of cover, so spread out rather than bunching up behind one gadget.
- Use Mute's Signal Disruptors on his drone or device range when possible. It won't stop the Lance Launcher itself, but disrupting Noor's ability to scout ahead of time cuts down on the information he needs to pre-aim a lane.
- Watch for the wind-up. Noor is briefly exposed while firing, so an Attacker holding an angle on his likely position can often trade him out before the projectiles even land.
- Break line of sight after taking damage. The flames linger, so standing still in a doorway after getting hit is usually a death sentence. Clear the area immediately rather than pushing through.
None of this makes Noor easy to play around entirely, but it does turn an automatic pick into a fairer fight, which is closer to what Ubisoft says it's aiming for with his kit.
07What Y11S3.3 Changes for the Operators Around Noor
Noor himself wasn't touched in the November 3 Y11S3.3 update, but Ubisoft's official patch notes describe a set of small adjustments to three operators who frequently end up on the same defending side as him. The T.R.I.P. Connector on Denari, Nighthaven's laser-tripwire specialist, now does 22 HP of damage per trigger, up from 20. Jackal's Eyenox Model III tracking range increased to 15 meters from 12, giving him a longer window to pick up a footprint before it decays. The Commando 9 — the same rifle in Noor's own loadout, also used by Mozzie and Sentry — now deals 38 base damage instead of 36.

Ubisoft's notes are explicit that none of this is meant to be a full rework: the stated goal is small tuning rather than changing any operator's overall power level or flexibility. For Noor specifically, the Commando 9 buff is the one worth knowing, since it shaves a bullet or two off some common trades without changing anything about how you play him.
08Quick Reference: Noor at a Glance
| Category | Details |
|---|---|
| Role | Defender — Anti-Entry, Crowd Control |
| Unique Ability | Horus Lance Launcher (5 fire projectiles, pierces shields and soft surfaces) |
| Primary Weapons | Commando 9, ALDA 5.56 |
| Secondary Weapons | 1911 TACOPS, Bailiff 410 |
| Gadgets | Deployable Shield, Barbed Wire |
| Added In | Operation Split Fire (Y11S3), September 1, 2026 |
Noor is still a relatively young pick compared to the rest of Rainbow Six Siege's defender roster, and plenty of lineups haven't fully adjusted to how much space his ability denies. Learning his angles now, while a lot of Attackers still play like soft walls and shields are automatic safety, is the easiest way to get free rounds out of him.
FAQ
What does Noor's Horus Lance Launcher actually do?
It fires five projectiles that pierce shields and destructible surfaces before erupting into flames, and it can also target devices like Castle's Armor Panels and Azami's Kiba Barriers directly, according to Ubisoft's official operator page.
Did Y11S3.3 change Noor?
No. The November 3 Y11S3.3 patch notes don't list any direct changes to Noor. The update did adjust Denari, Jackal, and the Commando 9 — the rifle in Noor's own loadout — with small damage and range increases.
What's the best loadout for Noor?
The Commando 9 and 1911 TACOPS is the most common pairing for consistent gunfights, alongside his Deployable Shield and Barbed Wire gadgets.
Is Noor good on every map?
He's strongest on sites with plenty of soft-wall connections between rooms, since that's where the Horus Lance Launcher can hit Attackers without needing direct line of sight. He's weaker on mostly concrete sites.
Official resources

Jonas runs the guides desk at Tutorial.Games. He replays every route, build and boss strategy on the current patch before it goes up, and re-checks it when the developer ships a balance update. Soulslikes, co-op action games and anything with a build planner.