
Control Resonant Tier List: Best Abilities After Update 1.4.0
Control Resonant's Update 1.4.0 fixed key ability bugs and rebalanced the Unknown Zone — here's how every power and Aberrant form ranks now.
Control Resonant's Update 1.4.0 landed on October 1, dropping New Game++ alongside a Build Power counter you can finally see without digging through a menu. It also quietly fixed how several of Dylan Faden's abilities behave, from Push losing its weird Gravity Anomaly interactions to Shield finally playing nice with the Wallet Artifact. That's enough of a shake-up to revisit which powers, Aberrant forms and traversal skills are actually worth building around right now.
01How We Ranked These Abilities After Update 1.4.0
This is an opinion ranking, not a datamined spreadsheet. We weighed each ability against three things Remedy itself called out in the 1.4.0 patch notes: how reliably it triggers Falter (the stun that opens enemies up for executions), how well it survives contact with the Unknown Zone's newly dialed-down combat intensity, and how much it benefits from the bug fixes in this specific update. Anything that got functionally better on October 1 moved up; anything that depends on timing or positioning that's still awkward stayed lower.
Respeccing is also cheaper and more available than it was at launch, a change Remedy made in the Hotfix 1.3.3 patch and kept in place here, so none of these rankings assume you're locked into a choice. If a pick in a lower tier fits your playstyle better, the Reset Items are there for a reason.
02S-Tier and A-Tier: The Best Combat Abilities Right Now
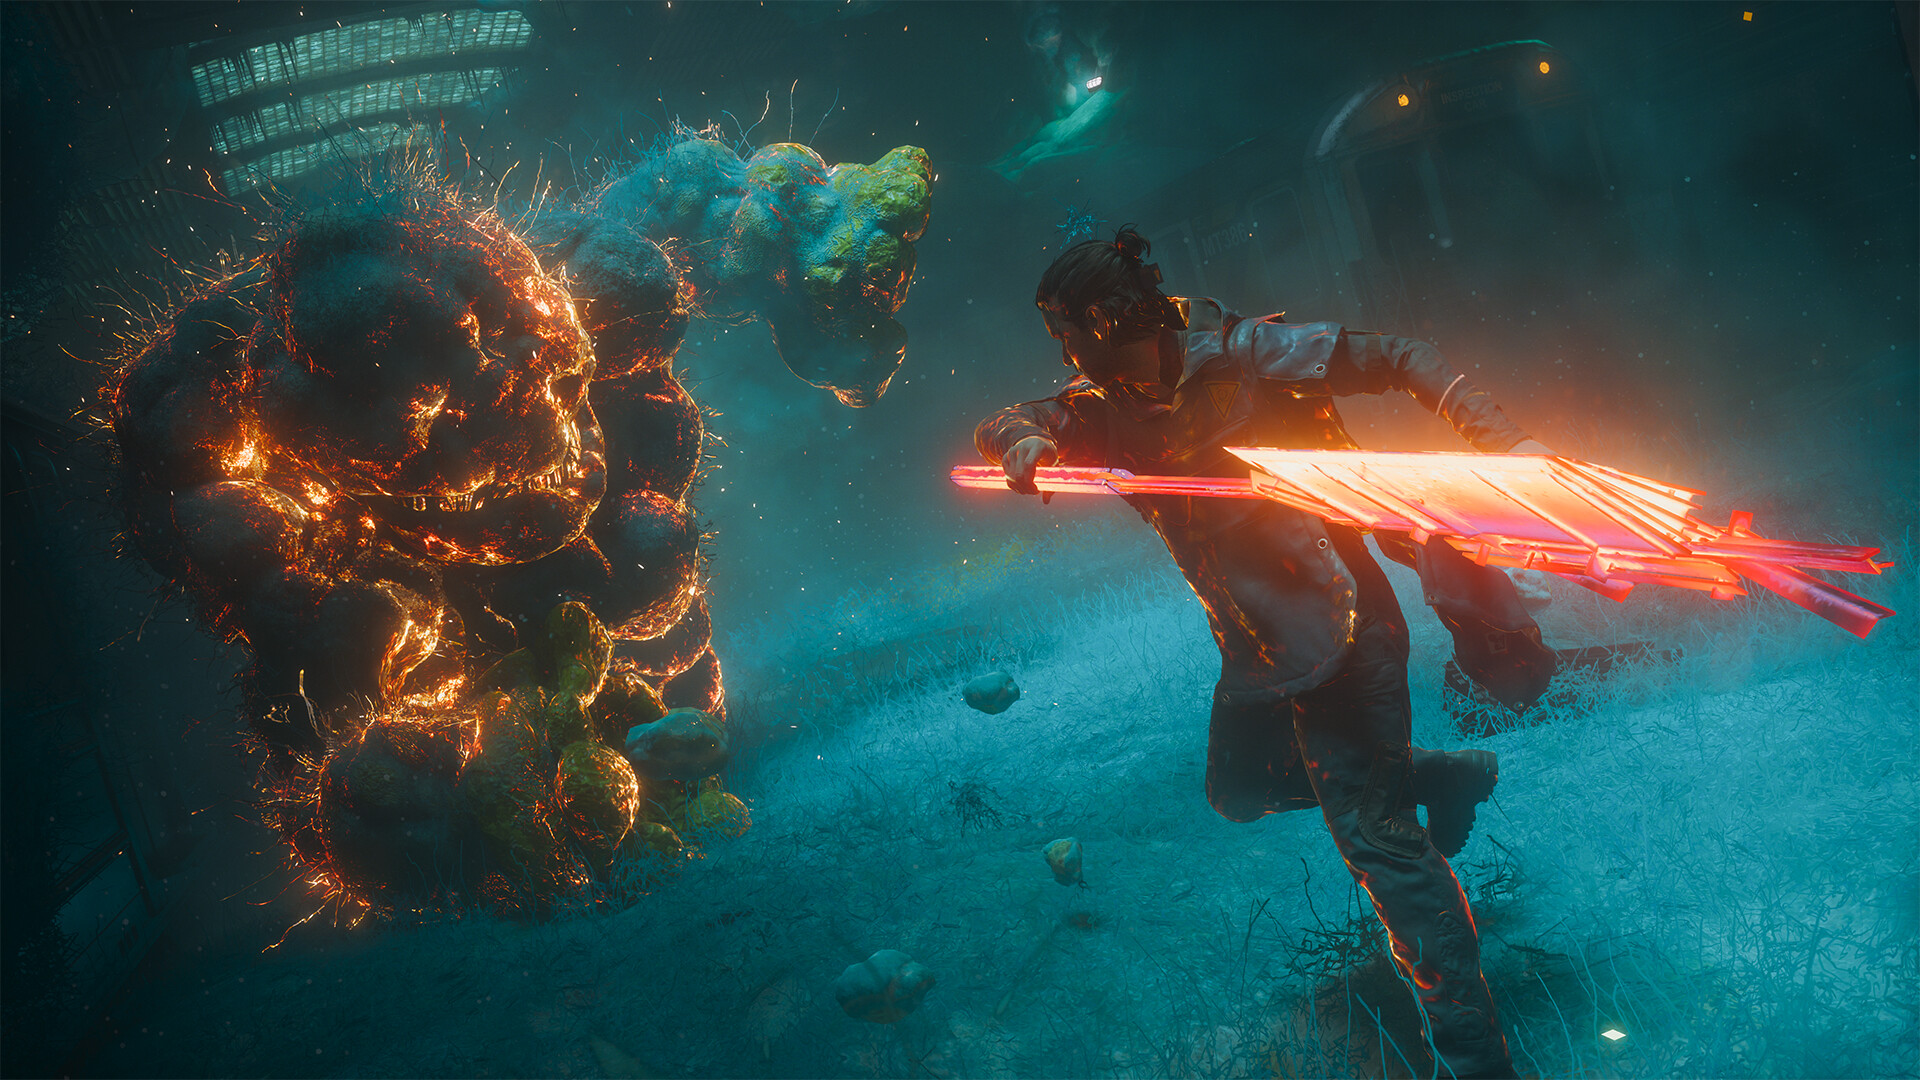
Shield (S-Tier). Shield was one of the specific abilities Remedy patched in 1.4.0, fixing an issue where it wasn't properly affected by the Wallet Artifact. That's a small line in the patch notes with a big practical effect: Shield now scales the way it's supposed to, and it still doubles as both a damage absorber and, via Shield Bash, an offensive option. Few other abilities let you stall a fight and punish it in the same button press.
Push (A-Tier). Push took multiple fixes this update, specifically around how it interacts with enemies inside Gravity Anomalies, where the physics were behaving inconsistently before 1.4.0. With that cleaned up, Push is a much more dependable way to shove enemies into hazards or off ledges in the game's more vertical zones. It's not flashy, but it's consistent, and consistency is what separates A-tier from S-tier here.
Seekers (A-Tier). Seekers summons a volatile telekinetic entity that keeps attacking on its own, and you can throw and detonate it on demand for burst damage. That flexibility, acting as both a passive pressure tool and an on-call explosive, is why it holds up across most of the game rather than falling off in specific fights.
Our Recommended Build Order
- 1Both got direct fixes in 1.4.0 and are the most reliable S/A-tier picks if you're choosing blind after a Resonant fight.Hour 1-3
- 2Fast multi-hit strings restore ability resource fastest, keeping whatever ability you picked coming back online sooner.Hour 1-3
- 3It's a double-jump, elevate and air-dash in one, and Remedy added a dedicated tutorial for its status-clearing utility this patch.Hour 2-4
- 4Respec costs dropped in Hotfix 1.3.3, so try an ability for a Resonant fight or two before committing.Hour 4+
- 5Switch to Scythe for crowd-heavy zones or Hammer for single tough Resonants once you have options.Hour 6+
03B-Tier and C-Tier: Fine, But Outclassed
Ground Slam (B-Tier). Ground Slam hits hard against grouped enemies, but it needs vertical space to come down from, and 1.4.0's notes mention fixing a case where Dylan wouldn't perform it if he hit his head on a low ceiling first. That's a sign of how fiddly it can be indoors. In Manhattan's tighter interiors it underperforms; in open zones it's genuinely strong. Situational is the right word.
Mold Turrets (B-Tier). A summon that applies harmful status effects and attacks independently sounds great on paper, and it is solid in longer fights where you can let it work in the background. It's a weaker pick against single tough targets, where its slow buildup doesn't compete with Shield or Seekers' more immediate impact.
Nothing in the current roster is a true trap pick; Remedy's own framing of progression is about letting you build "your perfect combat flow" rather than forcing a correct answer, and the balance changes across 1.3.3 and 1.4.0 back that up. But if you're choosing blind after a Resonant fight, Shield, Push and Seekers are the safer bets.
04Aberrant Forms Tier List: Hammer, Blades, Scythe and Fists
The Aberrant is Dylan's shapeshifting melee weapon, and Remedy has confirmed Hammer, Blades, Scythe and Fists as forms, with more still unannounced. Since melee hits are what restore your combat ability resource, the form you default to matters as much as the abilities you've unlocked.
Blades (S-Tier). Fast, multi-hit strings mean more opportunities to restore ability resource per second than any other form, and that resource is what keeps Shield, Push and Seekers coming back online. If you're building around abilities rather than pure melee damage, Blades is the form that supports that loop best.
Scythe (A-Tier). Wide, sweeping strikes make Scythe the best crowd-clearing form, especially now that the Unknown Zone throws 10-15% less combat density at you post-1.4.0. It trades some single-target speed for area coverage, which is a fair trade in a patch that's actively thinning out enemy groups.
Hammer (A-Tier). Heavy single hits are still valuable for chipping through Falter thresholds quickly, particularly against the tankier Resonant bosses. It's slower than Blades or Scythe, but the raw stagger contribution per swing keeps it relevant.
Fists (B-Tier). The fastest, lightest form is a fine combo starter, but it doesn't bring the resource-restore efficiency of Blades or the stagger power of Hammer. Good for mobility-focused runs, outclassed as a main form otherwise.
05Traversal Powers: Rush, Shift and Reach
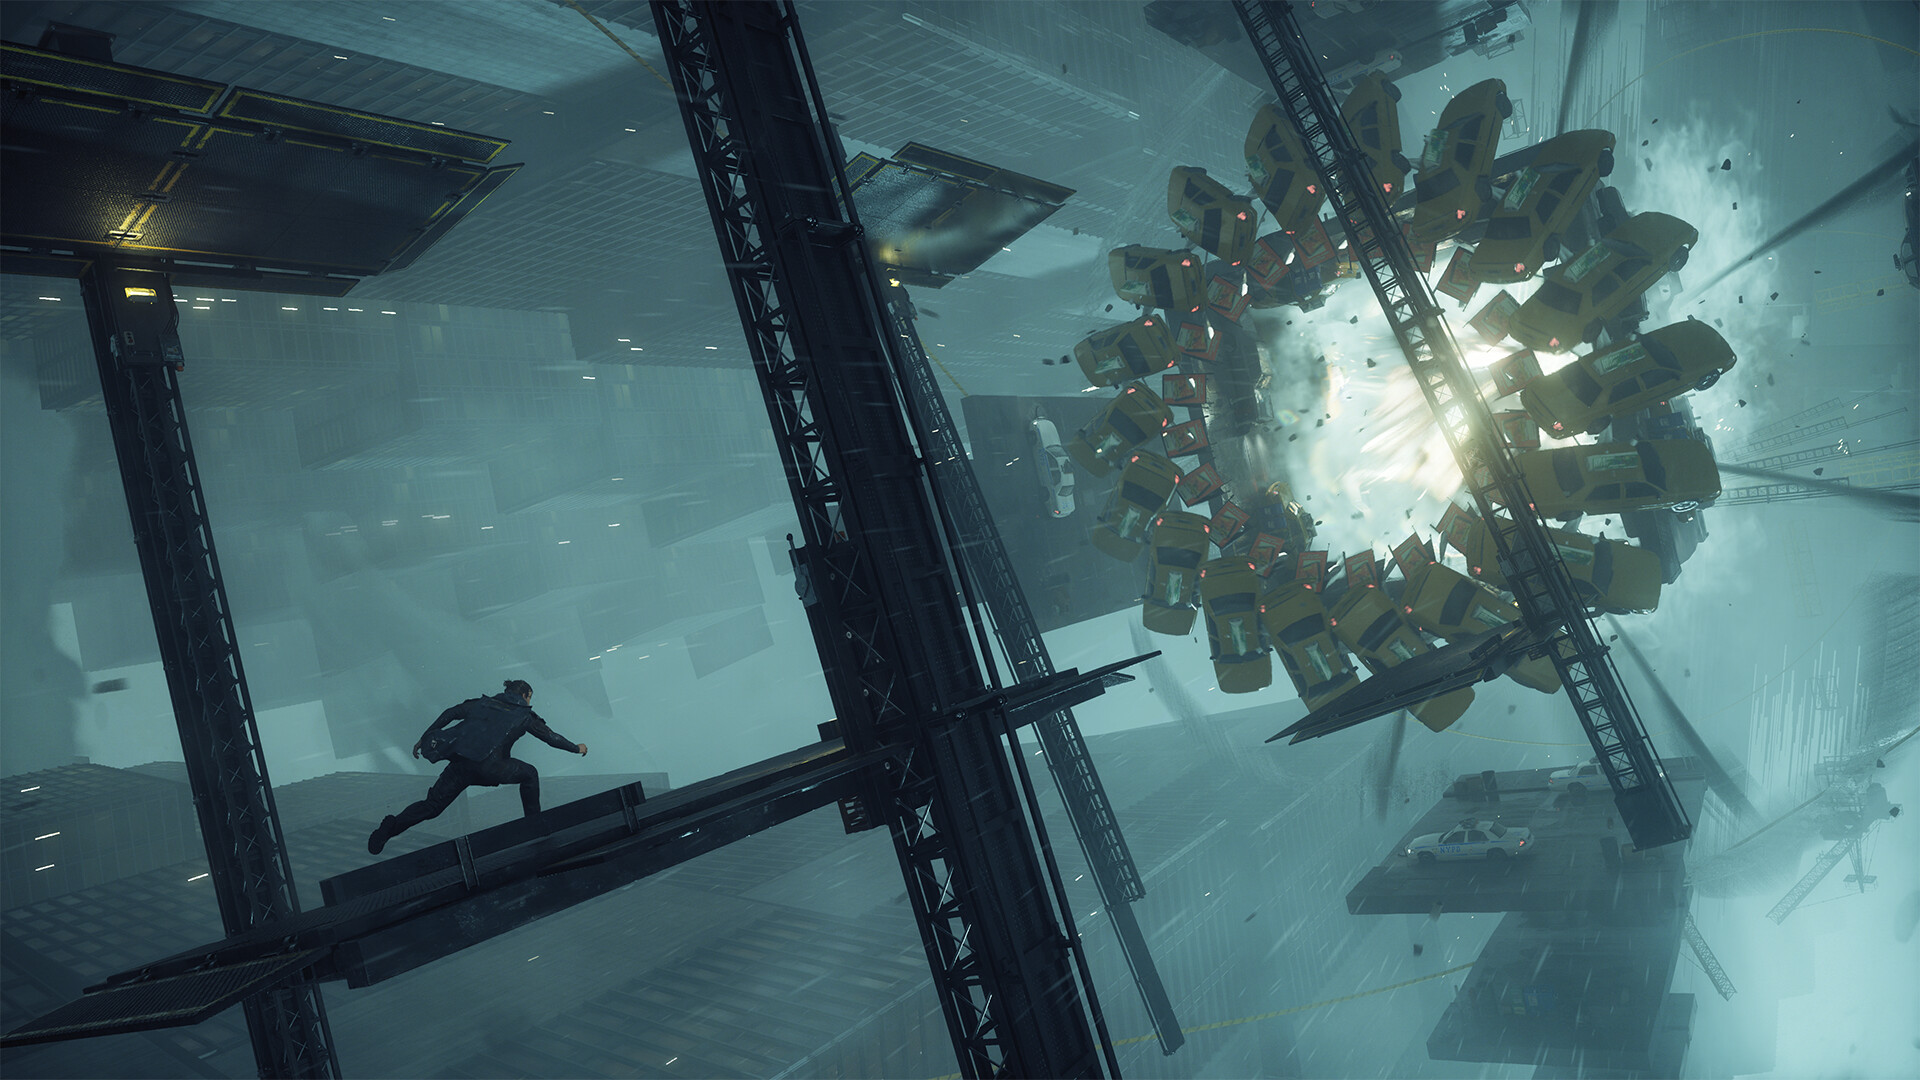
Rush (S-Tier). Remedy added an in-game tutorial for Rush in Update 1.4.0 specifically to explain that it removes status effects, which tells you how much the studio wants you using it. Beyond that utility, it's also your double-jump, elevate and air-dash in one package, making it the single most load-bearing traversal power in the kit.
Shift (A-Tier). Shift redirects Dylan's momentum through the game's Gravity Anomalies, where orientation shifts entirely. It's essential in the zones built around that mechanic and close to useless outside them, which is the only thing keeping it from S-tier.
Reach (A-Tier). A grapple-style traversal ability that lets Dylan navigate spaces that don't follow regular physics, Reach is less about combat and more about not wasting time backtracking through Manhattan's expanded, more vertical zones. Less flashy than Rush, still worth prioritizing early.
“Progression is all about building your perfect combat flow.”Sergey Mohov, Lead Gameplay Designer, Remedy Entertainment
06Three Builds Worth Trying on the Current Patch
If a tier list alone doesn't tell you how these pieces fit together, here are three combinations that lean into what 1.4.0 actually changed rather than fighting against it.
Melee Sustain. Blades plus Shield plus Rush. Blades keeps your ability resource topped up through fast multi-hit strings, Shield spends that resource on both defense and offense without the Wallet Artifact bug dragging it down, and Rush keeps you mobile enough to stay in range of whatever you're fighting instead of chasing it across a Gravity Anomaly. This is the build to default to if you don't want to think about matchups.
Crowd Control. Scythe plus Push plus Seekers. Scythe's wide arc clears the smaller, more thinned-out packs the Unknown Zone throws at you post-patch, Push shoves stragglers into hazards or off ledges now that its Gravity Anomaly interactions are fixed, and Seekers gives you a persistent third attacker so you're never only fighting with your own hands. Built for the game's more open, enemy-dense zones rather than tight corridors.
Boss Breaker. Hammer plus Shield plus Mold Turrets. Hammer's heavy hits chew through Falter thresholds fast, which matters most against single tanky Resonants rather than trash mobs, Shield covers you while you're committed to a slow swing, and Mold Turrets adds chip damage and status effects in the background during a long fight. Slower to set up, but it's the strongest option specifically for boss encounters.
None of these require respeccing out of your current build to test. With Reset Items more common since Hotfix 1.3.3, you can try one archetype for a Resonant fight or two and walk it back if it doesn't click.
07Respeccing and New Game++: Don't Overthink Early Picks
The biggest practical change across these two patches isn't any single ability, it's how cheap it now is to change your mind. Hotfix 1.3.3 lowered respec costs and increased how many Reset Items vendors carry, and the first boss fight now drops two instead of one. Update 1.4.0 layers New Game++ on top of that, letting you run the campaign as many times as you want while keeping every ability and form you've earned. None of these tier placements are permanent decisions anymore, so treat the S-tier picks above as a starting point rather than a rulebook.
The new Build Power number on the Loadout screen makes this easier to judge for yourself, too. If you're below the recommended level for a zone, that's your cue to finish side content and farm a few more upgrades before second-guessing which ability is "wrong" — most of the time, the gap is level, not build.
Pair Shield or Push with Blades early, pick up Rush the moment it's offered, and don't be precious about respeccing once you've seen a few more Resonants in action. Update 1.4.0 made experimenting cheaper on every front, so there's little reason not to.
FAQ
What changed for abilities in Control Resonant's Update 1.4.0?
Remedy added a visible Build Power counter to the Loadout screen, fixed Shield's interaction with the Wallet Artifact, fixed Push's behavior inside Gravity Anomalies, fixed the Leashing status effect so returning enemies regenerate Falter instead of being immune to it, and reduced Unknown Zone combat intensity by 10-15%.
What is the best Aberrant form in Control Resonant right now?
In our opinion, Blades, since its fast multi-hit strings restore your combat ability resource quickest, keeping Shield, Push and Seekers available more often. Hammer and Scythe are close behind for Falter damage and crowd clearing respectively.
Is it worth respeccing abilities in Control Resonant?
Yes. Hotfix 1.3.3 lowered respec costs and increased how many Reset Items vendors stock, and the first Resonant boss now drops two instead of one, so testing a different ability no longer costs much progress.
Does New Game++ carry over my build?
Yes. Update 1.4.0 added New Game++, which lets you replay the campaign an unlimited number of times while keeping every ability, Aberrant form and upgrade from your previous run.
Which traversal ability should I unlock first?
Rush. Remedy added an in-game tutorial for it in Update 1.4.0 specifically to highlight that it clears status effects, on top of functioning as your double-jump, elevate and air-dash.
Official resources
- Control Resonant on Steamstore.steampowered.com
- Official Remedy Game Pageremedygames.com
- Update 1.4.0 Patch Notes (Steam News)store.steampowered.com
- Remedy: Gameplay Reveal Detailsremedygames.com
- PlayStation Blog: Combat & Buildcrafting Deep Diveblog.playstation.com
- Wikipedia: Control Resonanten.wikipedia.org

Kai edits the video tutorials and tier lists. Rankings are built from hands-on play on the current version and the developer's own balance notes, and every list states the patch it was made for so you know when it is out of date.