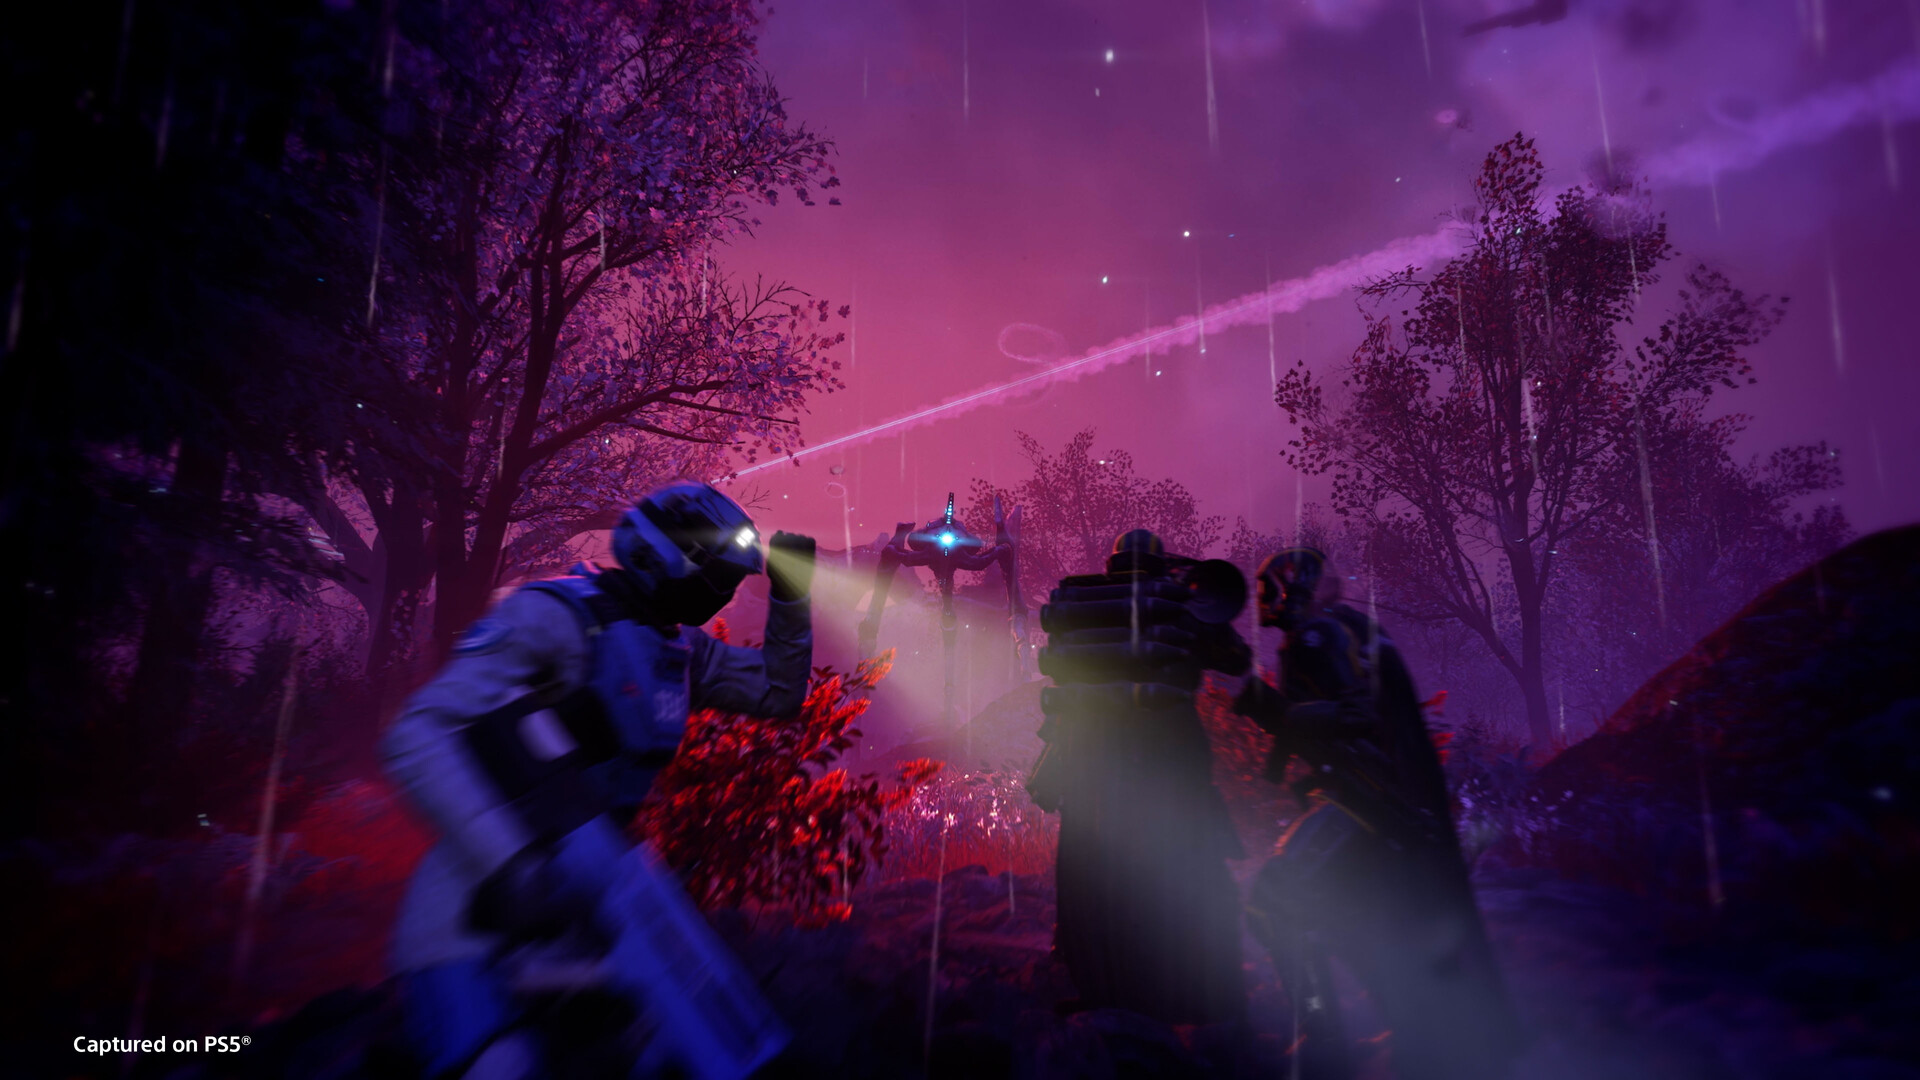
Helldivers 2: How to Survive Evacuate High-Value Assets Now
Helldivers 2's patch 7.1.0 reworked Evacuate High-Value Assets with faster waves, SEAF troops and a new spawn-pressure system — here's how to beat it.
Arrowhead Game Studios shipped Devoid of Liberty: 7.1.0 on September 22, and the patch notes single out one mission by name: Evacuate High-Value Assets. Arrowhead's own words were blunt — the mission had "fallen behind in difficulty" and felt "boring and easy for many players that have access to good tools." The fix stacks faster waves, bigger waves, a chance for SEAF troops to show up, and a mission-wide enemy-spawning rework on top. Here's what actually changed and how to run the mission without your squad getting buried under the new pressure.
01What Patch 7.1.0 Changed About Evacuate High-Value Assets
Arrowhead's stated goal was to make the mission "more intense and more difficult to complete, especially in lobbies with 3-4 players." The changes hit four areas at once: the maximum number of waves went up, the downtime between waves shrank across the board, the number of enemies that can spawn per wave increased, and SEAF troops are now eligible to appear during the fight. On the Terminid front specifically, Shriekers now have a chance to spawn into the mission as well. None of these are small tweaks — together they turn what used to be a mission you could coast through into one that punishes a squad for standing still.
02The New Wave Timers, Explained
The clearest numbers in the patch notes are the wave timers, and they're worth memorizing before you drop in. The gap between waves at the start of the mission dropped from 60 seconds to 42. The gap between waves near the end dropped from 40 seconds to 28. And the minimum gap you get after clearing a wave early — previously a generous 10 seconds — is now just 2. That last change matters most: killing a wave fast used to buy you real breathing room to loot, reposition or revive a downed teammate. Now it barely buys you anything, so treat every wave as the start of the next one rather than a chance to relax.
Arrowhead also increased "encounter points" — the game's internal budget for how many enemies can spawn — both as the mission progresses through its steps and as more players join the lobby. Expect noticeably bigger waves in the mission's back half, and expect a full four-player squad to face a tougher spawn budget than a two-player one, not an easier one.
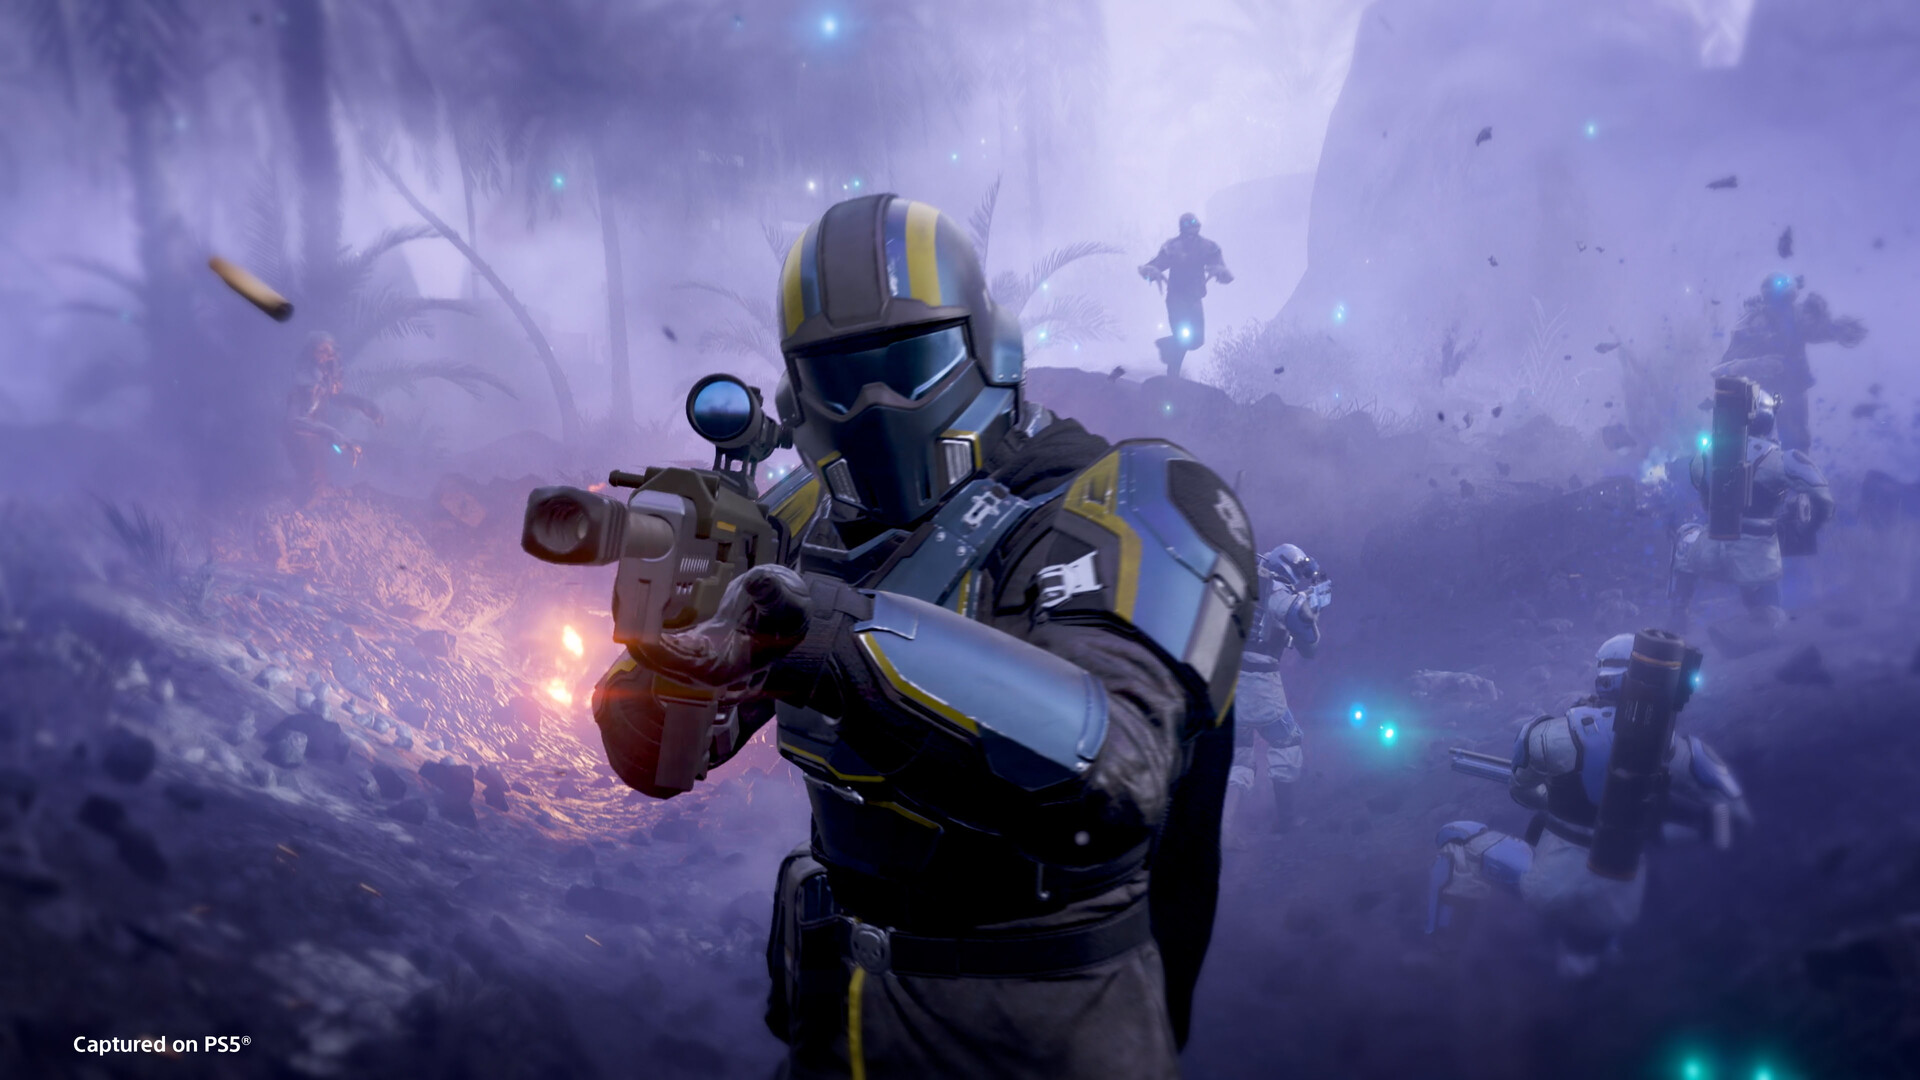
03Best Loadout for the New Spawn Pressure
Because waves now stack faster and the enemy-spawning rework (more on that below) pushes reinforcements toward whichever part of the squad is under the least pressure, crowd control that clears a lane in one throw is worth more than raw single-target damage this patch. Orbital Precision Strike got a cooldown cut from 90 seconds to 80, which is a real enough change to make it worth re-slotting if you'd shelved it — you'll get more uses across a mission that no longer gives you long lulls between waves. On primaries, the AR/GL-21 One-Two's underbarrel grenade launcher went from 2 starting rounds and 3 max spare to 3 starting and 5 max spare, with refills up from 3 to 5, so it can now actually be used as a wave-clearing tool instead of an emergency button. The LAS-13 Trident also lost most of its vertical climb recoil, dropping from 12 to 2, which makes it far easier to hold a beam on a Shrieker or a Devastator's head through a full magazine.
Beyond the specific balance changes, the mission's structure rewards a squad loadout built around area denial rather than four Helldivers each carrying a single-target weapon. A sentry or two covering a chokepoint near the generators frees up the rest of the squad to run loot and defend the second objective without every wave turning into a full-squad firefight. If your squad usually leans on precision anti-tank options for bigger threats, it's still worth keeping one of those slots — the wave-count and encounter-point increases mean armored enemies show up more often across a full run, not just at the end.
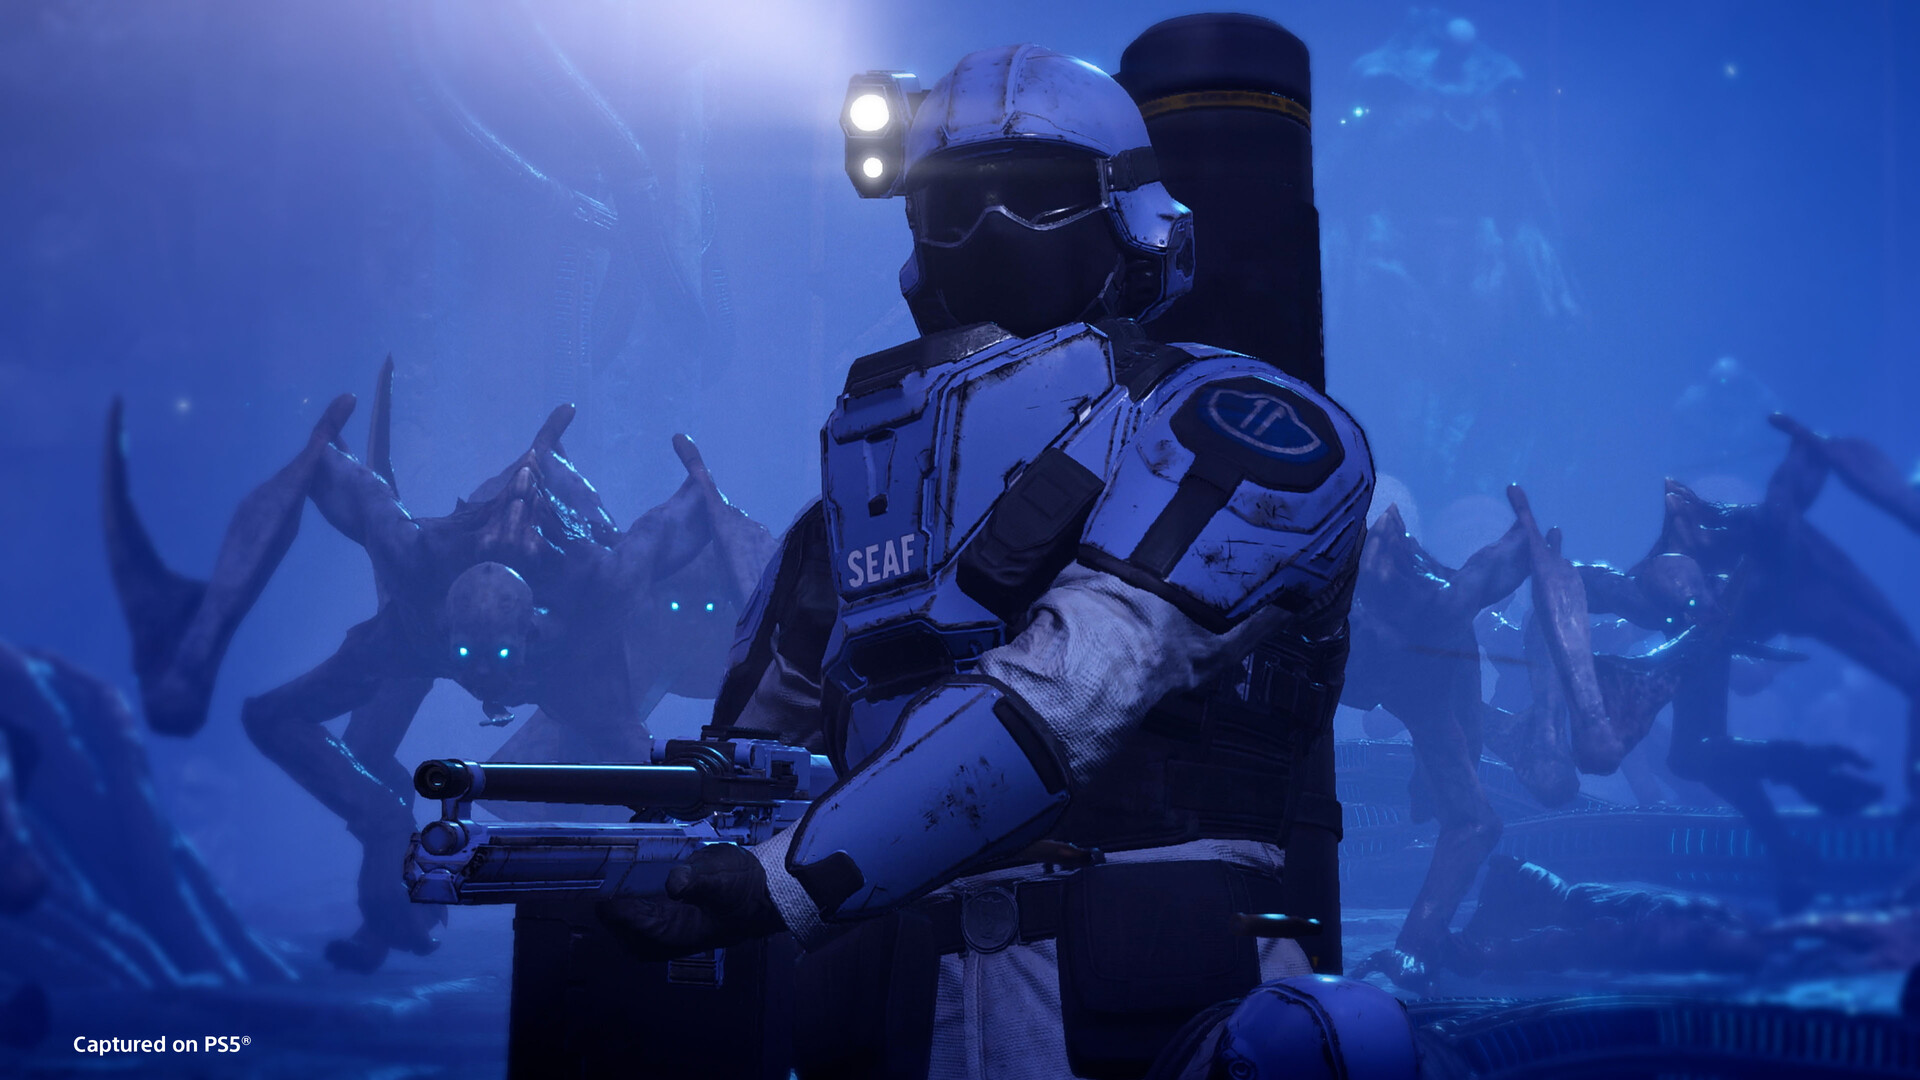
04How to Run Evacuate High-Value Assets From Drop to Extraction
The core objective hasn't changed — protect the generators, extract the asset — but the pacing has, so the steps below assume the new 7.1.0 timers rather than the old ones.
How to Run Evacuate High-Value Assets Step by Step
- 1Land near the objective and split the squad into two pairs covering opposite sides of the generator cluster rather than four solo Helldivers. The new enemy-pressure system pushes spawns toward whichever part of the squad is under the least pressure, so a pair can absorb a redirected wave that a lone Helldiver can't.0:00
- 2The opening gap between waves is now 42 seconds instead of 60, so kill the first wave fast and stay near the generators rather than looting far afield. A wave you clear early only buys 2 seconds of downtime now, not 10.1:00
- 3Have one Helldiver track the new generator health-percentage readout and minimap icons so a dropping generator gets called out immediately instead of discovered mid-wipe.5:00
- 4Loot now spawns in three random groups (ammo, health kits, grenades, weapons) plus ten common samples. Use the shrinking gaps between waves to grab what's close, and skip anything that pulls you away from the objective as the timers tighten.9:00
- 5SEAF troops and, on Terminid planets, Shriekers can now appear mid-mission. Keep an anti-air or area-denial option ready rather than assuming every wave is ground-based infantry.13:00
- 6By the mission's back half the gap between waves drops to 28 seconds, and a cleared wave only buys 2 seconds before the next one starts. Stop pushing for kills past the objective perimeter and let waves come to your chokepoints instead.17:00
- 7With downtime this short, don't wait to clean up stragglers before calling extraction. Call it as soon as the objective completes and hold the landing zone as a group.21:00
05Defending the Power Generators
Patch 7.1.0 finally puts useful information on screen for the objective itself: each generator now shows its health percentage in the mission UI, and the minimap displays generator state at a glance instead of making you run over to check. Use that to your advantage — with waves landing every 28 to 42 seconds instead of 40 to 60, you don't have time to patrol between generators hoping nothing's wrong. Assign one Helldiver to watch the minimap and call out which generator is dropping before it becomes a wipe. The level design changes in this patch also scattered loot — ammo, health kits, grenades and weapons now spawn in three separate random groups, plus ten common samples placed around the map — so a generator run is also a chance to grab supplies on the way, provided you don't wander far enough to eat a spawn meant for someone else.
06Squad Positioning Under the New Enemy-Pressure System
The mission-specific changes sit on top of a bigger rework: enemy spawning across every Helldivers 2 mission is now driven by a "pressure" score based on enemy count and distance to each player, not a flat squad-wide budget. If one Helldiver is fighting nothing while the rest of the squad is swarmed, and the mission's overall enemy count is already at its cap, the game will start routing new spawns toward the quiet player instead of piling more onto the fight that's already happening — Arrowhead's stated fix for "roaming into empty outposts" while your squadmates get overwhelmed. The flip side is that spreading out to loot or solo a generator no longer guarantees you a quiet corner of the map. Two well-armed pairs covering opposite ends of the objective area will generally handle the new pressure better than four Helldivers scattered on their own, since a pair can absorb a redirected wave that a lone Helldiver can't.
There's a knock-on effect worth planning around too: Arrowhead says that once the global enemy count is over budget, far-away enemies get despawned to keep performance in check. In practice, that means an enemy pack you're deliberately kiting away from the objective to buy your team time can simply vanish once it drifts too far from the action, which is a small mercy compared to the mission's other changes but useful to know if you're the designated distraction while your squad rushes a generator.
07Is Evacuate High-Value Assets Harder Solo or in a Full Squad?
Arrowhead specifically called out "lobbies with 3-4 players" as the target for the extra difficulty, which suggests a full squad should feel the wave and encounter-point increases the hardest. Whether solo or duo runs feel meaningfully tougher too is unconfirmed — the patch notes don't break the scaling out by player count beyond that one line, and Arrowhead hasn't published exact wave-count or encounter-point numbers to compare directly. What is confirmed is that the timer cuts (60 to 42 seconds, 40 to 28, and 10 to 2) apply regardless of squad size, so even a two-player run will have noticeably less downtime between waves than before 7.1.0. If you're used to soloing this mission on lower difficulties, expect the biggest change to be that quiet lull after a fast wave clear — it's mostly gone now.
08Other Patch 7.1.0 Changes Worth Knowing Before You Drop
A few fixes elsewhere in the patch make this mission (and the wider game) friendlier even as the difficulty goes up. Enemies will no longer target unoccupied vehicles, so a parked FRV won't pull aggro away from your squad by accident anymore. The G/40 Melta Mine can no longer attach to Helldivers or vehicles — it used to be able to stick to a teammate's back or float in mid-air, which made it risky to throw during a chaotic wave, and Arrowhead says it now arms on a timer once thrown unless it lands on terrain. There's also a fix for a rare but nasty bug where a squad could get stuck unable to be reinforced even after another player died or threw a reinforcement stratagem — worth knowing about if you've ever lost a run to a phantom "can't reinforce" state during a hectic extraction.
FAQ
What changed in Evacuate High-Value Assets in Helldivers 2 patch 7.1.0?
Arrowhead increased the maximum number of waves, cut the downtime between waves (60 to 42 seconds at the start, 40 to 28 near the end, and the post-clear gap from 10 to 2 seconds), raised how many enemies can spawn per wave, and enabled SEAF troops and a chance for Shriekers to appear during the mission.
Why do enemies suddenly feel like they're spawning right next to me?
Patch 7.1.0 reworked enemy spawning across the whole game so it's based on a per-player pressure score using enemy count and distance. If you're under low pressure while the rest of your squad is swarmed and the mission's global enemy count is capped, new spawns get routed toward you instead of piling onto the existing fight.
Is the mission harder solo than in a full squad?
Unconfirmed by Arrowhead beyond one line in the patch notes stating the difficulty increase targets lobbies with 3-4 players. The wave-timer cuts apply regardless of squad size, but Arrowhead hasn't published separate scaling numbers for solo or duo runs.
Do the power generators show their health now?
Yes. Patch 7.1.0 added a health-percentage readout for each generator in the mission UI and shows generator state on the minimap, so you no longer have to run over to check on them manually.
Which weapon changes in 7.1.0 help with this mission specifically?
The AR/GL-21 One-Two's underbarrel grenade launcher ammo increased (2 to 3 starting, 3 to 5 max spare), the LAS-13 Trident's vertical climb recoil dropped from 12 to 2, and Orbital Precision Strike's cooldown was cut from 90 to 80 seconds — all useful for the mission's faster, bigger waves.
Official resources

Jonas runs the guides desk at Tutorial.Games. He replays every route, build and boss strategy on the current patch before it goes up, and re-checks it when the developer ships a balance update. Soulslikes, co-op action games and anything with a build planner.

