Hellraiser: Revival: Every Boss Fight and How to Beat Them
Every boss and chase in Clive Barker's Hellraiser: Revival, from Bruno and the Chatterer to the two-phase fight with Marlowe, broken down step by step.
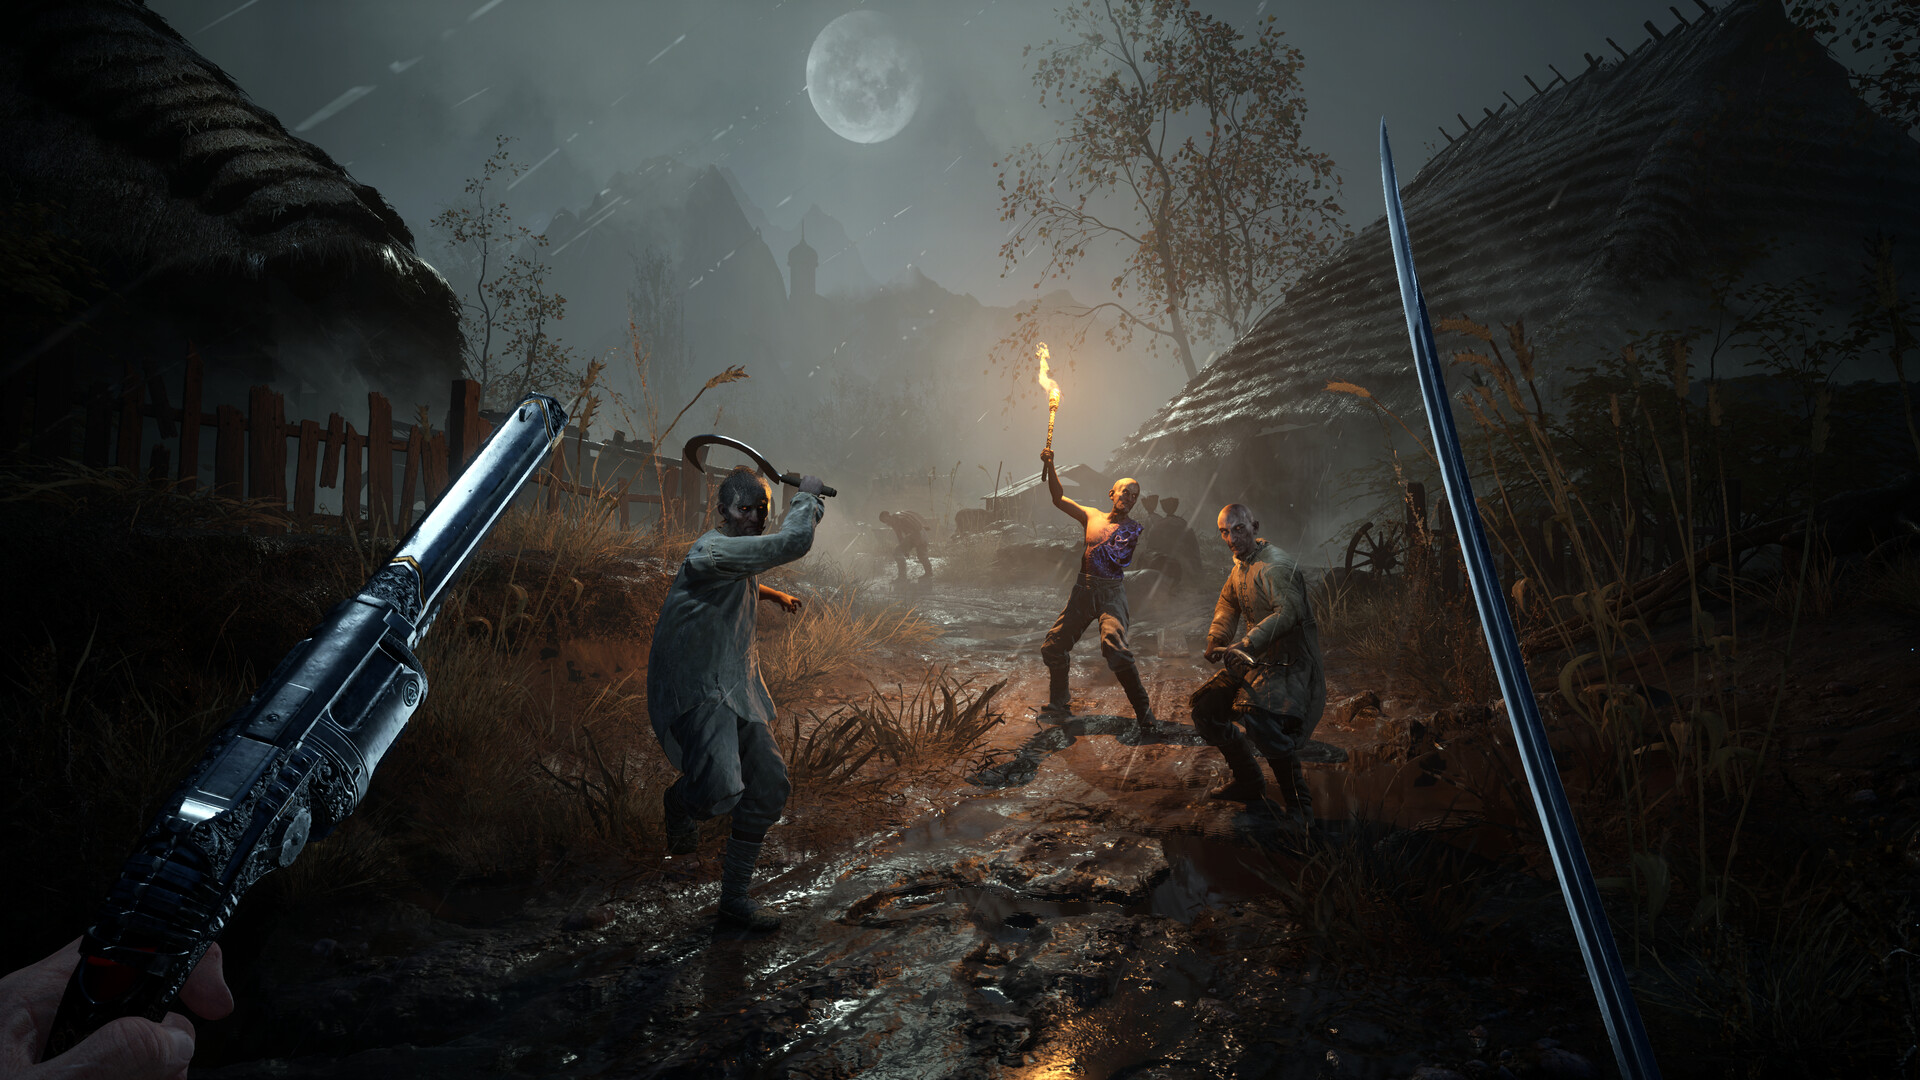
Pinhead is back, and so is the puzzle box that started it all. Clive Barker's Hellraiser: Revival puts you in control of Aidan, who bargains with the Cenobites' Genesis Configuration to pull his girlfriend Sunny out of the Labyrinth - and ends up fighting his way through five named threats to do it. None of them go down to button-mashing. Here's how the campaign is structured, what the box actually does, and how to get past Bruno, the Chatterer, Charlotte, the Sister of Mercy and Marlowe without burning through every healing item you own.
01Where Every Boss Fits in Aidan's Story
Hellraiser: Revival is a single, linear campaign - there's no branching path and no mission select, so every boss arrives in a fixed order as the story escalates. A normal-difficulty run through the whole thing runs roughly 8 to 15 hours depending on how much time you spend off the main path hunting upgrades. The prologue, set in Aidan and Sunny's house before the Labyrinth tears it open, ends with your first look at Pinhead. Everything from the Scarlet Church onward is the full game proper, and that's where the real boss roster starts.
The chapter breakdown below is the fastest way to see how far you are from the next fight, and which chapters repeat a boss you've already beaten once.
Hellraiser: Revival Chapter Order
- 1Get Aidan and Sunny out of the house before the Labyrinth opens beneath it. Ends with your first look at Pinhead.15-20 min
- 2Sneak past Bruno, then survive your first chase from the Chatterer through the hallways to the metal door.30-40 min
- 3Recover the puzzle box after it's taken from you, unlocking its full combat use going forward.20-30 min
- 4Fight through the chase-into-arena encounter with Charlotte using fire, traps and distance.25-35 min
- 5A second Chatterer chase sequence with a similar don't-stop-moving approach.15-20 min
- 6Push back into the Labyrinth proper and work toward reopening the gate to Charlotte's domain.40-50 min
- 7Finish what the earlier chase started and take the Heart from Charlotte's domain.20-25 min
- 8Track Marlowe through the Church, including a second Bruno fight, before the two-phase final boss.60-80 min
02Mastering the Genesis Configuration
The puzzle box is both your toolkit and your weapon, and it unlocks in stages rather than all at once. Telekinesis - which lets you fling saw blades, rail spikes and other scrap at enemies - comes online after the sewer section early in the game. Hell Chains, which you'll use to yank enemies or environmental hazards into place, arrives after the third Labyrinth segment. Pyrokinesis rounds out the kit, letting the box absorb nearby fire and turn it back on whatever's in front of you.
All three abilities draw from a single Suffering meter instead of separate cooldowns, which is the part newcomers get wrong first. You top it up by damaging enemies normally, but banishing a flashing blue "Unworthy" enemy with the Genesis Configuration refills it far faster than finishing them off with a gun or melee weapon. That matters because every boss fight on this list leans on the box at some point, and running dry mid-fight means falling back on whatever's left in your inventory.

03How to Beat Bruno (Twice)
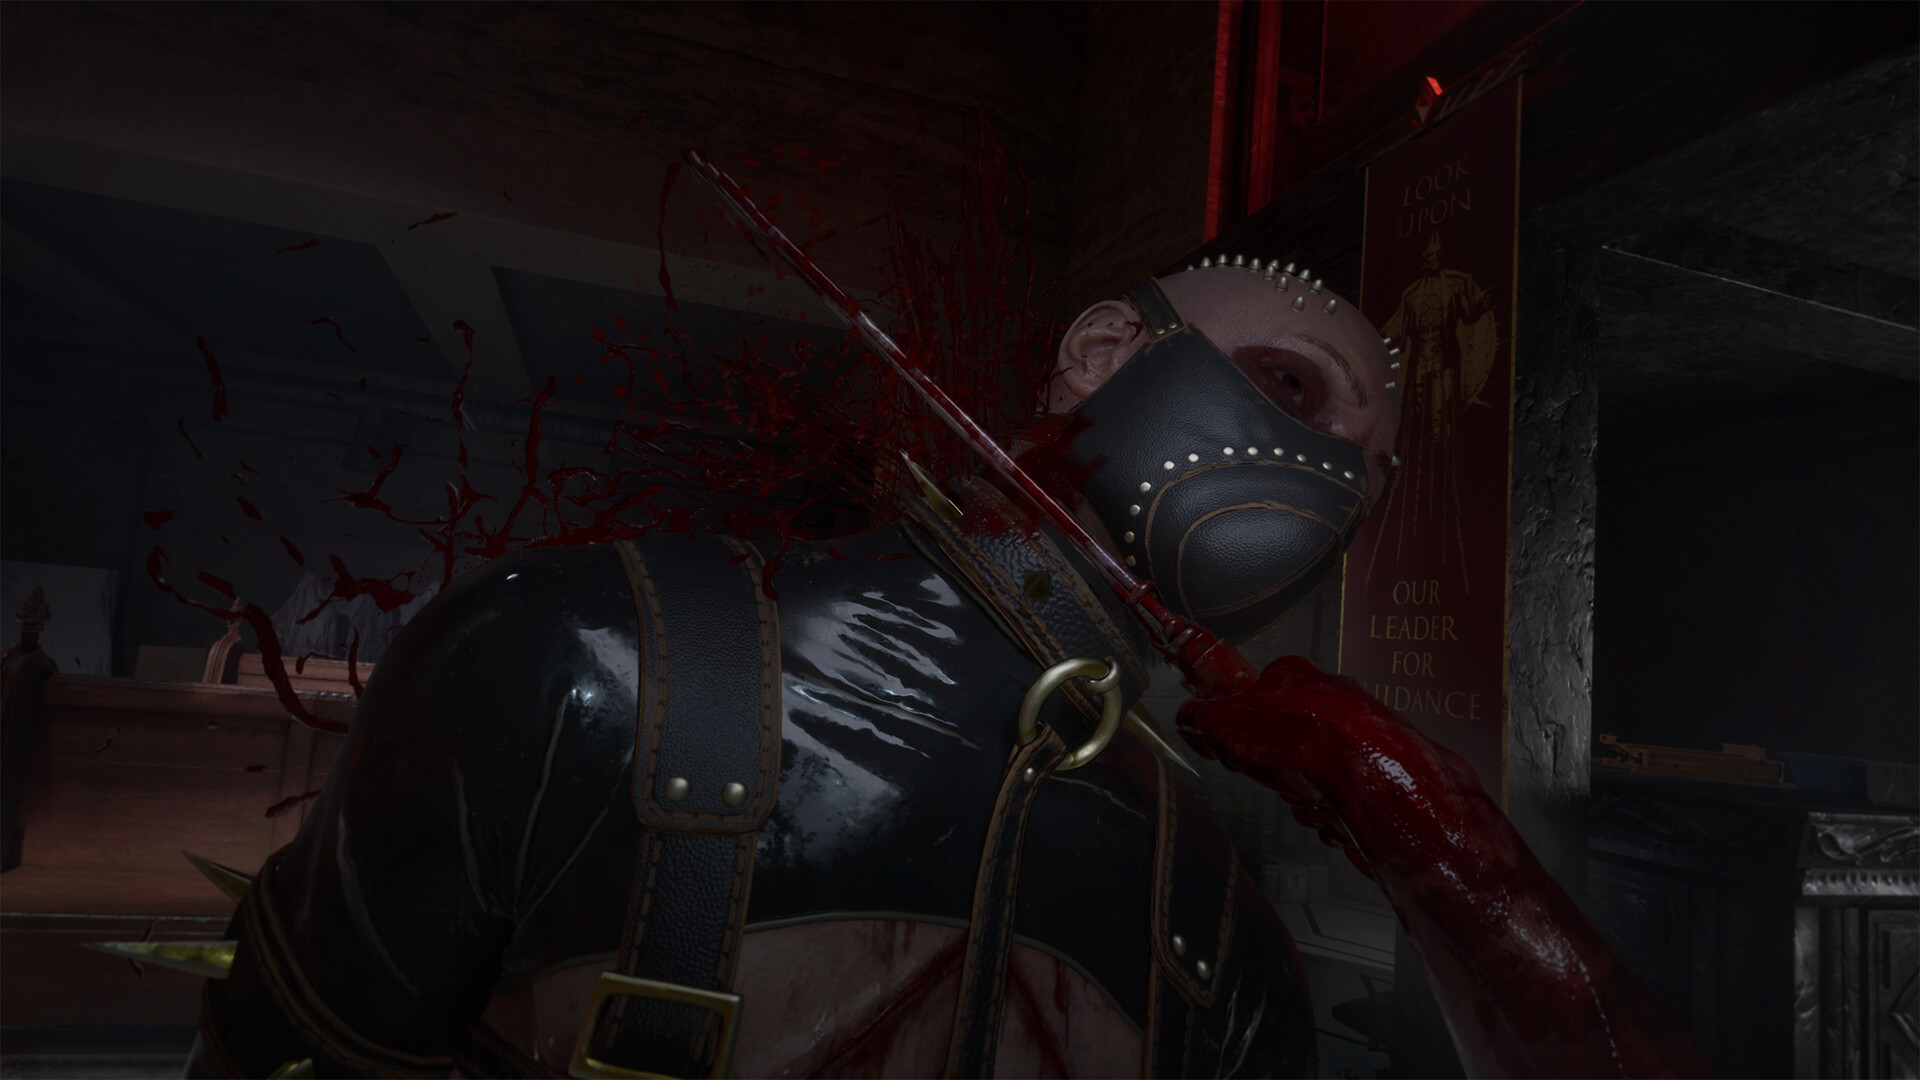
Bruno shows up twice: once in a cramped mansion basement early on, and again much later when he ambushes Aidan and steals the Genesis Configuration outright. Both fights play the same way. He's not a durable enemy, but his single telegraphed strikes hit hard if you eat them standing still, so the priority is timing a dodge rather than trading blows. Blunt weapons stagger him faster than anything bladed - hit his head, not his body, and he'll reel long enough for a follow-up.
In the first fight, the basement room is scattered with bottles you can smash before engaging; clearing them out removes a hazard that otherwise slows your own movement during the hit-and-run pattern the fight wants from you. Land a few staggering hits, back off before he resets, and repeat. Once he starts glowing blue, that's your cue to finish him with the Genesis Configuration rather than conventional damage - it's both faster and refills your Suffering meter for whatever comes next.
04Escaping the Chatterer's Chases
The Chatterer isn't a fight at all - every encounter with it is a chase where you can't attack and can't hide, so treat it like a puzzle of movement rather than combat. The first chase kicks off right after you sneak past Bruno in the Scarlet Church, in a hallway that funnels toward a locked metal door. The only rule that matters here is to keep moving forward and use Quick Turn the instant the Chatterer appears behind you, rather than stopping to look.
Chained hazards block parts of the route - slide or crouch-walk under them instead of trying to vault through, since standing contact is what triggers a grab. If a hook or hand does catch you, mash the interact prompt immediately rather than waiting it out; stalling costs more time than the grab animation itself. The chase repeats later during Free Sunny's Soul with a similar layout logic: don't backtrack, don't explore side rooms mid-chase, and head straight for the lit exit.
05How to Beat Charlotte
Charlotte starts as a chase out of the Scarlet Church before the fight proper opens up in a larger arena, and that space is the whole strategy. She doesn't take ordinary damage well in melee range, so the fight is built around fire: set her alight with torches and the barrels scattered around the arena edges, and lay bear traps on any fuel spill you find before she reaches it. The arena's size is there for a reason - keep your distance rather than circling close, since most of her offense rewards players who stay in her immediate space.
Parked police cars around the arena can be used as a brief blockade if she closes the gap faster than expected, buying a few extra seconds to reposition toward your next trap or fuel source. Treat every fire source in the room as ammunition rather than scenery, and the fight becomes a matter of managing distance until she's burned down.
06How to Beat the Sister of Mercy
This encounter opens with a stealth section before the fight itself, so get through the approach quietly if you can - starting the boss fight with full resources matters more here than in most of the campaign. Her signature attack is a wall of shards thrown across the room; hide behind the chamber's pillars when she winds it up; the Shard Wall has a visible gap you can exploit if you'd rather commit to clearing it than wait it out.
She telegraphs her follow-up with a scream before her silhouette appears - that's the window to shoot. Trying to engage her at any other point in the pattern mostly wastes ammunition, since she's shielded outside of that brief exposure. Patience matters more than damage output in this fight: wait for the silhouette, land the hit, and reset behind cover rather than chasing a second shot immediately.

07How to Beat Marlowe in the Final Fight
Marlowe closes out the campaign across two phases inside the Church, and the first phase has a specific weak point rather than a general damage race. Orange-glowing growths cover his back - shoot those directly until they separate from him, since normal hits elsewhere do comparatively little. Keep moving while you do it; his melee range covers more of the arena than it looks like it should.
The second phase drops the glowing weak points in favor of an arena built around hazards you trigger yourself. Spiked walls and loose pillars around the room can be pulled or launched into him with the Genesis Configuration, and that's the fastest way through the back half of the fight rather than relying on your remaining ammo. Save at least one charge of telekinesis or Hell Chains for this phase specifically if you can - running the Suffering meter dry right before the final confrontation is the most common way this fight drags on longer than it needs to.
08Where to Watch and Follow Along
If you want a sense of the Labyrinth's look before committing to a from-scratch run - or you're deciding whether the Deluxe Edition's cosmetic extras are worth the upgrade - Saber Interactive's own release-date trailer below is the clearest official look at the tone the full campaign commits to, pins and all. This is a tight, five-boss horror campaign rather than a live-service grind, and it's built to be finished in one or two long sessions rather than returned to for months.
Clive Barker's Hellraiser: Revival is rated M for Mature by the ESRB for blood and gore, intense violence, nudity, strong language, strong sexual content and drug use, and it's available now on PlayStation 5, Xbox Series X|S, Nintendo Switch 2 and PC via Steam.
FAQ
How many bosses are in Clive Barker's Hellraiser: Revival?
Five named encounters carry the campaign: Bruno (fought twice), the Chatterer (a chase rather than a fight, encountered three times), Charlotte, the Sister of Mercy, and the final two-phase fight with Marlowe.
How long is the campaign?
It's a single, linear story with no mission select. A normal-difficulty run takes roughly 8 to 15 hours depending on how much time you spend exploring for upgrades.
Can you fight or hide from the Chatterer?
No. Every Chatterer encounter is a chase - you can't attack it and can't hide from it. The only way through is to keep moving toward the exit and use Quick Turn when it appears.
What does the Genesis Configuration actually do?
It's Aidan's main combat tool, unlocking telekinesis, pyrokinesis and Hell Chains in stages across the campaign. All three draw from a single Suffering meter that you refill by damaging enemies or banishing flashing blue Unworthy enemies with the box.
Which platforms is it on?
PlayStation 5, Xbox Series X|S, Nintendo Switch 2 and PC via Steam, all released October 8, 2026.
Official resources

Jonas runs the guides desk at Tutorial.Games. He replays every route, build and boss strategy on the current patch before it goes up, and re-checks it when the developer ships a balance update. Soulslikes, co-op action games and anything with a build planner.