Onimusha: Way of the Sword: How to Beat the First Five Bosses
Onimusha: Way of the Sword throws five brutal bosses at you early. Here's how to parry, dodge, and break through each one on your way to Kyoto.
Musashi's Oni Gauntlet doesn't forgive sloppy footwork, and Capcom throws its hardest early tests at you before you've even reached Kyoto proper. Onimusha: Way of the Sword launched on September 4, 2026 — Capcom moved the date up three weeks from its original September 25 slot — and the first real gauntlet of Genma bosses arrives fast enough to end a lot of first attempts. This guide walks through the first five fights you'll meet: what each one actually does, when to dodge instead of deflect, and how to stop feeding your Oni Gauntlet's yellow orbs back to enemies who just knocked you into a wall.
01Where This Stretch of the Story Sits
Onimusha: Way of the Sword casts Musashi as a wandering samurai dropped into a supernatural take on Edo-period Kyoto, where the Genma — demons led by Minamoto no Yoshitsune — have started breaching into the mortal world. These five bosses land early enough that you'll still be getting a feel for the game's parry-heavy combat when Sasaki Ganryu shows up, which is exactly why a bad first read on any one of them can eat an entire evening. None of it requires prior Onimusha knowledge; Capcom built this as a fresh entry point into the series, and the combat systems below are everything you need going in. The game carries an ESRB Mature 17+ rating for blood, gore, and intense violence, so expect these fights to be as visually brutal as they are mechanically demanding.
02The Systems That Actually Decide These Fights
Every boss in this stretch of the game runs on the same two resources. Deflecting (holding your guard into an incoming swing at the right instant) chips away at an enemy's stamina bar rather than your own health; once that bar breaks, you get a window for a Break Issen — a scripted execution that skips a chunk of their remaining health. Dodging, by contrast, is a full evade with brief invincibility and no stamina payoff of its own, but it's safer against anything you haven't learned the timing for yet. The Oni Gauntlet grafted to Musashi's arm eats the souls of anything you kill: yellow souls top up your health mid-fight, red souls feed permanent gauntlet upgrades between missions, and blue souls unlock the special sub-weapons you'll want long before these fights get harder. Oni Vision, held in, also flags nearby demons and hazards if you're not sure what's sharing the arena with you.
None of the five bosses below punish you for favoring dodges over deflects. They punish hesitation — standing still to "read" an attack instead of committing to one or the other the moment a boss winds up.
03Byakue: The Axe You Have to Respect
Byakue is the first boss that isn't a glorified tutorial enemy, and he makes that clear with a massive axe that closes distance faster than it looks. The core loop is simple to describe and harder to execute under pressure: dodge when he isn't mid-swing, and deflect the instant he commits to one. His hair occasionally flares with a blue glow before a separate grab-style strike — that one wants a precisely timed deflect rather than a dodge, since it tracks you through a sidestep. Byakue's overall pattern repeats on a loop rather than escalating, so a clean first read of his combo carries through the rest of the fight.
04Byakue (Enhanced): The Same Fight With a Deadlier Floor
Beat Byakue once and you'll fight a tougher version of him later with the same core moveset, plus a floor that turns against you. Once his health drops under roughly half, his axe picks up a dark, corrupted edge, and his ground slams start leaving pools of lingering damage where they land instead of just hitting once. The read here is timing, not new mechanics: jump just before impact on the slam attacks rather than sidestepping, and treat the arena floor as part of the fight once the corruption starts spreading — standing in a pool to land one more hit isn't worth it.
05Dohatsu-ten: Breaking a Guard Instead of a Body
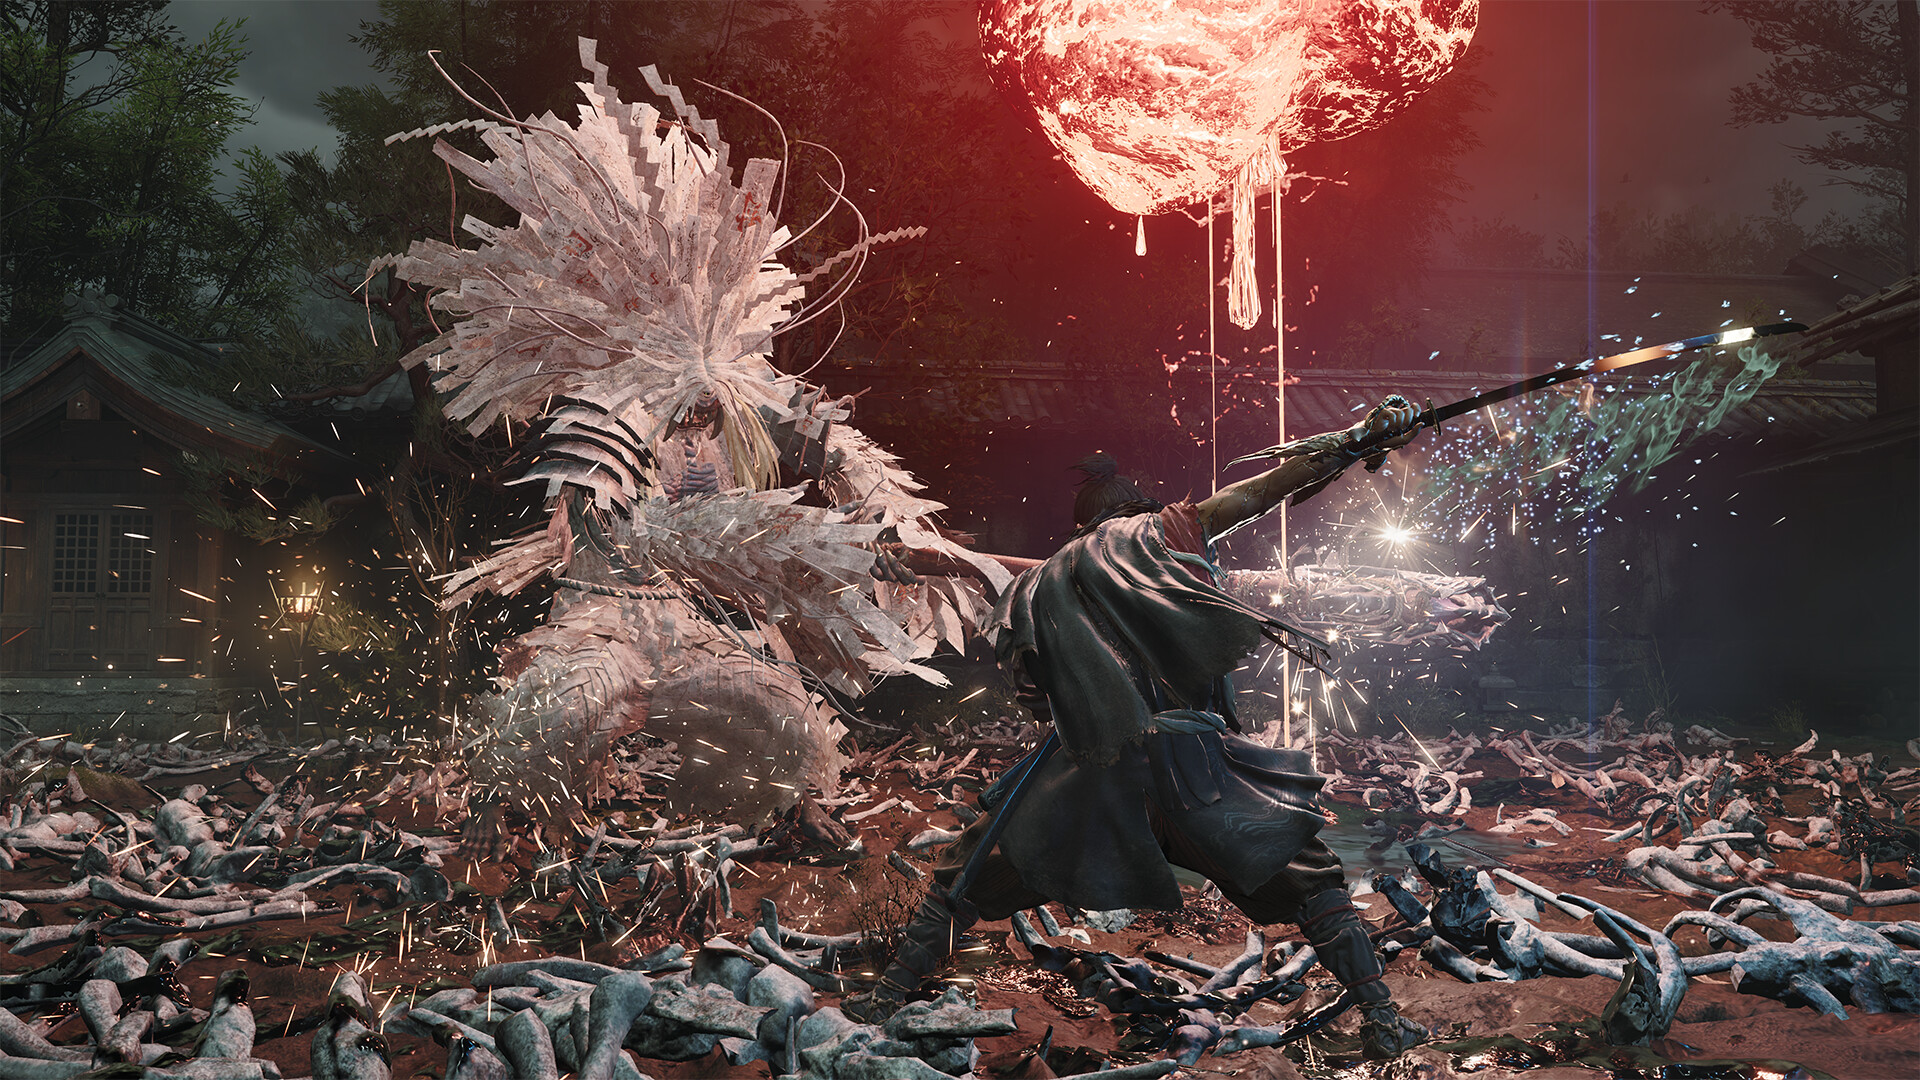
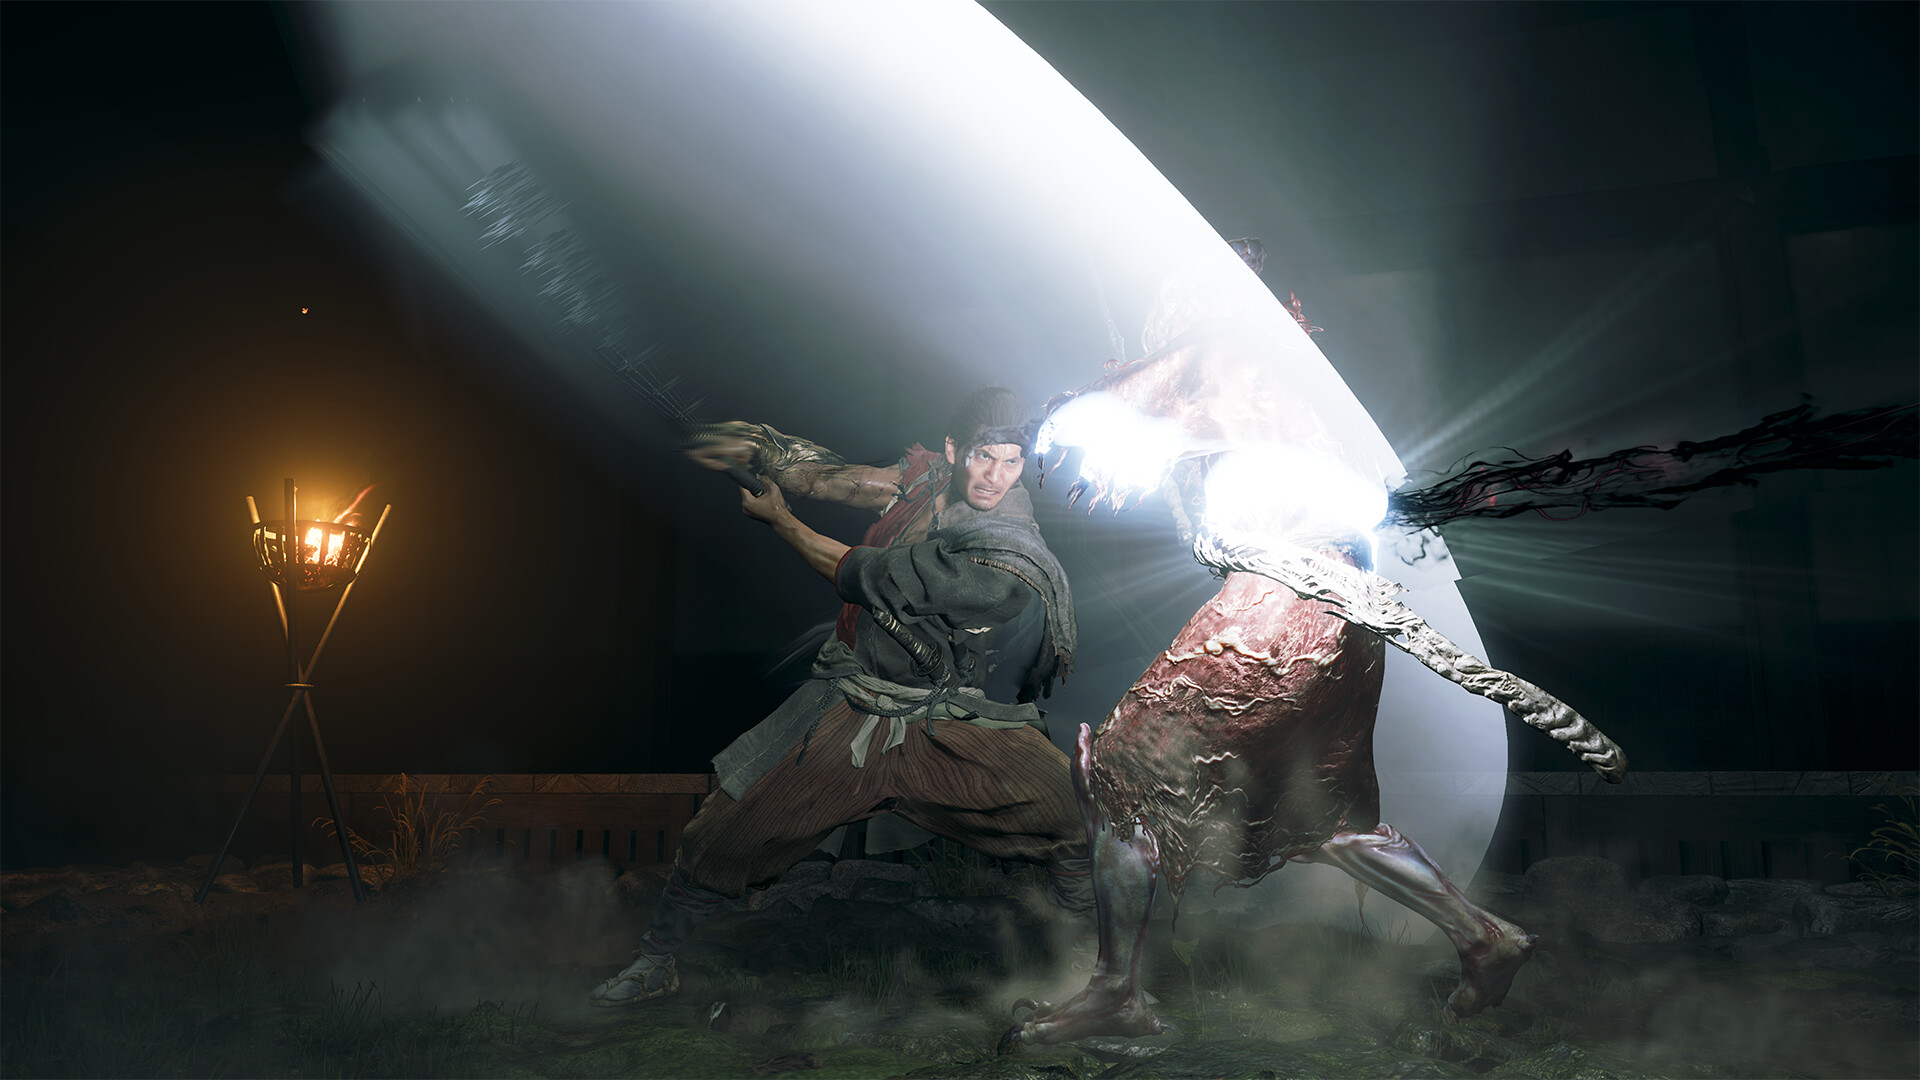
Dohatsu-ten swaps Byakue's raw power for a katana-and-kick rhythm that punishes players who only know how to dodge. He kicks often enough that treating every opening as a chance to attack will get you clipped, and much of his stamina bar won't drop from deflects alone — you need the guard-break input (pressing your heavy and light attacks together) to actually crack it open. Before certain attacks he shouts and his hair glows white; that particular strike can't be blocked, so dodge it outright rather than trying to deflect. At range, he'll throw sword-shaped slashes that can be deflected straight back at him, which is the fastest way to whittle him down if you're struggling up close.
06Nue (Blue) and Nue (Red): Splitting Your Attention on Purpose
This is the first fight in the run that isn't one-on-one. Two serpent-tailed chimeras share the arena, and the camera's auto-lock actively works against you here by narrowing your view to whichever one it's decided is the "target." Turning lock-on off and tracking both by eye is worth the adjustment period — you want to know where the second Nue is before it closes the distance while you're mid-combo on the first. Both attack with claw swipes, lunges, and tail smashes that respond well to perfect dodges, and either one raising its tail into a defensive stance is your cue to guard-break it. Past roughly half health, a Nue starts firing electrified orbs from its tail; deflect those back rather than dodging past them, since they do real damage and the counter is easy once you know it's coming. Drop one Nue and the fight doesn't reset — finish the survivor with the same dodge-and-deflect rhythm.
The First Five Bosses, In Order
- 1Dodge his axe swings and deflect the instant he commits to one; a blue hair-glow signals a separate grab-strike that needs a precisely timed deflect instead of a dodge.0:00
- 2Same moveset, but past half health his axe carries dark energy — jump just before his ground slams land and stay off the corruption pools they leave behind.8:00
- 3Break his guard with the heavy-plus-light input rather than relying on deflects alone; dodge his unblockable white hair-glow strike, and deflect thrown sword slashes back at him.16:00
- 4Turn off camera lock-on to track both chimeras, guard-break a raised tail, and deflect the electrified orbs they fire once either one drops below half health.25:00
- 5Mix perfect dodges with Issen counters on his leaping stomps and left-hand grabs; in his Altered form, shoot his Oni ally Gioh before she can reach a red flower to restore his stamina.34:00
07Sasaki Ganryu: A Duel That Escalates on You
Sasaki Ganryu is the first fight that genuinely feels like a duel between two swordsmen rather than a monster encounter. He mixes fast, piercing strikes with slower, wave-like delayed ones designed to break your rhythm, and his leaping stomp attacks are best answered with a well-timed Issen counter rather than a plain dodge. Watch for a blue-tinted grab with his left hand — that one has a precise counter window if you press your deflect input at the right moment instead of trying to back away from it.
Beat him once and you'll face an Altered version later with a second health phase and noticeably faster katana strikes. His Oni ally, Gioh, complicates the fight by reaching toward red flowers scattered around the arena to restore his stamina; shooting her the moment she goes for one denies him the reset. In her second phase her tentacles turn purple and start slamming and lashing on their own, so that becomes a threat to track in addition to Sasaki. By the time he's swinging malice-infused strikes and carving ground-level sword waves at you, everything he throws is still deflectable or dodgeable — it's just arriving faster and from more directions at once than anything earlier in the run.
08Getting the Most Out of the Oni Gauntlet Before These Fights
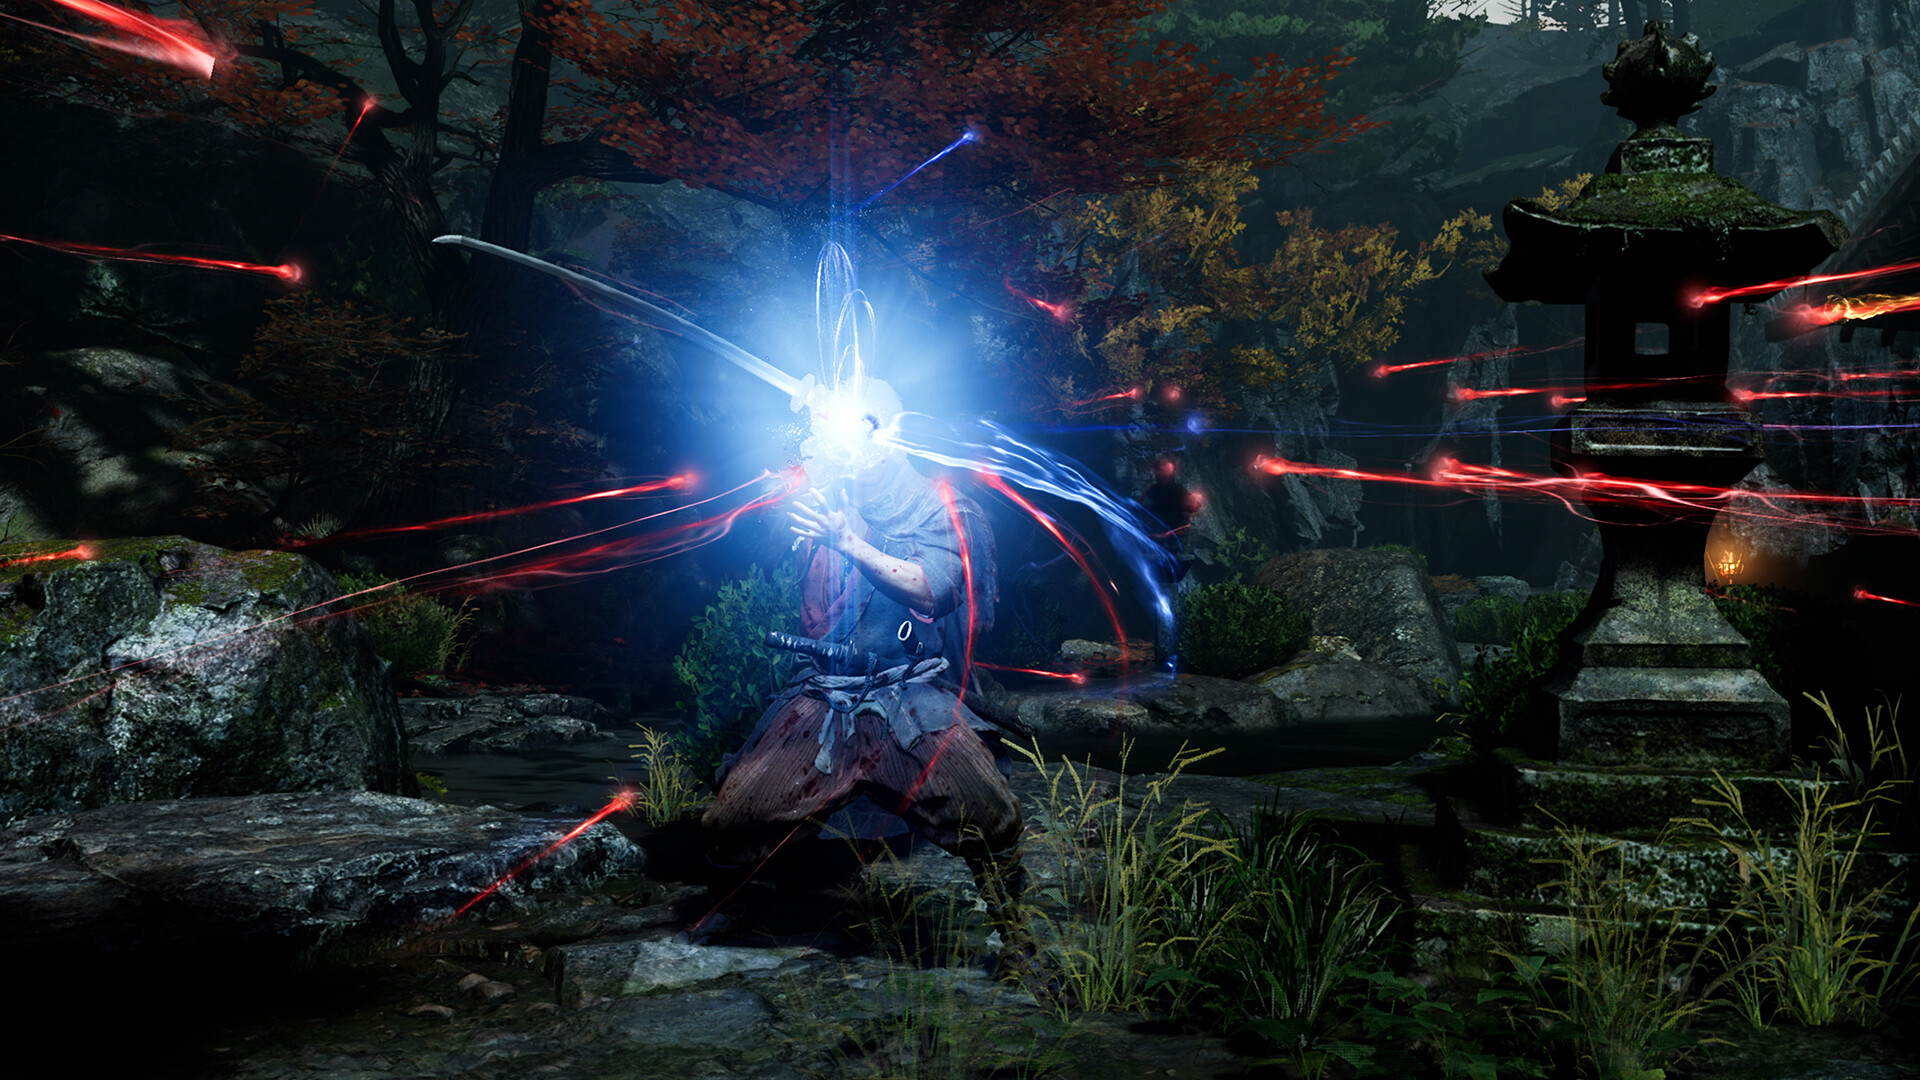
It's tempting to save souls for a rainy day, but red souls specifically only do anything once you spend them on gauntlet upgrades between missions, so walking into Sasaki Ganryu with an unspent stockpile is pure waste. Prioritize whatever upgrade extends your deflect window or speeds up your Issen recovery — both pay off across every fight in this guide, not just one. Blue souls are worth chasing early too, since the sub-weapon they unlock gives you a ranged option against the Nue's orb attacks and Dohatsu-ten's thrown slashes instead of relying on deflects alone.
Check out the physical versions of Onimusha: Way of the Sword, including a Steelbook Edition and even a Standard Edition with a reversible cover! Onimusha: Way of the Sword launches tomorrow on September 4, 2026!
— Capcom USA (@CapcomUSA_), September 4, 2026 on X
If you want to see the tone of these fights before diving in, Capcom's free demo on Steam covers an early slice of the campaign, including a taste of this boss run, on the same build the full release shipped on.
FAQ
When did Onimusha: Way of the Sword release, and on what platforms?
Capcom moved the launch up from September 25 to September 4, 2026, releasing it on PC, PlayStation 5, Xbox Series X|S, and Nintendo Switch 2.
What does the Oni Gauntlet actually do?
It's a sentient weapon grafted to Musashi that absorbs souls from defeated Genma: yellow souls restore health mid-fight, red souls fund permanent gauntlet upgrades between missions, and blue souls unlock special sub-weapons.
Should I dodge or deflect these early bosses?
Both matter. Dodging is the safer default while you're learning a boss's timing; deflecting drains an enemy's stamina bar toward a Break Issen execution, so it's worth committing to once you've read a specific attack.
How many boss fights does the full campaign have?
Capcom hasn't published an official boss count. Players who have finished the campaign report roughly 18 major encounters, several returning later as tougher Enhanced or Altered versions — unconfirmed by Capcom directly, but consistent across post-launch playthroughs.
Is there a free way to try the combat before buying?
Yes — Capcom released a standalone Onimusha: Way of the Sword demo on Steam ahead of launch, covering an early slice of the campaign on the same build the full game shipped on.
Official resources

Jonas runs the guides desk at Tutorial.Games. He replays every route, build and boss strategy on the current patch before it goes up, and re-checks it when the developer ships a balance update. Soulslikes, co-op action games and anything with a build planner.