
Onimusha: Way of the Sword: Late-Game Bosses and Rematch Guide
Here's how to beat every boss after Onimusha: Way of the Sword's first five fights, plus what it takes to unlock and clear Boss Rematch mode.
01Picking Up After Kyoto's First Wave of Bosses
If you've already fought your way through Byakue, Dohatsu-ten, the twin Nue, and your first duel with Sasaki Ganryu, you're past the opening gauntlet of Onimusha: Way of the Sword and into the stretch of the game where Capcom stops teaching you the rules and starts breaking them. Musashi's fights get longer, the arenas get meaner, and more than one boss shows up twice. This guide picks up exactly where the first-five breakdown left off: Daidara, Rasho-gan, Ifuu and Burai, Dokyo, both Benkei encounters, Shuten-Doji, the final battle with Minamoto no Yoshitsune, and what Boss Rematch mode actually asks of you once the story credits roll.
None of this is a soft difficulty curve. Capcom's own director has said the team deliberately avoided making story mode a pushover just because it added an easier option, so expect every fight below to still demand real pattern recognition even on a forgiving setting.
The good news is that the tools you already learned against Byakue and Sasaki Ganryu carry forward almost unchanged. Deflect is still your main stamina-draining tool, Break Issen is still how you punish an exposed boss once its stamina is gone, and Oni Vision is still the answer any time a fight stops making sense on a normal read. What changes from here is how much the arenas and enemy counts punish you for forgetting any one of those tools mid-fight.
02Daidara: Souls, Posture, and Where to Actually Hit It
Daidara's mace swings and stomps are slow and readable on their own, which is exactly what makes players careless. Deflect the big overhead swings, dodge sideways out of the stomps, and treat the charge and grab attacks as the two moves that actually need a dedicated dodge rather than a parry attempt.
The fight's real hook is Soul control. Daidara pulls in the floating blue souls scattered around the arena and grows stronger for every one it absorbs, so your first job in each exchange is grabbing souls before it does, not just chipping its health bar. Once you've broken its posture, stop hitting the torso and go for the legs and other exposed areas, which take the damage that actually matters. Watch for the mace-licking animation specifically; it's the tell for a much harder follow-up swing than anything that came before it.
03Rasho-gan: Cutting the Cord Before It Becomes a Problem
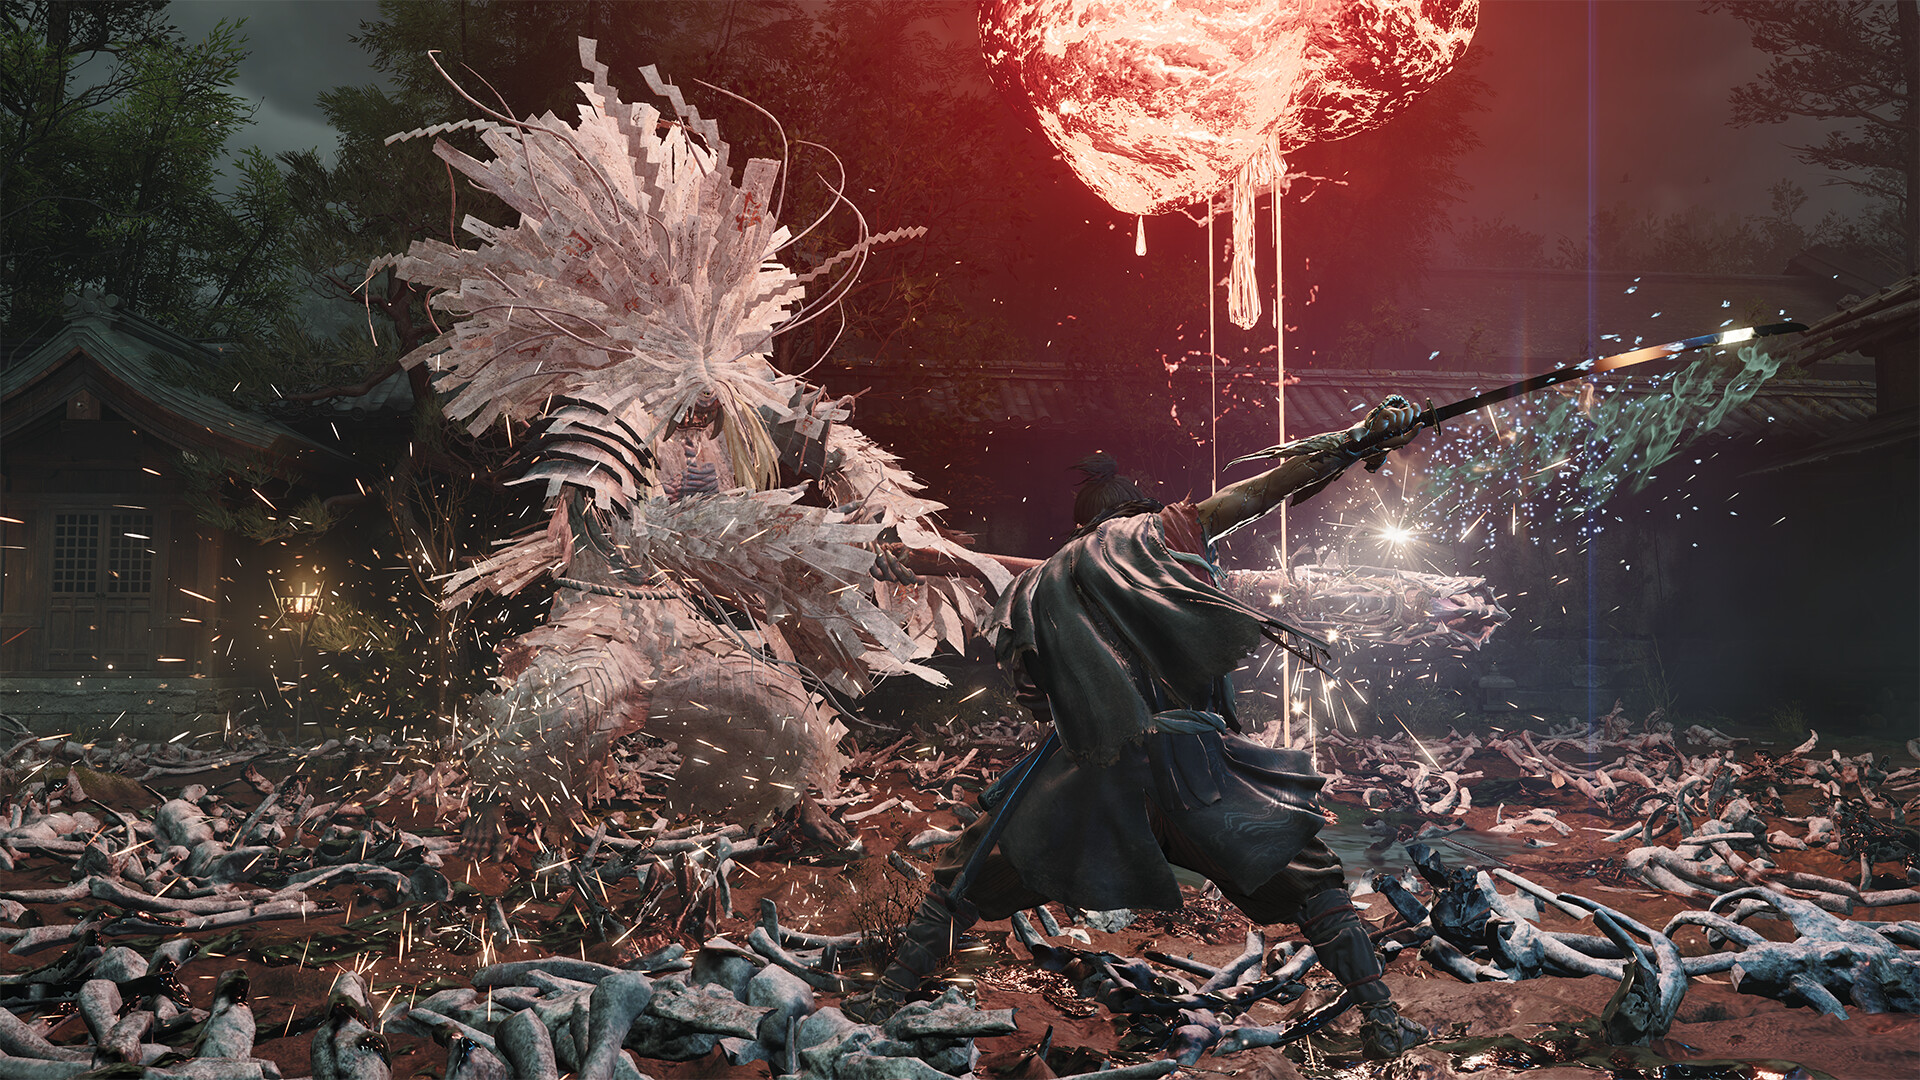
Rasho-gan is built around interruption rather than reaction. Switch to Oni Vision and you'll see a blood-red cord tethering the boss to pieces of the surrounding shrine. Sever that cord with the Oni Bow before the object on the other end turns into an attack, and you cut off a huge chunk of its offense before it starts.
For the rest of the fight, Deflect or Parry the smaller Malice projectiles, shoot down the larger bubble projectile with the bow instead of trying to dodge through it, and Deflect sword swings for quick, safe punishes. Environmental throws need a dodge, not a block. The pattern to internalize is simple: interrupt the setup, don't just survive the explosion.
“He's there at the shrine; he's deceiving people and harvesting these body parts from them.”Satoru Nihei, Director, Onimusha: Way of the Sword
That shrine setting isn't incidental. Rasho-gan's whole design, down to the sword that folds out into oversized shears, is built around a Japanese motif of red threads binding people's fates together, which tracks with how the boss spends the fight physically tethering itself to the arena around it.
04Ifuu and Burai: A Duo Fight That Punishes Tunnel Vision
This is the first fight in the back half of the game where positioning matters more than your combo output. Ifuu and Burai hit from different ranges and different angles, and most deaths here come from one of them attacking from outside the camera while you're focused on the other.
Against Ifuu, use the Oni Bow on its exposed back air-sac whenever it opens up, Deflect the wind-blade swings, and don't stand underneath its suction attack. It creates distance on purpose, so don't chase it; greedy combos after its aerial recovery are the single most common way players eat damage in this fight. Against Burai, dodge through its lightning patterns rather than retreating, wait out its teleports instead of swinging blindly into the recovery, and watch for the raised right leg that telegraphs its kick. Striking its exposed eye when it opens can drop Blue Souls that refill your Oni resources mid-fight, which is worth prioritizing over raw damage.
05Dokyo: Why This Is an Observation Fight, Not a Damage Race
Dokyo throws a lot of ranged pressure at you, but the fight is actually testing your patience, not your reflexes. Use Oni Vision to confirm which Dokyo on screen is the real one before you commit to an attack, since the genuine body has a visible tell that copies don't share. Deflect the readable projectiles as they come, and when the large celestial attack starts winding up, stop attacking entirely and get behind the one intact rock in the arena instead of trying to trade hits through it.
Players who treat this like a normal boss and keep attacking through the celestial windup are the ones who end up resetting the fight. Confirm the target first, then punish.
06Benkei, Twice: Gojo Ohashi Bridge and His Rendaino Rematch
Benkei's first appearance takes place on the Gojo Ohashi bridge, where the narrow width cuts off most of your usual evasion options. His combos are committed rushes that are easiest to Deflect or parry just before they land, then punish during the long recovery that follows. Don't back yourself toward the end of the bridge; it only shrinks your options further.
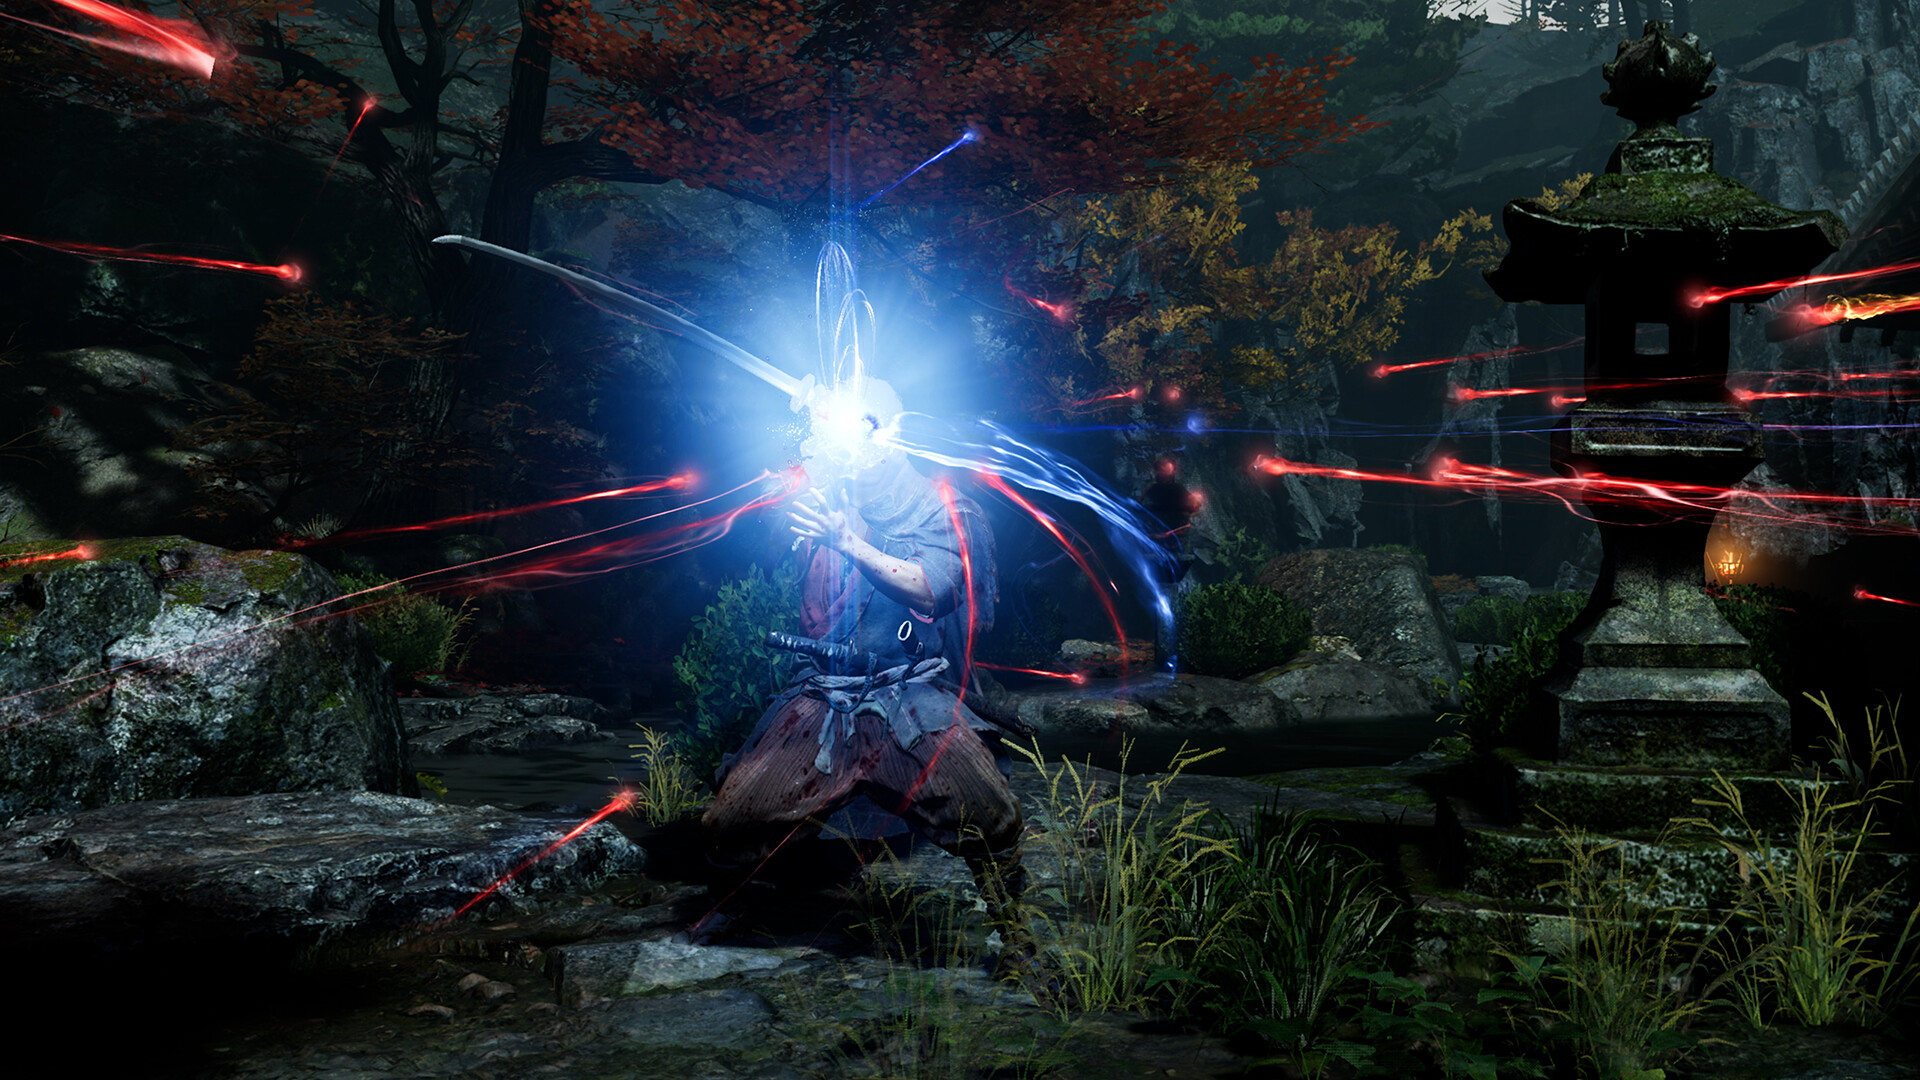
His later rematch at Rendaino is a different fight entirely. He shows up fully armed with daggers, an axe, and cannon-style shockwave attacks, so the priorities flip: dodge the shockwaves and cannon fire outright, and save your Deflects for his slower axe swings and lunges, which are the only attacks in this version that reward a clean parry.
07Shuten-Doji and the Final Battle With Minamoto no Yoshitsune
Shuten-Doji runs in two states. The first is a fire-based humanoid phase where blocking is weak against the flame damage, so dodge the arcs and rushes and only attempt a parry on isolated melee swings. The Oni Bow is useful here specifically to interrupt his flame breath before it fully starts. Keep attacking enough to limit his regeneration between openings, but don't burn all your healing or Oni resources early; his second phase, a far more chaotic flying-head form, is the one that actually punishes a depleted inventory.
Minamoto no Yoshitsune, the final boss, runs three phases that escalate deliberately. Phase one is sword-string timing you Deflect while learning the delayed thrust that catches overeager counters. Phase two adds multi-hit combos, aerial pressure, and teleport follow-ups, which is where you should spend your healing items, though not your entire supply. Phase three is where meaningful damage actually requires Oni Awakening, so the fight is as much about resource management across the first two phases as it is about mechanical skill in the third. Walk in with consumables topped off and Oni Power as close to full as you can manage.
If you've been chasing a clean win, resist the urge to greed out a combo the moment Yoshitsune staggers. The opening is real, but the recovery window on most of Musashi's heavier strings runs long enough that a second attack can clip you just as the stagger ends. Take the guaranteed hit or two, then reset to neutral instead of pushing for a third.
08Unlocking and Working Through Boss Rematch Mode
Boss Rematch isn't a separate unlock gated behind finishing the story; each boss becomes eligible for a rematch as soon as you beat it for the first time, and the menu fills in as you progress. By the time you've cleared every story boss, Boss Rematch holds 18 total entries built from around 13 unique fights, expanded through standard returns, enhanced versions with higher health and stamina and stronger enrage thresholds, altered versions with new telegraphs, armor-focused fights like Benkei Revived, paired fights like Ifuu and Burai together, and soul-focused variants built around specific Issen finishes.
How to Work Through Boss Rematch Mode
- 1Every boss unlocks its own Boss Rematch entry the moment you clear it for the first time — you don't need to finish the whole campaign first.Ongoing
- 2Pull it up once you've got at least one entry unlocked, then pick a specific boss and version instead of queuing a random fight.1 min
- 3These keep the original moveset but raise health, stamina, and enrage thresholds, making them the safest way to sharpen your reads before the harder variants.10-15 min
- 4Altered rematches change the telegraphs on attacks you already know, so treat them as a reaction-speed check rather than a knowledge check.10-15 min
- 5Benkei Revived and the Ifuu and Burai pairing put a second threat on screen at once — go in once you've already cleared the solo versions cleanly.15-20 min
- 6Certain rematches reward specific Break Issen finishes with yellow health souls, blue Oni Power souls, or purple Awakening souls, worth farming once you know the fight.Ongoing
Treat the enhanced and altered versions as the ones worth doing first; they teach you the same patterns under tighter margins without the added complexity of a duo fight. Save the armor-focused and paired rematches, Benkei Revived and the Ifuu and Burai pairing especially, for once you've got the rest of the roster's patterns down cold. Capcom's own Onimusha: Way of the Sword site is the place to check for any future balance changes before you sink a long session into chasing a specific rematch.
FAQ
How many bosses are in Onimusha: Way of the Sword's Boss Rematch mode?
Boss Rematch holds 18 total entries, built from around 13 unique bosses and expanded with enhanced, altered, armor-focused, and paired versions of fights you've already beaten once in the story.
Do I need to finish the campaign before I can use Boss Rematch?
No. Each boss becomes eligible for a rematch as soon as you beat it once in the story, so the Boss Rematch menu fills in gradually as you play rather than unlocking all at once at the credits.
What's the fastest way to deal with Rasho-gan's grab and throw attacks?
Dodge them outright rather than trying to Deflect. The setup actually worth interrupting is the blood-red cord tying Rasho-gan to objects around the shrine, which you can sever early with the Oni Bow once Oni Vision reveals it.
Should I rush Shuten-Doji's fire phase or play it safe?
Play it conservatively. Limiting his regeneration is enough in the fire-based first phase — it's the far more chaotic flying-head second phase that actually punishes a depleted supply of healing and Oni Power.
What do I need going into the final boss, Minamoto no Yoshitsune?
Go in with your consumables topped off and Oni Power as close to full as possible. Phase three requires Oni Awakening to deal meaningful damage, so how you manage resources in the first two phases decides how that stretch goes.
Official resources

Jonas runs the guides desk at Tutorial.Games. He replays every route, build and boss strategy on the current patch before it goes up, and re-checks it when the developer ships a balance update. Soulslikes, co-op action games and anything with a build planner.


